An object salon, assembled slowly
Do not shop for a set. Listen for a conversation.
Inventory what you found, edit it into families, rehearse the gaps, then let paper ghosts live on the wall before the hammer appears.
- 01Find
- 02Edit
- 03Rehearse
- 04Hang
A thrifted gallery wall begins with an inconvenience: nothing arrives in the same size, colour or mood. That is also its advantage. The wall can look gathered rather than ordered.
The mistake is trying to make mismatched objects behave like a boxed set. Painting every frame the same colour may create unity, but it can also erase the age, wear and material that made the pieces worth keeping.
Do not ask, “How do I match these?” Ask:
What conversation are these objects already having?
Make an object inventory
Object inventory
Name what each piece contributes
| Object | Visual weight | Echo |
|---|---|---|
| Dark wood portrait | Heavy | Warm frame tone |
| Small botanical | Light | Green shape |
| Round brass plate | Medium | Curved edge |
| Unframed textile | Soft | Repeated rust colour |
Place every possible piece on the floor and record:
- outer dimensions;
- weight;
- portrait, landscape, square or dimensional shape;
- dominant light/dark value;
- frame material and condition;
- subject;
- sentimental or practical importance;
- hanging hardware;
- whether glass, textile or fragile detail needs special care.
Do not include something merely because it fills a hole. A gallery wall is not a recycling centre for visual guilt.
Choose one anchor. It need not be the largest or most expensive. It may be the object with the clearest colour, strongest story or most distinctive shape.
Then find two kinds of connection:
- visual connection: repeated colour, curve, line, material or value;
- meaning connection: place, family, craft, travel, botanical subject, humour, a period of life.
Three objects connected only by beige are weaker than three objects connected by a real reason.
Edit in families, not counts
Edit in families
Repetition can come from somewhere other than matching frames
- Colour familyTwo or three tones recur across unlike objects.
- Line familyFine ink, bold blocks, or soft painterly edges.
- Material familyWood, metal, textile, paper, or ceramic.
- Memory familyPlaces, people, travels, or inherited pieces.
Magic frame counts are appealing because they remove judgment. Real collections do not need seven or nine pieces.
Build small families:
- two landscapes that share a horizon;
- a portrait beside a handwritten recipe;
- three different frames repeating one dark line;
- a textile fragment with an image that explains its colour;
- one humorous object relieving several serious ones.
Lay out each family separately. Then connect families with one repeated feature.
If everything is equally loud, remove one loud piece. If everything is tiny, introduce one larger quiet field: a map, textile, mirror used safely or broad-matted print.
Choose the wall by viewing distance
Wall selection
Choose the wall from where the room is actually seen
- Close passSmall detail can reward a hallway or stair landing.
- Across the roomSilhouette and hierarchy matter more than fine detail.
- Above furnitureThe group must relate to the object below, not float independently.
A narrow hallway is seen while moving. A sofa wall is seen from a seated distance. A stair wall changes angle. The composition should respond.
Check:
- door and cabinet operation;
- furniture height;
- window light and reflection;
- wall surface and construction;
- likely future furniture changes;
- child and pet reach;
- moisture or heat;
- whether the wall contains switches, alarms or access points.
Do not hang fragile glass where a door handle, chair or bag repeatedly meets it.
Rehearse on the floor
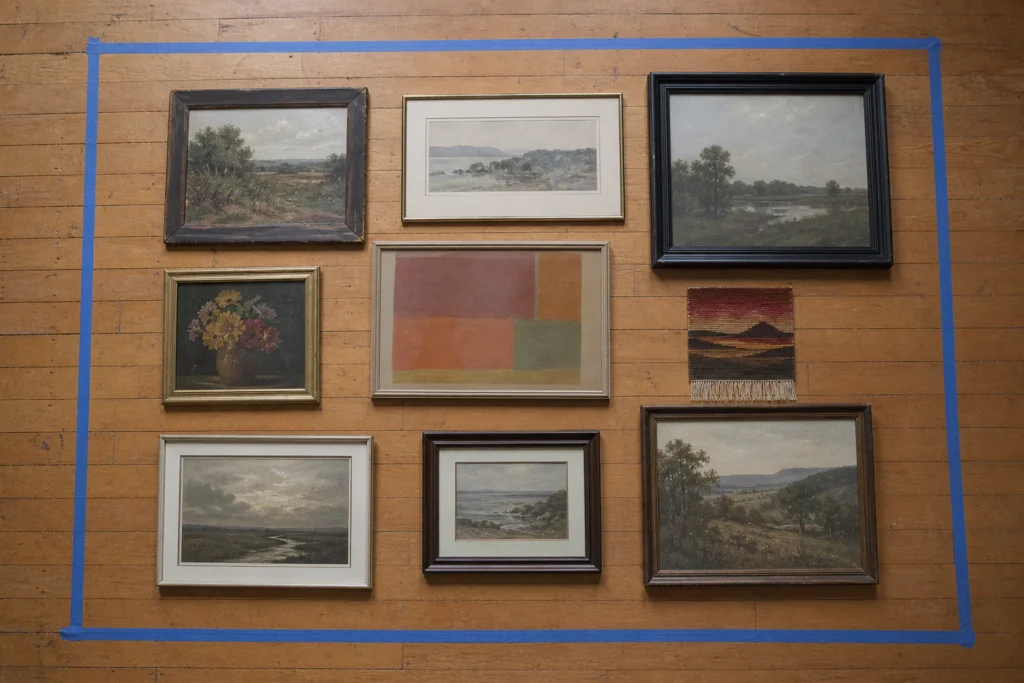
Use a floor area roughly equal to the wall. Mark the available rectangle with tape.
Start with the anchor slightly off-centre. Add the closest meaningful relation. Build outward by balancing visual weight, not just centimetres.
Visual weight increases with:
- dark or saturated colour;
- thick frames;
- large areas;
- faces and high-contrast subjects;
- dimensional depth;
- isolated position.
A small black portrait may balance a much larger pale landscape.
Keep gaps consistent enough to read as deliberate, but not mathematically identical if the frames have very different profiles. As a starting rehearsal, try a hand-width or roughly 5–8 cm (2–3 in) between many pieces, then adjust by viewing distance and frame character. This is an editorial starting point, not a rule.
Photograph every promising arrangement from directly above. Leave the room, return and view the photograph small. If one piece disappears or shouts, change the relationship.
Make paper ghosts
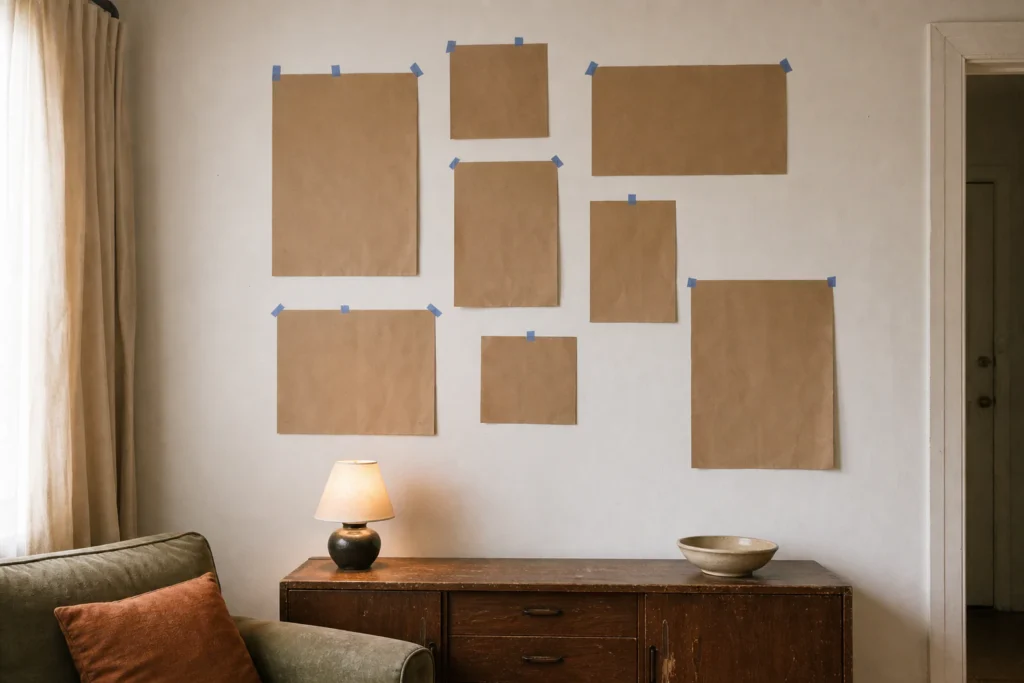
Trace each frame onto reused paper or kraft paper. Write:
- object name;
- top;
- weight;
- hanging-point distance from top;
- planned fixing;
- fragile/valuable note.
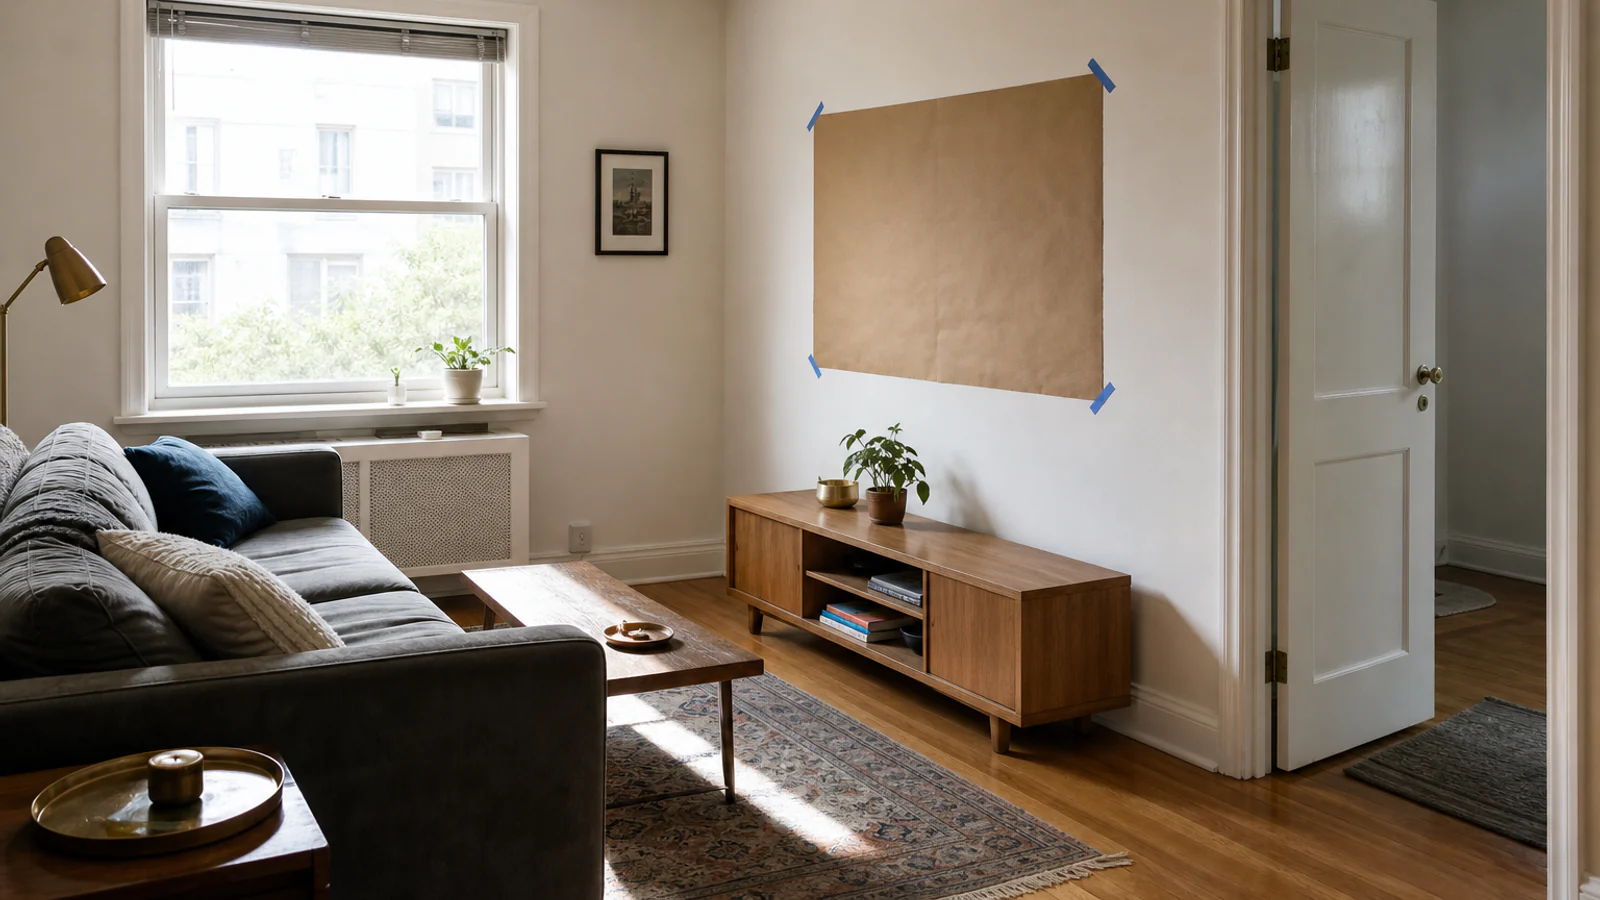
Cut the shapes and place them on the wall with a low-risk temporary method suitable for the surface. The paper rehearsal shows the composition at the correct viewing height and reveals collisions with lamps, doors and furniture.
Live with it for at least one day. View it:
- seated;
- standing;
- entering the room;
- in morning and evening light.
Move paper freely. Holes are a poor editing interface.
Calculate the hanging point, not the frame top
Hanging-point method
Measure the wire drop before marking the wall
- Frame heightMeasure top to bottom
- Hook-to-top distancePull the wire upward as it will hang
- Hanging pointDesired frame top minus hook-to-top distance
For each object:
- Decide the visible frame position.
- Measure from frame top to the taut hanging wire or hardware point.
- Transfer that distance to the paper template.
- Mark the fixing point through the paper only after the full arrangement is approved.
Different wires stretch differently. Two identical outer frames may need different fixing heights.
Use appropriate fixings for the actual wall and object weight, follow the frame and fixing instructions, and check for hidden utilities before drilling. Heavy, valuable or overhead objects may require professional installation. Renters need permission where required.
Adhesive strips are products with surface, weight, preparation and removal limits—not a promise of zero damage.
Keep the thrift visible
Clean objects gently according to material. Do not polish away every sign of age. Repair loose backs and unsafe hardware. Replace damaged glass where appropriate.
If frames need connection, try partial moves before total repainting:
- repeat one mount colour;
- add a narrow painted inner edge;
- place two warm woods near each other;
- distribute dark frames rather than clustering them;
- repeat brass or black in only two or three places.
Patina is not dirt; damage is not patina. Know the difference before preserving either.
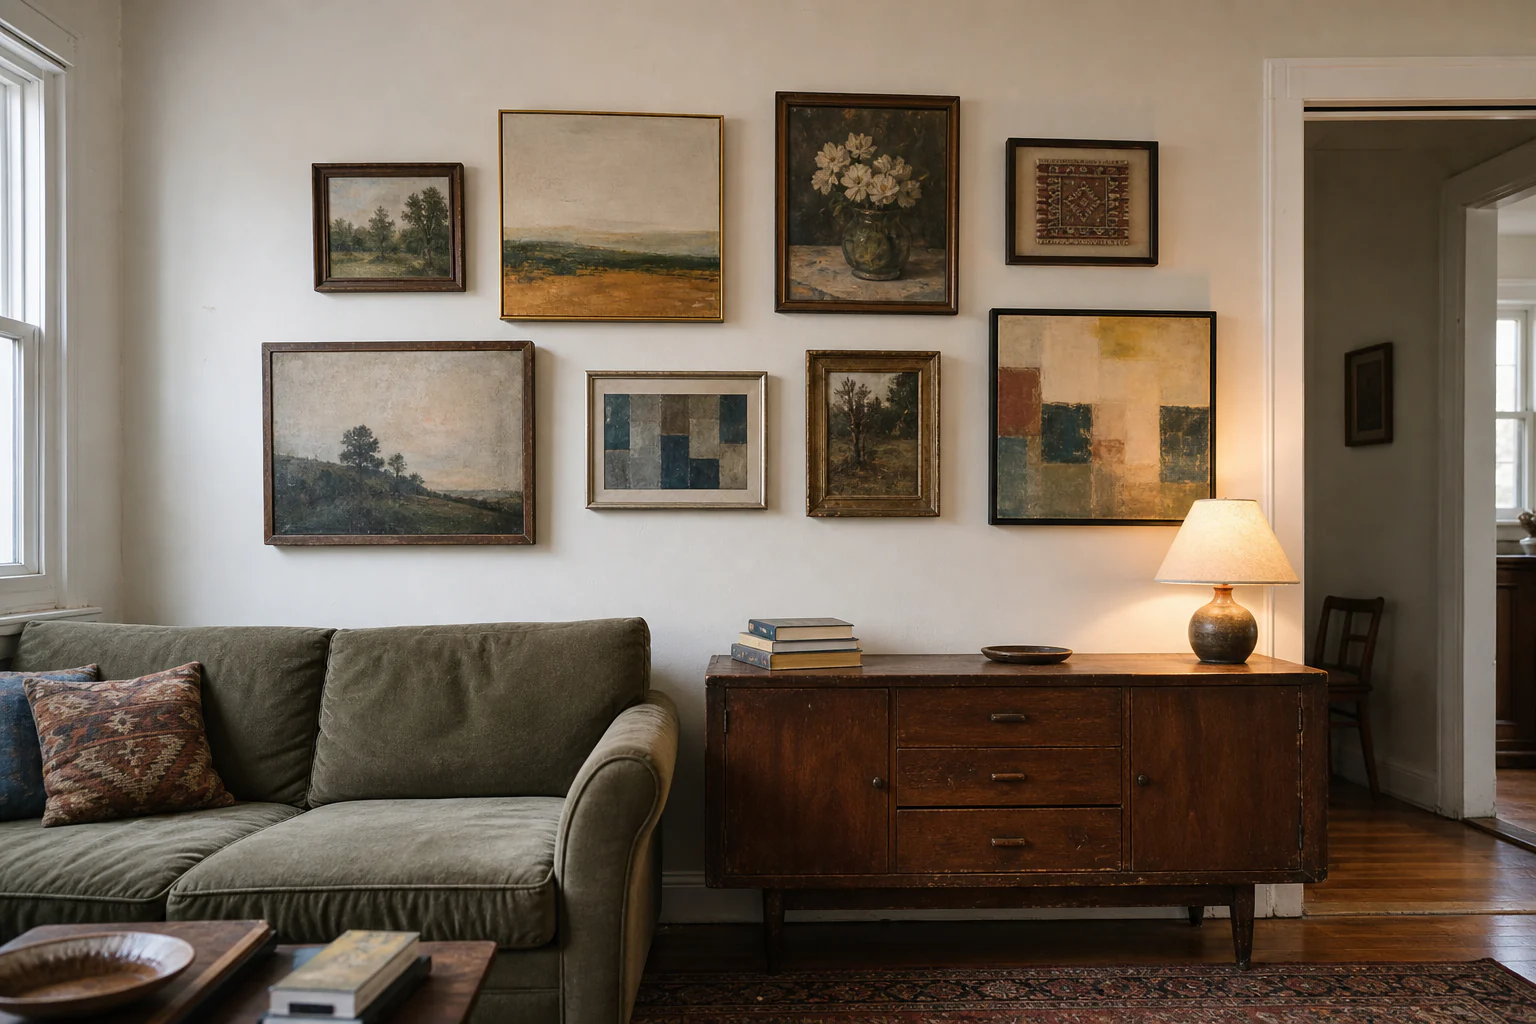
A constructed wall: nine objects, four frame finishes
Nine-object constructed wall
One anchor, two bridges, six supporting notes
- Anchor
- Bridge
- Breathing gap
The collection contains:
- one large pale botanical;
- two dark portraits;
- a stitched square;
- three small landscapes;
- a brass oval frame;
- a handwritten recipe.
The first grid makes the botanical dominant and the small objects look like footnotes.
The revised composition:
- botanical sits low and left as a quiet field;
- recipe and stitched square form a personal pair near it;
- two portraits sit apart, each balancing a dark edge;
- three landscapes make a broken horizon across the upper half;
- brass oval interrupts the rectangles near the centre.
The outer silhouette is irregular but controlled. Four finishes remain. Connection comes from the repeated green, dark line and family/place story.
Know when to stop
The stop rule
The wall is finished when the next object has no clear job
0 of 5 complete
Stop before:
- the composition reaches every furniture edge;
- a weak object is added solely for shape;
- the wall loses breathing room;
- the mounting risk exceeds the object's value;
- the collection can no longer accept a future find.
A thrifted gallery wall should feel alive enough to change. Keep one paper template or measured record if you expect the collection to grow.
Repair the back before polishing the front
Turn every thrifted frame over. Check whether the backing is secure, the hanging hardware is attached to sound material, the glazing is intact, and loose debris is trapped inside. A charming front can hide brittle tape, bent fasteners or an unreliable wire. The object’s weight and construction should determine the fixing; if either is uncertain, pause and get appropriate advice.
Clean with restraint. Dust can leave; patina does not always need to. Test any cleaner on an inconspicuous area and keep moisture away from paper, unsealed wood and unknown finishes. The aim is not to make every frame the same age. It is to remove what is unstable while preserving the differences that made the collection worth assembling.
If a work is valuable, fragile or personally irreplaceable, a professional framer or conservator is a better source than a general decorating rule. This guide is about composition, not conservation.
Light the wall as a group of surfaces
Glass, glossy paint, metallic frames and deep textiles reflect differently. Check the proposed wall in daylight and after sunset. Stand at the main viewing positions and look for a lamp, window or bright ceiling source that replaces an image with a rectangle of glare.
Often the simplest repair is changing an angle: move a portable lamp, lower its brightness, or shift the most reflective frame within the paper rehearsal. New hardwired picture lighting belongs to qualified work and local requirements. Do not create a cable route that crosses furniture, a walkway or a heater simply to give the wall a dramatic beam.
Photograph the paper templates in both lighting conditions before hanging. The photo flattens the composition and makes crowded gaps easier to notice. Then remove one template—the least necessary piece—and look again. If the group becomes clearer, the missing object has given you the stop rule.
Useful next action
Choose the anchor and one meaningful partner. Put only those two on the floor. Add nothing until you can name their connection without using the word “aesthetic.”
About the visuals in this guide
These are original Dealsmaster editorial illustrations produced with AI assistance for explanation and inspiration. They do not document a real household, tested installation, reader result, or professional inspection.
Sources and limits
Useful advice should show its working
Material claims were checked against the primary guidance below. Dealsmaster dimensions and layouts are editorial planning starting points, not universal codes, professional assessments, or product instructions. Local rules, tenancy terms, building conditions, user needs, and manufacturer guidance control.
- U.S. Consumer Product Safety Commission — Anchor ItContext for anchoring furniture beneath display walls.
- Dealsmaster — DIY Measure, Test & Safety ChecklistOur general process for measuring, wall checks, product instructions, and qualified help.
Disclosure: This guide contains no affiliate links, sponsorship, or claimed product testing. Constructed examples are planning examples, not reported Dealsmaster households.