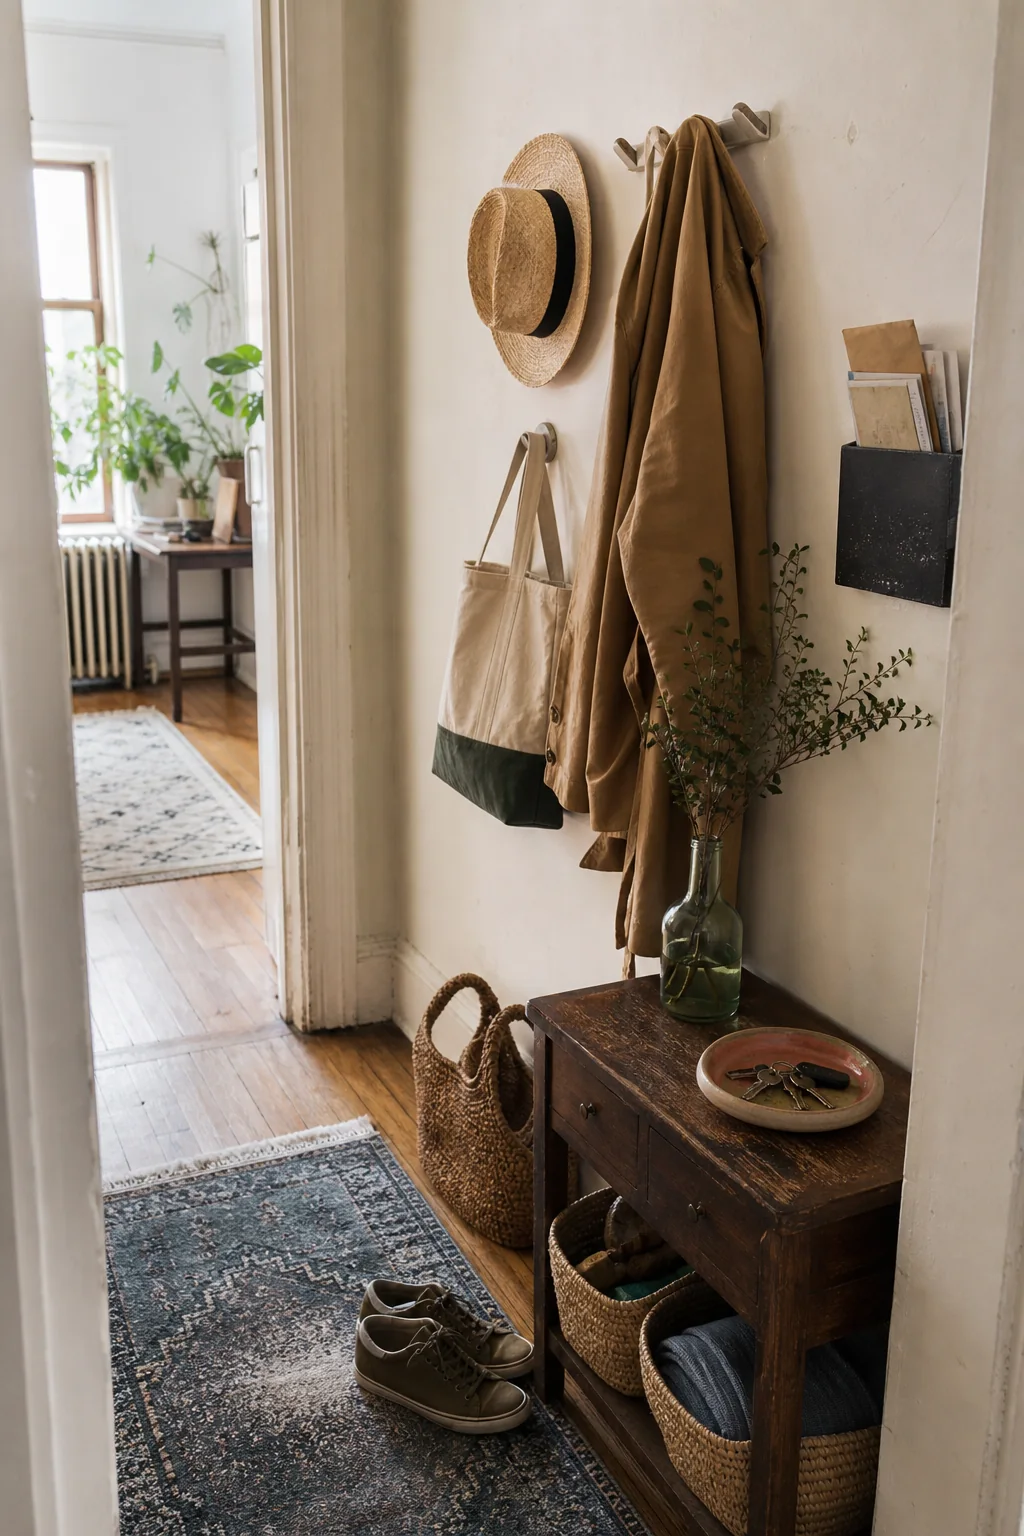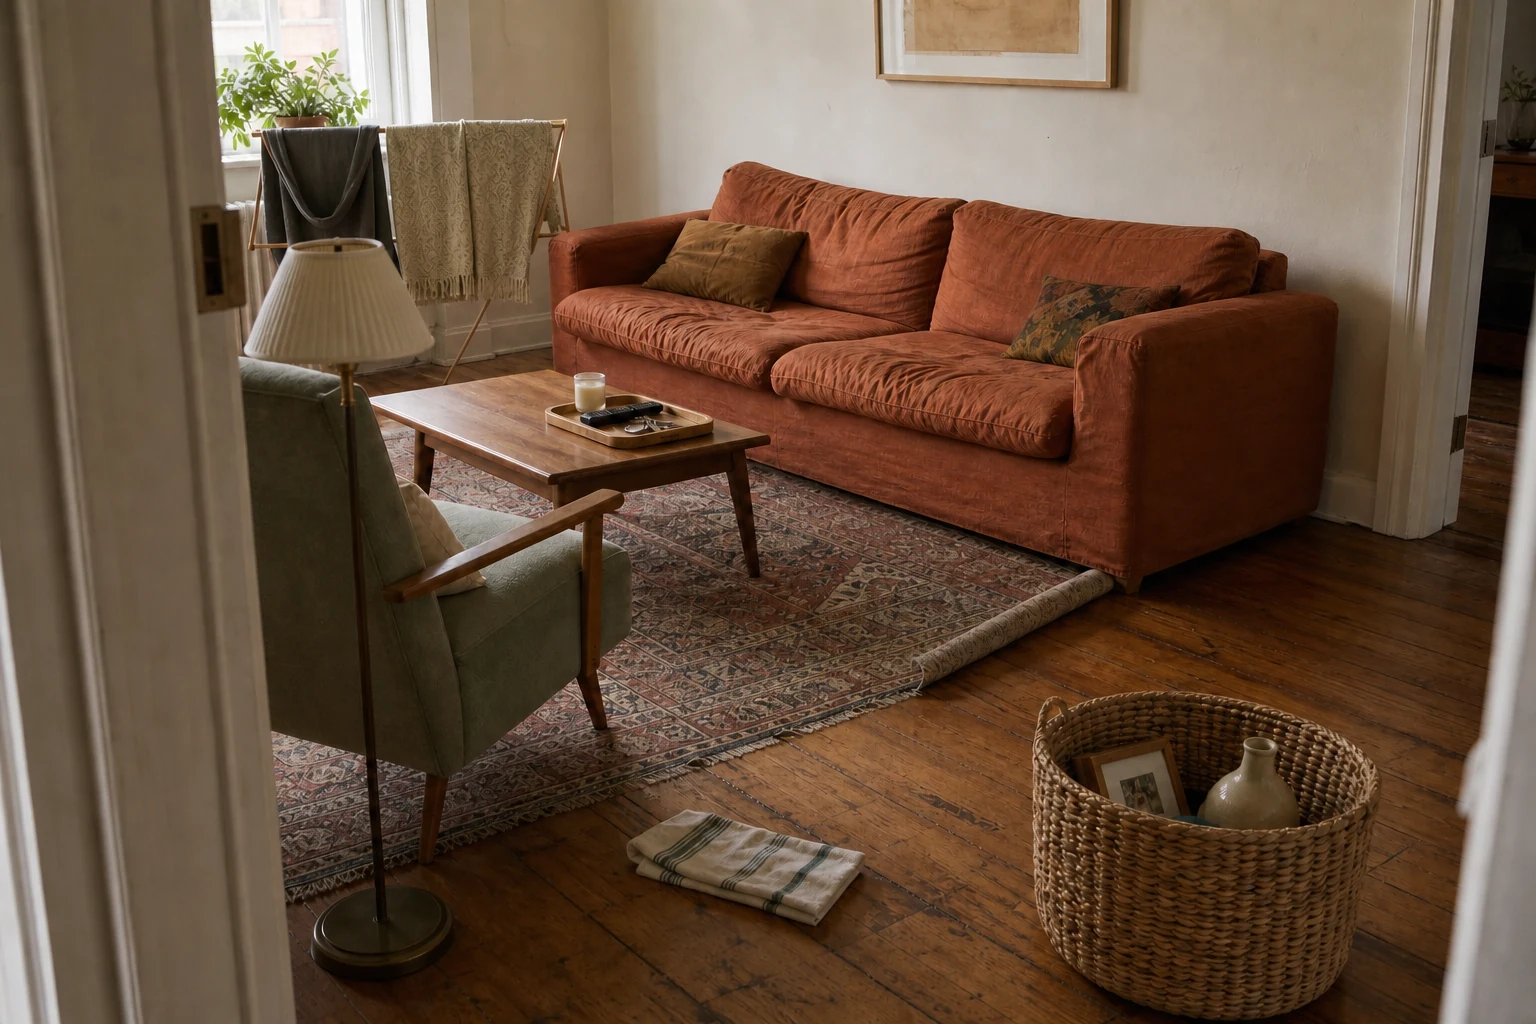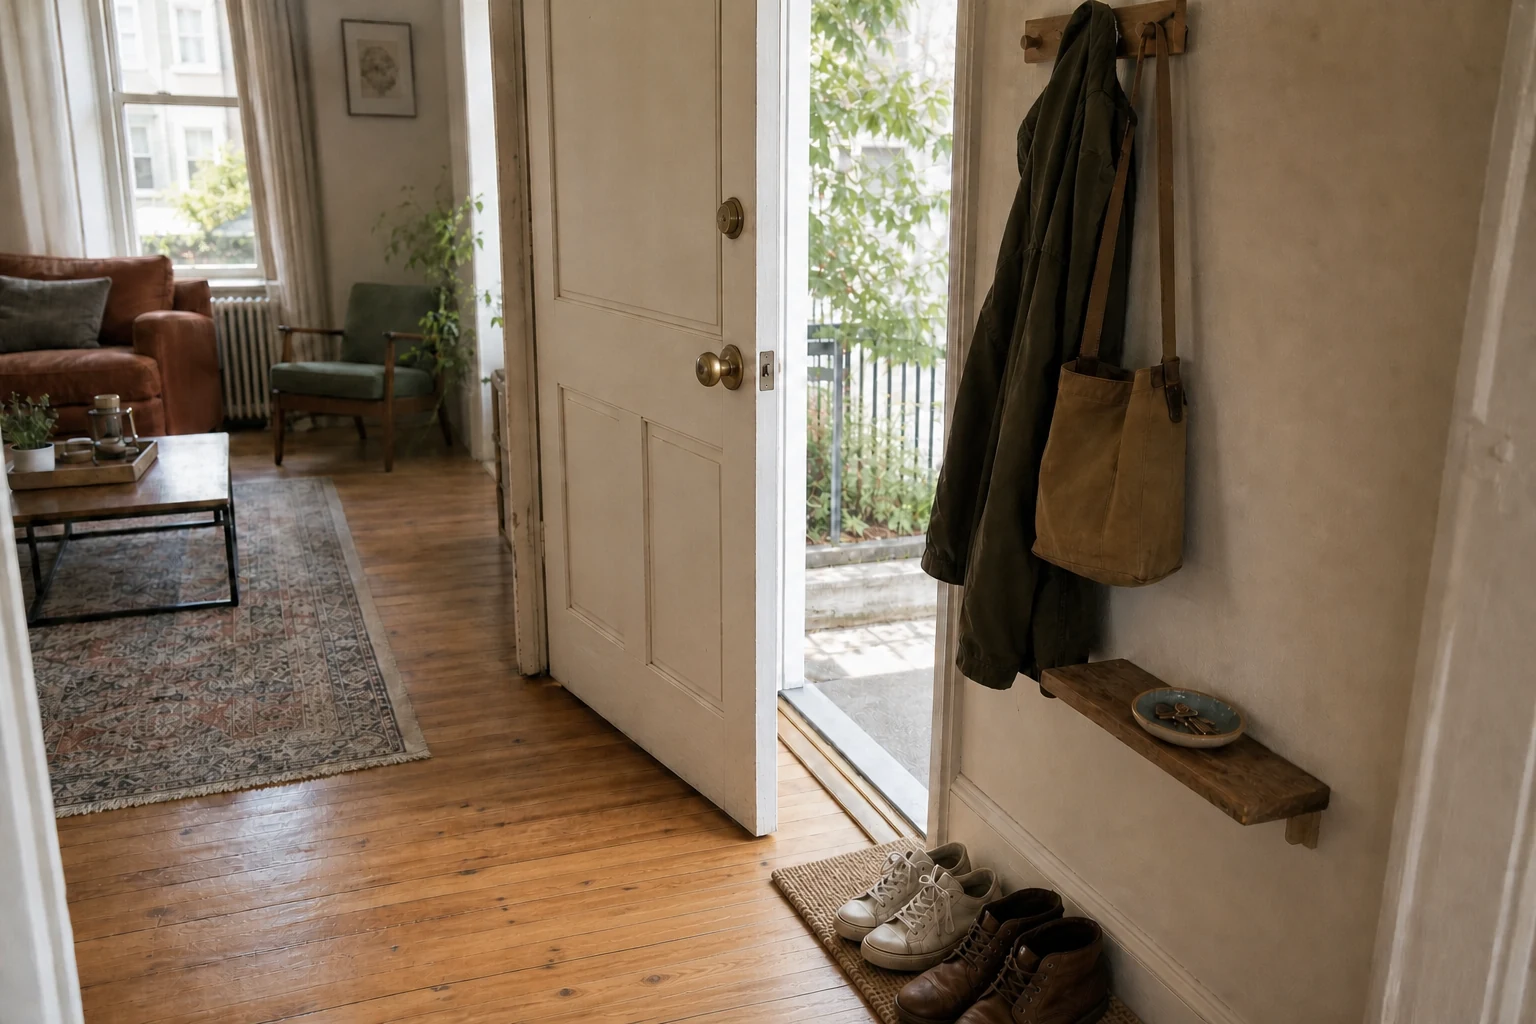
You do not need a hallway to have an entryway. You need a short, obvious sequence between opening the door and joining the rest of the home: somewhere to put the things in your hands, somewhere for the items you remove, and a clear route that never becomes storage.
When a front door opens directly into a living room, kitchen or studio, the missing boundary causes more trouble than the missing square metres. Keys travel to the nearest table. Shoes spread toward the sofa. Bags lean against the chair. Incoming paper waits where it landed because its next action is somewhere else.
This guide builds a drop zone around those real habits. It works from the door outward, gives every frequent arrival item the easiest possible home, includes layouts for narrow and shared spaces, and keeps exits, door movement, accessibility and mounting safety ahead of decorative storage.
The entryway jobs at a glance
| Entry job | Smallest useful solution | Capacity limit | Common failure |
|---|---|---|---|
| Empty hands | Stable tray, ledge or shallow drawer | Daily keys, wallet and one or two essentials | The surface becomes general storage |
| Remove shoes | Washable mat, low tray or one shelf | Current daily pairs only | Seasonal and occasional shoes migrate in |
| Put down a bag | Rated hook, basket or open cubby | One active bag per person | The bag blocks the route or overloaded hook fails |
| Handle outerwear | Current-weather hooks or nearby wardrobe route | What can hang without crowding | Wet and dry items pile together |
| Process paper | One inbox with scheduled review | Only unprocessed incoming items | The inbox becomes an archive |
| Leave the home | Small “out next” basket or hook | Items leaving on the next trip | Donations and returns live there for months |
1. Observe the arrival sequence before buying storage
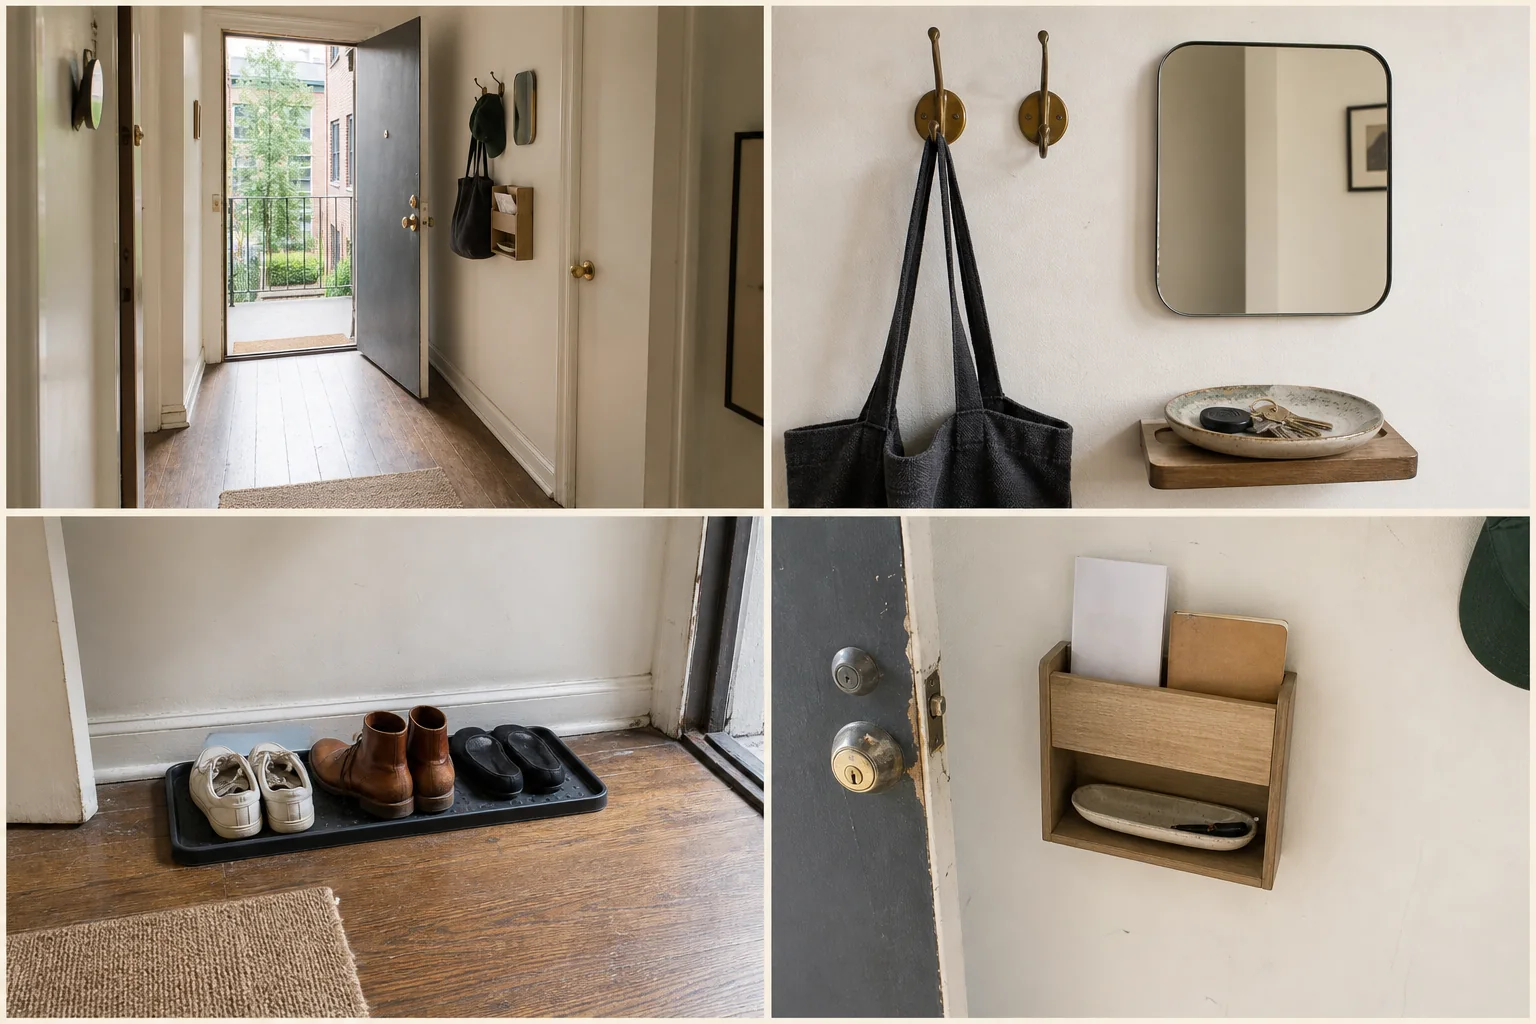
- 01Clear the swing
- 02Land keys and bags
- 03Contain shoes
- 04Route the paper
For three ordinary days, notice what happens from the moment the door opens. Do not tidy in advance. The current piles are evidence.
- What is usually in your hands—keys, phone, post, groceries, a child, mobility aid or work equipment?
- Which hand needs to operate the lock or handle?
- Where do keys and bags land without conscious effort?
- Do shoes come off immediately, somewhere else or not at all?
- What is wet, dirty, valuable, urgent or needed again tomorrow?
- Which item repeatedly travels into the home and then must travel back to the door?
The best storage home is usually close to the existing landing point, provided that point is safe. Moving keys from a console beside the door to an attractive cabinet across the room adds steps. On a rushed morning, the nearest surface will win again.
Separate arrival from storage. The daily coat may belong at the door. The out-of-season coats do not. The bag used tomorrow needs an obvious home; luggage does not. A compact entry works when it holds the present routine and sends everything else onward.
This behaviour-first method continues the principle in the Dealsmaster guide to giving repeat offenders a home: make the return action easier than the pile.
2. Protect the door and walking route first
Draw the open door on the floor plan. Include the full swing, handle, lock, letter slot, closer and any secondary security device. A console that fits beside a closed door may prevent it opening fully. A basket behind the door may trap someone inside the room or block an emergency exit.
The U.S. Fire Administration advises households to know their ways out and keep exits clear. Local fire and building requirements differ, but the practical rule is simple: coats, shoes, furniture and parcels must not narrow, hide or obstruct the required exit.
Mark a no-storage route
Use removable tape to outline the route from outside the door to the next safe destination. Walk it carrying a large bag. Open the door from both sides. Include the space a person needs to turn, close the door and operate the lock.
For universal-design context, the U.S. ADA Standards use a clear width of 36 inches (915 mm) for many accessible walking surfaces in covered buildings. That is not a blanket legal rule for every private home, but it is a useful benchmark when the entry serves a wheelchair, walker or someone who needs more stable space. Use the person’s actual mobility device and applicable local requirements.
- Keep the route free of loose shoes, bag straps and curled mat edges.
- Do not cover electrical panels, meters, shut-offs, intercoms or safety equipment.
- Keep heaters, vents and radiators clear according to their instructions.
- Make sure the door viewer, security chain and controls remain reachable.
- Provide enough light to see the floor and lock without glare. The layered lighting guide explains how to add a practical pool of light without over-lighting the room.
3. Create an entry boundary without building a wall
When the door opens into another room, a small visual change can signal “arrival ends here.” The boundary should organise behaviour, not barricade the space.
Use a floor boundary
A washable mat or properly secured low-pile rug can define the shoe and weather zone. It should allow the door to open fully, lie flat and suit the household’s mobility needs. If the floor is wet or the mat shifts, correct the hazard instead of adding another layer.
Use a wall boundary
A narrow painted panel, grouped hooks, one mirror or a shallow rail can make the entry legible without using floor space. Keep protruding items outside the route and mount them for the intended load and wall construction.
Use furniture as a soft divider
The back of a sofa, an open bookcase or a slim console can turn the living room away from the door. Check stability, sightlines and exit width. Tall furniture may need appropriate anti-tip anchoring. Do not use a decorative screen that can fall into the route or conceal the door.
Use light
A small lamp or wall light can create a welcoming arrival point at night. Keep cords out of the route and never run them beneath a mat. The boundary is the pool of light, not another object to walk around.
Choose one or two cues. A mat, console, mirror, hooks, bold paint and screen all competing around a small door will make the boundary feel busier than the room it is meant to protect.
4. Make one useful landing surface
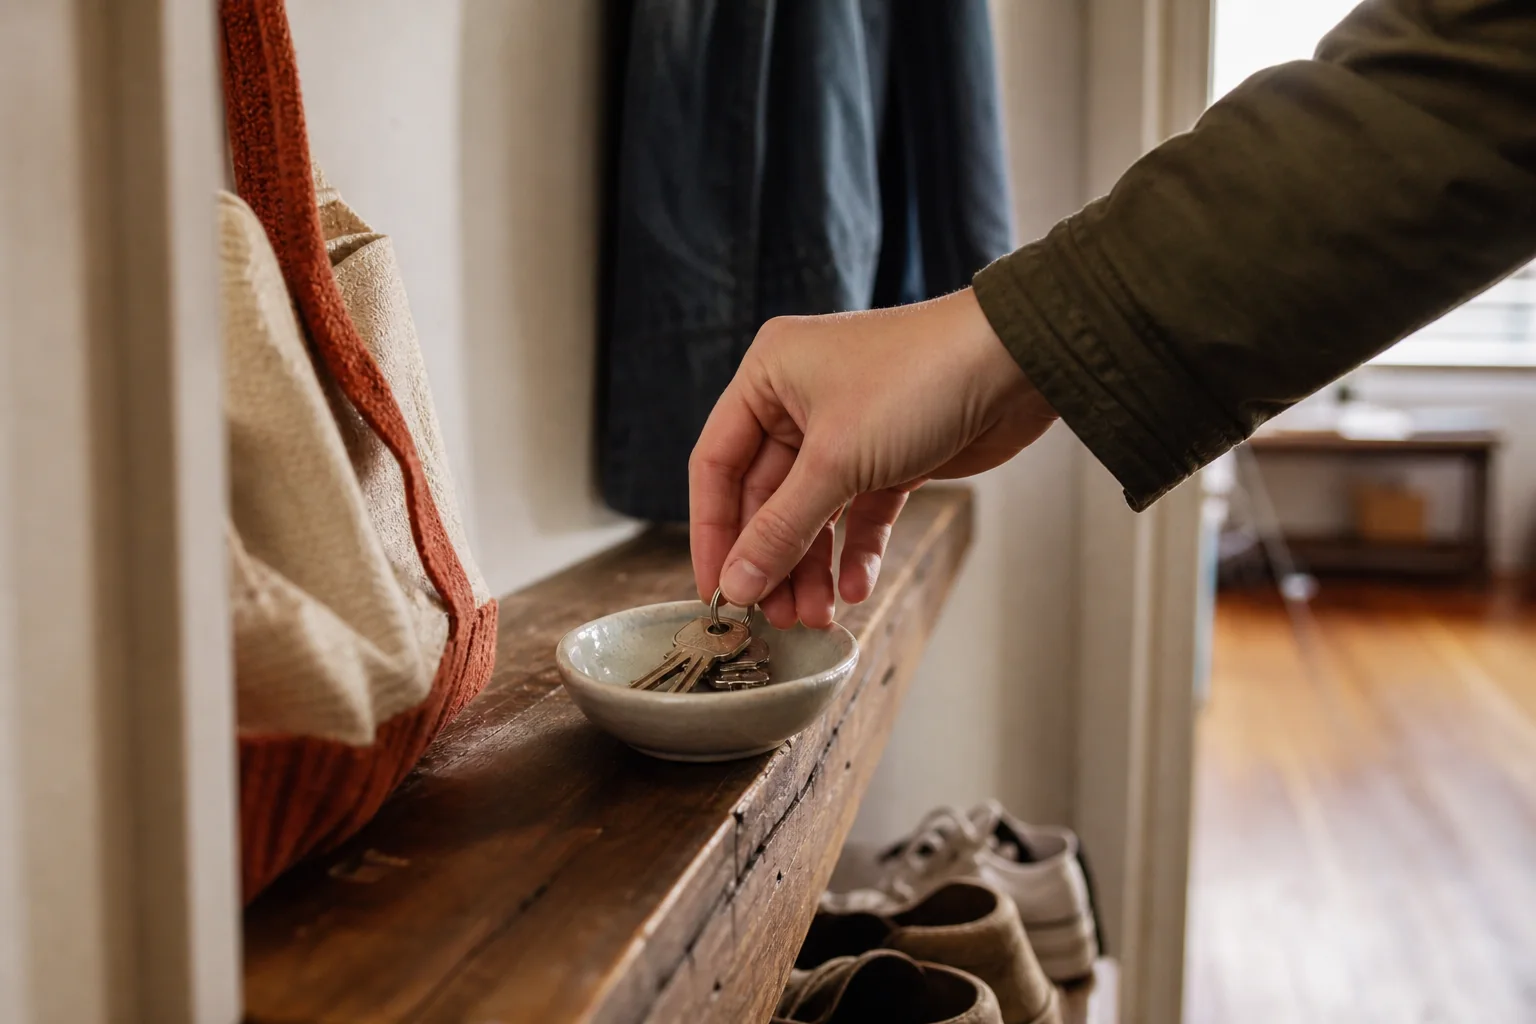
The first surface should accept the things already in your hands while you close the door. It can be a shallow wall-mounted ledge, a narrow console, the top of a shoe cabinet, one drawer, a stable shelf or a tray on existing furniture.
Size it for the daily essentials, not for future decorating. A tray that holds keys, wallet and access card creates a useful edge. A broad empty console invites post, shopping, tools, cups and objects headed elsewhere.
Give the surface rules it can keep
- Daily landing: items needed when leaving again.
- Action: one small inbox for paper that needs a decision.
- Nothing else: decorative objects should not consume the space needed to put down a parcel safely.
If valuables are visible from the open door or a window, use concealed storage positioned safely inside the home. Do not label a basket “keys” if that advertises their location to visitors or through glazing.
Keep the surface easy to wipe. Hand cream, wet keys, umbrellas and outdoor dust are less romantic than entryway photographs suggest. A practical tray protects timber and makes the whole category easy to lift for cleaning.
5. Give shoes, bags and outerwear strict capacity limits
The arrival route
Five objects need five next actions.
Keep the sequence short enough to happen with full hands.
- KeysLandOne reachable tray or hook.
- ShoesReleaseA strict floor-level boundary.
- BagHangOff the walking line.
- PaperActOut / file / recycle.
Shoes
Choose the number of daily pairs the zone can hold without entering the route. That may be one pair per person or only the shoes removed indoors. Store the rest elsewhere.
Open shoe storage dries and returns easily but looks busier. Closed storage reduces visual noise but needs suitable ventilation and enough internal depth. A low tray catches wet soles; clean and dry it before moisture affects flooring or encourages odour. Never stack shoes so high that the bottom pair cannot be returned in one motion.
Bags
A bag is heavier than it looks when filled. Use a hook, peg or cubby rated and installed for the expected load. Keep straps from dangling into the route. If wall fixing is uncertain, a stable open basket on the floor outside the path may be safer than an overloaded removable hook.
Coats
Keep only current-weather outerwear at the door. Give wet items air and separation from dry fabric, timber, electrical fittings and heat sources. If the entry opens directly to the living room, a small number of matching hangers or hooks can look calmer than a dense coat stand.
Umbrellas and weather gear
Use a washable container that cannot tip and keep water away from outlets, timber edges and slippery routes. In hot climates, the “weather” category may be hats, reusable water bottles or sun protection instead of coats. Build around local life, not a northern-hemisphere hallway template.
6. Give paper and outgoing items a next action
An entry inbox works only when it is a queue, not storage. Decide what happens to each type of arrival:
- recycling goes directly to the appropriate container;
- urgent action goes to one visible, scheduled place;
- records move to their real filing location;
- items for another household member have a defined hand-off;
- parcels and packaging leave the route immediately.
Set one review event: after the evening meal, before bin/recycling day or during a weekly household reset. A label cannot compensate for an inbox that nobody empties.
Create an “out next” limit
Returns, library books, donations and borrowed objects need a staging point near the exit. Make it small and time-bound. Only items leaving on the next planned trip belong there. Add the action to the calendar or put the return receipt with the item.
A donation bag without a destination is relocated clutter. Confirm that the receiving organisation accepts the item and choose when it will leave, as explained in the four-destination decluttering method.
7. Five layouts for homes without an entryway
No-foyer layout atlas
The entry can borrow a wall, corner, cupboard, or room edge.
Protect the door before adding the boundary.
- One wallShallow landingBest for a narrow hall.
- Behind doorHooks onlyCheck the full swing.
- Room edgeRug + consoleA visual boundary without a wall.
The door that opens into the living room
Use the wall immediately beside the door if it sits outside the swing and route. A narrow ledge with a tray, two or three rated hooks and a low shoe mat can be enough. Turn the nearest seating slightly away from the door or use the sofa back to define the living zone. Keep the entry furniture visually related to the room through colour or timber so it feels integrated rather than commercial.
The studio apartment
Choose vertical, closed or dual-purpose storage. The side of an existing wardrobe can host a safe hook system; a shallow cabinet can hold shoes and serve as the landing surface; a curtain or open shelf may create privacy only if it does not block light, ventilation or egress. Avoid making a tiny false hallway that consumes the main route.
The narrow corridor
Floor space may be too valuable for furniture. Use a shallow wall rail or recessed feature only where mounting is safe, and keep coats from swelling into the clear width. A small key tray farther inside the home can be better than squeezing a console beside the door.
The kitchen entrance
Keep outdoor items away from food-preparation surfaces. Use one end panel, a wall outside the work triangle or a closed cabinet dedicated to arrival items. Do not place bags on a cooker, worktop used for food, or where they block appliance doors.
The shared family entrance
Create one repeated unit per person—hook, cubby or basket—at a reachable height, plus shared zones for shoes and outgoing items. Capacity should reflect age and routine. Younger children need simple picture labels and safe, lightweight items; adults still need to reset what children cannot manage.
9. Renter-friendly and safe mounting options
Start with permission. A product described as removable can still lift paint, mark plaster, fail under load or breach a lease.
Freestanding options
- a stable shallow console with enough depth not to tip;
- a low shoe cabinet used according to its anti-tip instructions;
- a weighted coat stand outside the route, loaded evenly;
- a washable tray or basket on furniture you already own;
- an over-door organiser only if it does not damage the door, prevent latching or interfere with fire/smoke performance.
Removable fittings
Follow the exact surface preparation, load, placement, curing and removal instructions. Ratings may assume ideal paint, temperature and loading direction. Do not use a light-duty adhesive for a heavy bag, shelf, mirror, framed glass or anything that could injure someone if it falls.
Permanent fittings
Match the fixing to the wall construction and total expected load. Hidden services may be present. If you cannot identify a safe fixing method, ask the property owner or a competent installer. Tall or top-heavy furniture should follow its manufacturer-supplied anti-tip system; the U.S. Consumer Product Safety Commission recommends anchoring furniture and televisions to prevent tip-over incidents.
No-drill does not mean no-risk. A heavy freestanding hall tree, leaning mirror or overfilled shoe cabinet can be more hazardous than a correctly fixed solution.
A 30-minute no-entryway setup
- Minutes 0–5: clear the route. Remove everything from the door swing and the path into the home.
- Minutes 5–10: collect the repeat arrivals. Gather keys, daily shoes, active bags, outerwear, post and outgoing items.
- Minutes 10–15: edit to the present routine. Move seasonal, duplicate and long-term items elsewhere.
- Minutes 15–20: assign existing containers. Use a tray for pocket items, a mat or low container for shoes and one safe place for the active bag.
- Minutes 20–25: create the action routes. Set one paper inbox and one small “out next” point with a scheduled review.
- Minutes 25–30: arrive again. Step outside and come in carrying what you normally carry. Fix the first awkward action before styling anything.
Use the temporary system for one week. Only then consider buying a shelf, hook rail or cabinet. You will know the categories, capacity and exact location it must serve. If the entry problem is part of wider room friction, continue with the no-buy home reset before adding storage.
The five-minute entry reset
- Return keys and daily essentials to the tray.
- Move extra shoes and coats to longer-term storage.
- Empty the paper inbox into action, filing or recycling.
- Take the “out next” item to its next legitimate destination.
- Dry the mat or umbrella container and restore the clear route.
When the same category overflows every day, change the capacity or location. Do not turn a five-minute reset into a moral test. The system is there to support the household.
Frequently asked questions
What is the minimum furniture needed for an entryway?
None, necessarily. A tray on existing furniture, a safe place for the active bag and a bounded shoe area may be enough. Protect the route before adding a console or bench.
How deep should a narrow entry console be?
As shallow as the function allows while remaining stable and usable. Tape the proposed depth on the floor, open the door and walk the route. Product stability and anti-tip instructions matter more than a generic furniture dimension.
Where should keys go in a home with no hallway?
Near the natural landing point but not visible or reachable from outside. Use one tray, drawer or hook that requires no extra sorting. Everyone who needs the keys should agree on the location.
How do I hide shoes when the door opens into the living room?
Limit the category to current daily pairs, then use a low closed cabinet, basket or furniture with ventilated storage if suitable. The storage must not narrow the route, block the door or trap moisture.
Can a rug define an entryway?
Yes, if it is washable, stable, low enough for the door and appropriate for mobility needs. Keep edges flat and the route clear. A change in paint, lighting or furniture orientation can define the zone without adding a floor transition.
What should I do with post and paperwork?
Use one small inbox only for unprocessed items and empty it on a scheduled day. Recycle obvious waste promptly, move records to their real file and put urgent actions in the system you already check.
How do I stop the drop zone becoming clutter?
Give it a strict present-tense capacity: active shoes, active bags, current outerwear, unprocessed paper and items leaving next. Everything else moves to longer-term storage. Reset the entry at an existing daily event.
Is it safe to use over-door hooks on the front door?
Only if the door and product permit them and the hook does not prevent the door closing, latching or performing its fire, smoke, security or weather function. Check the lease and building requirements. When uncertain, use another location.
An entryway is a sequence, not a room
Give your hands somewhere to land. Give the daily shoes and bag a bounded home. Send paper and outgoing objects toward their next action. Keep the doorway and route unquestionably clear.
When those few movements become easy, the front door stops spilling across the home. The entry may still be part of the living room—but it will finally behave like an entry.
About the visuals in this guide
These are original Dealsmaster editorial illustrations produced with AI assistance for explanation and inspiration. They do not document a real household, tested installation, reader result, or professional inspection.
Safety and accessibility sources
The route and mounting guidance here is general. Fire, accessibility, rental and fixing requirements vary by property and location.
- U.S. Fire Administration: Home Fire Escape Plans
- U.S. Fire Administration: Home Fire Safety—Keep Exits Clear
- U.S. Department of Justice: 2010 ADA Standards for Accessible Design
- U.S. Consumer Product Safety Commission: Anchor It! Furniture and TV Safety
- U.S. National Institute on Aging: Home Safety Tips for Older Adults
Editorial note: The 36-inch/915 mm accessible-route figure is cited as a universal-design reference from the U.S. ADA Standards, not as a claim that the standard governs every private home.