The best place for a kitchen tool is not where it fits. It is where the next action needs it. A colander belongs near the sink if that is where you rinse vegetables. Cooking oil belongs near preparation—but not so close to the hob that heat or flame makes the location unsafe. Lunch containers belong together only if their lids can be found in the same movement.
Small kitchens become frustrating when storage is organised by appearance instead of sequence. Everyday items occupy distant cupboards, rarely used appliances take the easiest reach and the one clear work surface becomes a permanent home for packaging.
This guide helps you map how food moves through your kitchen—unloading, storing, preparing, cooking, serving and cleaning—then assign the limited storage around that route. It includes renter-friendly options, food-safety notes and adaptations for different bodies, diets and cooking traditions.
Small-kitchen organisation: the quick summary
| Kitchen action | Keep nearby | Common mistake |
|---|---|---|
| Unload and put away | A clear landing area, food storage and refrigerator access | The worktop is already filled with appliances and packaging |
| Prepare | Boards, knives, bowls, measuring tools and a bin or scrap container | Tools are spread across the kitchen, so the cook crosses the route repeatedly |
| Cook | Appropriate pans, utensils and ingredients used during cooking | Flammable items and overcrowded storage sit too close to the stovetop |
| Serve and eat | Everyday plates, bowls, cutlery and serving tools | Occasional tableware occupies the easiest shelf |
| Clean and reset | Dishwashing tools, cloths and approved cleaning products | Cleaning supplies mix with food or block access beneath the sink |
1. Map the way food and people move through the kitchen
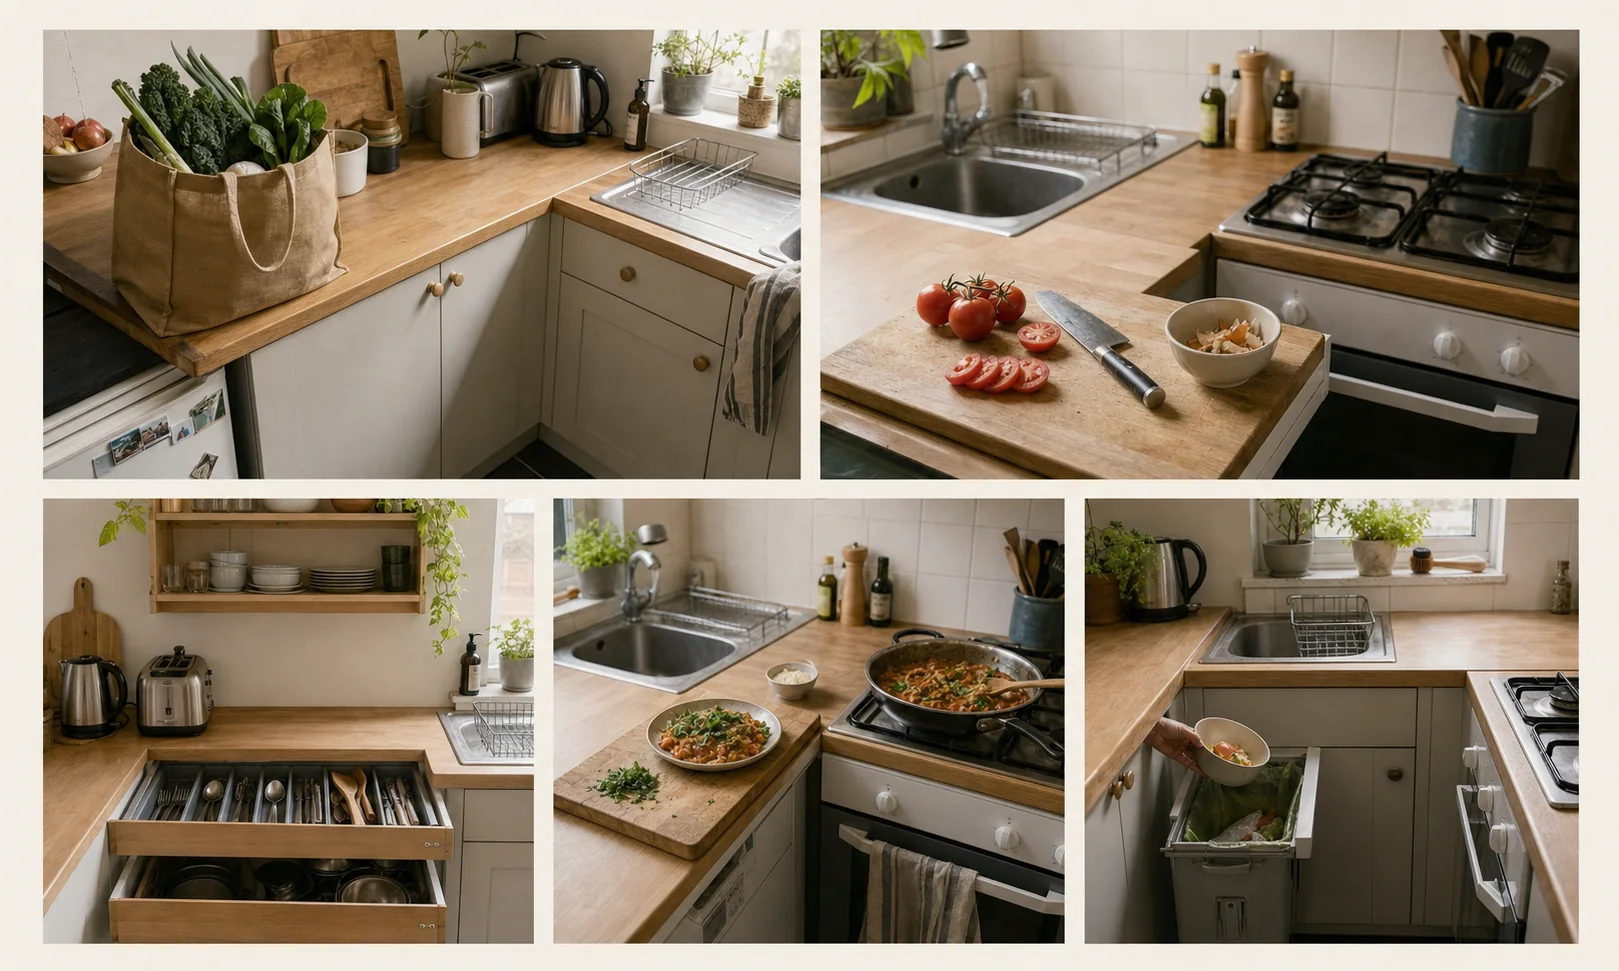
- 01Bag lands
- 02Prep begins
- 03Daily reach
- 04Heat + serve
- 05Clean return
Do not begin by emptying the cupboards. Cook one ordinary meal and notice the route.
Write down:
- where grocery bags first land;
- where fresh, frozen and dry foods are stored;
- which patch of worktop you use for preparation;
- how often you cross the room for a knife, pan, seasoning or cloth;
- where hot food waits before serving;
- where used tools gather and how they reach the sink or dishwasher;
- where packed lunches, drinks or breakfast happen outside the main meal routine.
A phone photograph taken halfway through preparation is especially revealing. The things on the worktop are not automatically clutter; many are evidence that their proper homes are too far away or too difficult to access.
Count frequency, not imagined importance
Mark each tool or ingredient as daily, weekly, occasional or seasonal. Prime storage—from roughly hip to shoulder height for many standing adults—should generally support frequent use, but the correct reach varies by person. A heavy mixer used monthly may not deserve the centre of the worktop; a plain rice pot used every day probably does.
Cooking traditions differ. A wok, mortar, pressure cooker, flatbread board, coffee pot or large family rice cooker is not “too specialised” when it supports the household’s regular food. Organise around real use rather than a generic list of kitchen essentials.
2. Protect one uninterrupted preparation zone
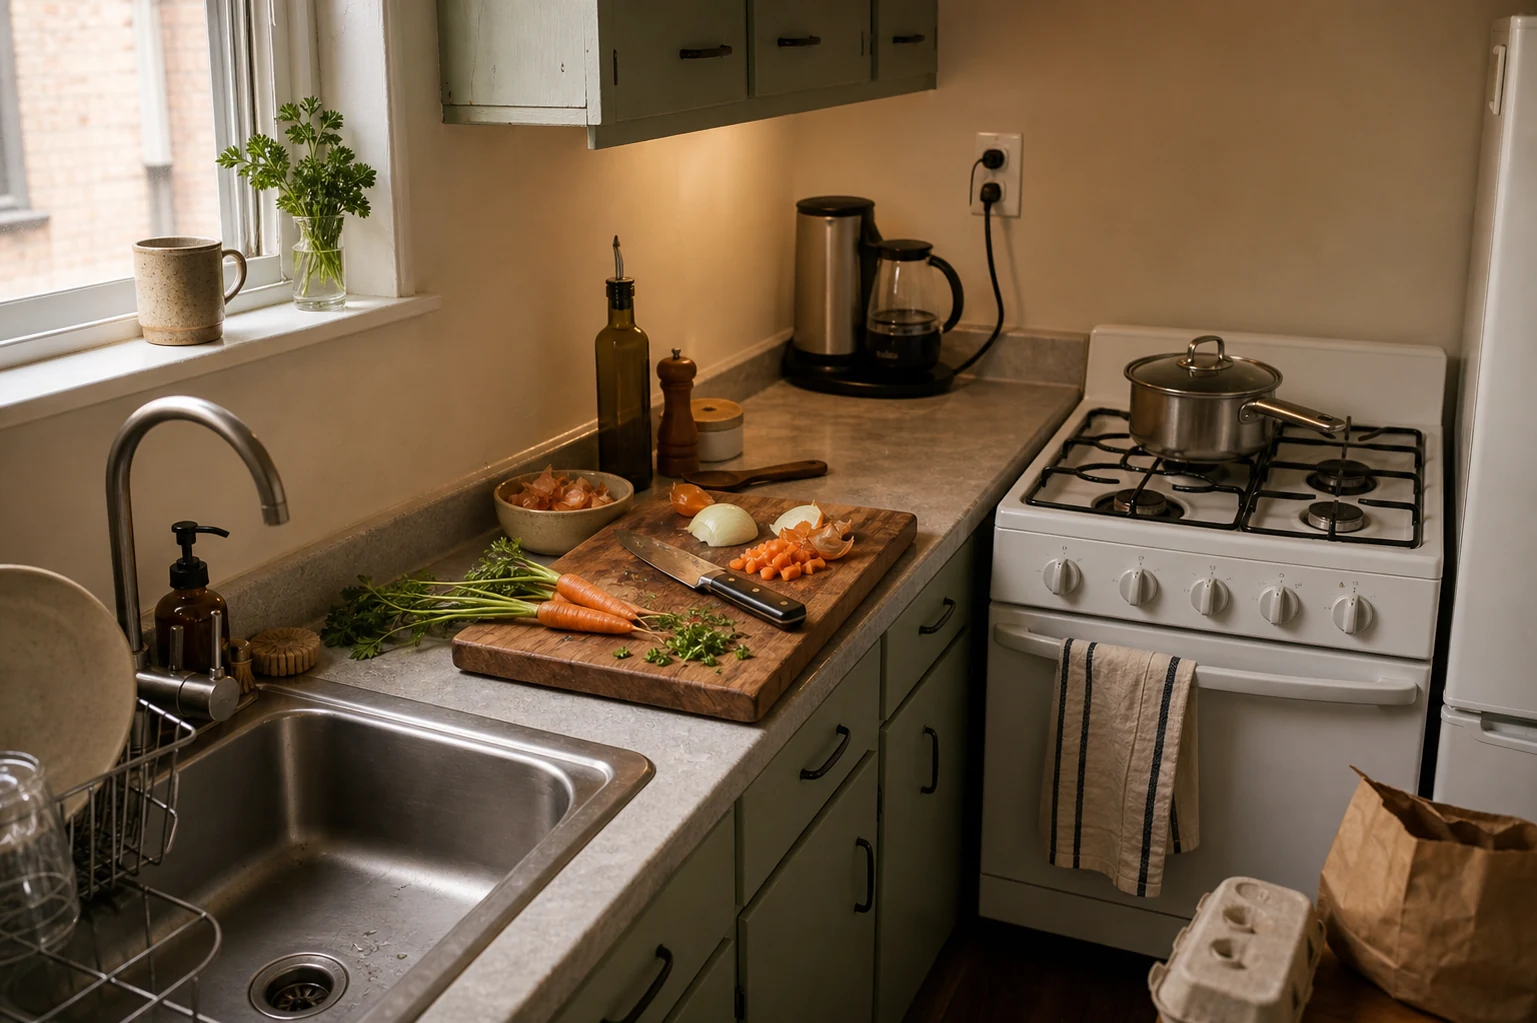
A compact kitchen does not need a large empty island. It needs one clear, stable surface where a board or bowl can sit without balancing between the kettle, post and drying dishes.
Choose the worktop section with the best combination of light, reach to water and safe distance from heat. The exact width depends on the task and user; even 18–24 inches (46–61 cm) of genuinely clear surface can be more useful than a metre or three feet broken into small gaps.
Remove anything that does not serve preparation at least several times a week. Appliances can earn a permanent place when moving them is unsafe or impractical, but position them to preserve the largest continuous patch.
Give the preparation zone a small support system
- boards and knives stored safely within easy reach;
- one mixing bowl or colander nearby;
- a clear route to waste, compost or food-scrap collection where locally appropriate;
- frequent seasonings outside the splash and heat zone;
- a cloth or towel stored safely away from the stovetop;
- enough clear space to separate raw and ready-to-eat preparation when required.
Do not store loose knives in an overcrowded drawer. Use a suitable block, sheath, magnetic system installed securely and away from children, or drawer insert made for the purpose.
3. Build five practical zones around the sequence
The arrival zone
Reserve a small landing point for grocery bags before food moves to storage. It may be the end of the worktop, a sturdy table or a clear section beside the refrigerator. Keep reusable bags nearby only if they do not consume the landing space. If the exterior door opens directly into the kitchen, adapt the no-entryway drop-zone method so outdoor bags, shoes and post remain outside food-preparation areas.
The preparation zone
Keep the tools that turn ingredients into a meal: board, knife, bowls, measuring tools and the oils or seasonings used frequently. Store duplicates and specialised tools elsewhere.
The cooking zone
Place suitable pans and cooking utensils near the hob without crowding it. The U.S. Fire Administration advises staying in the kitchen for frying, boiling, grilling or broiling, turning pot handles away from the edge and keeping anything that can catch fire away from the stovetop. Do not use the area above or beside heat as convenient storage for paper, packaging, oils, cloths or wooden tools.
The serving zone
Everyday plates, bowls, cups and cutlery should be easy to reach from both preparation and the eating area. If several people set the table, position these items where they can help without crossing directly behind the cook.
The cleaning zone
Keep dishwashing tools near the sink and approved cleaning products in their original labelled containers, stored according to instructions and away from food. Do not mix products. If children or vulnerable household members are present, use appropriate secure storage.
Zones can overlap. In a one-wall kitchen, a single drawer may support preparation on the left and serving on the right. The aim is fewer unnecessary movements, not rigid boundaries.
4. Use the easiest reach for what you use most
One-meal route
Every double-back is a storage clue.
Trace the actual meal before reorganising every cabinet.
- StoreIngredientsVisible, rotated, and safe.
- PrepClear landingOne uninterrupted work surface.
- CookTools at reachKeep heat and routes safe.
- WashEasy returnThe loop closes where items live.
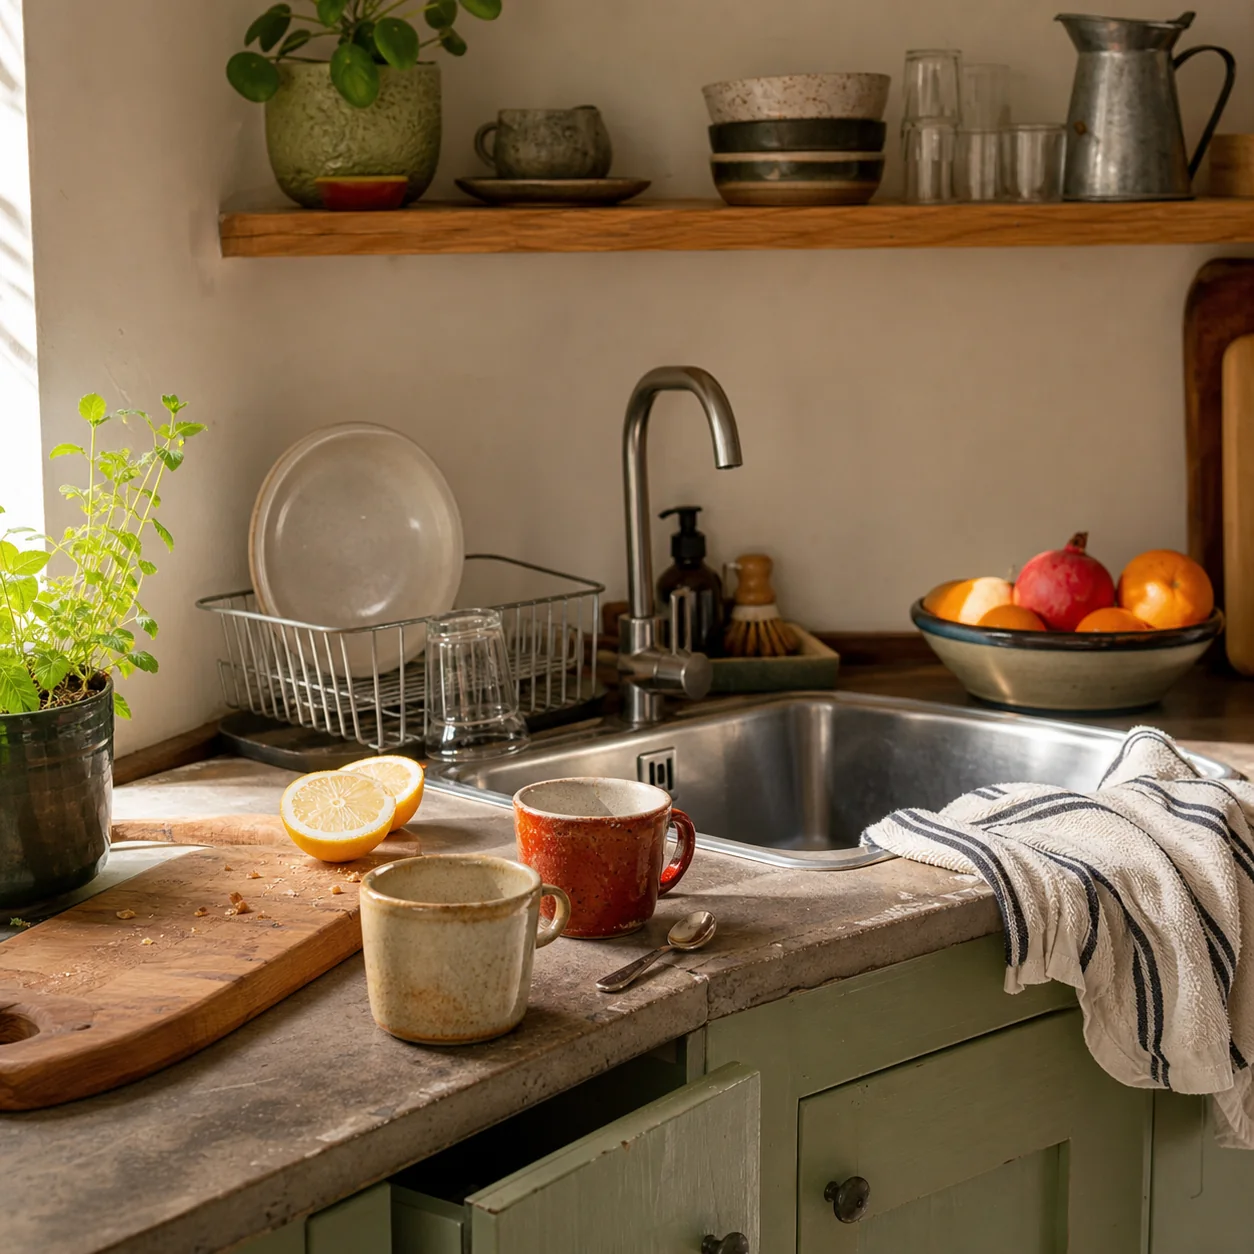
Many kitchens preserve the most accessible shelves for matching dishes used twice a year while daily pans live in a deep corner. Reassign storage according to frequency, weight and the user’s body.
A practical order is:
- easy reach: daily plates, cups, staple ingredients and frequently used tools;
- lower storage: heavier pans or appliances when the user can lift them safely;
- upper storage: lightweight, occasional items that can be retrieved without unsafe climbing;
- least convenient corners: genuinely seasonal or rarely used equipment.
This order is not universal. Someone who cannot bend should not store heavy cookware low. Someone with limited shoulder movement may need daily dishes below traditional wall-cupboard height. A seated cook may need knee space, reachable controls and work surfaces planned around their position.
The ADA Standards use 15–48 inches (380–1220 mm) for many unobstructed adult reach ranges in covered settings, but those figures are not a substitute for an individual kitchen assessment and do not automatically govern every private home. Use the actual reach, strength and movement of the cook, plus applicable local requirements.
5. Make drawers and cupboards work harder—not fuller
A small cupboard gains capacity when every item can still be removed. Stacking five pans may fit on paper, but the system fails if the bottom pan is used daily.
Use simple internal structure
- group pans by the meals they cook, not only by diameter;
- stand suitable boards, trays and lids vertically so each remains visible;
- use one shallow tray for small tools that otherwise migrate;
- add a shelf riser only after measuring the cupboard and the objects;
- keep container bases and lids in adjacent, bounded zones;
- avoid nesting so many pieces that retrieving one becomes a project.
Test dividers with sturdy clean boxes before buying a fitted system. Measure internal width, depth and height around hinges and pipes. Leave clearance to lift a tray and spare room to return washed items.
The back of a suitable door can hold lightweight items only when the organiser is rated for the load and does not prevent the door closing. Do not overload cabinet hinges or install storage where contents can fall onto a person or hot surface.
If the cupboard contains duplicates, use the keep-or-release questions in our decluttering and organising guide before buying more inserts.
6. Organise food for visibility, rotation and safety
Decanted jars are optional. Original packaging often carries ingredients, allergen information, preparation directions, batch details and dates that should not be lost. If you decant a suitable dry food, keep the needed information, label the container clearly and use one that is appropriate for food storage.
Group food according to the decisions you make:
- breakfast;
- quick meals;
- baking;
- snacks or packed lunches;
- frequent seasonings;
- back stock.
Keep the open package in front of an unopened duplicate. Before shopping, check the group rather than relying on memory. A simple “use next” area can prevent several nearly empty packages being forgotten.
Do not store food beside household chemicals. Check packages for damage and follow storage directions. If pests, damp, extreme heat or unreliable power affect the kitchen, adapt the system to local food-safety guidance rather than prioritising open shelves.
Allergy management may require dedicated containers, utensils, preparation areas or cleaning procedures. Follow the medical and food-safety guidance appropriate to the household; a decorative label system is not enough to prevent cross-contact.
7. Arrange the refrigerator so food stays visible and separated
Reach-band map
Frequency decides the shelf.
The most-used safe items belong in the easiest reach—not in the prettiest container.
- HighRare + lightOccasional items only.
- Eye to waistDailyThe easiest, clearest reach.
- LowHeavy + stableKeep hazardous items secured as needed.
The U.S. Food and Drug Administration advises keeping a refrigerator at or below 40°F (4°C) and avoiding such tight packing that cold air cannot circulate. Appliance designs and local guidance differ, so follow the manufacturer’s instructions and use an appliance thermometer where appropriate.
Organise for safe separation and quick use:
- keep ready-to-eat foods protected from raw foods and their juices;
- store raw meat, poultry or seafood in a suitable leak-resistant container positioned so it cannot drip onto other food;
- give leftovers and opened items a visible “use soon” area;
- keep frequently used ingredients where they can be seen without holding the door open;
- do not rely on smell or appearance alone to judge food safety;
- follow current local guidance and product labels for storage times and temperatures.
Clear bins can be useful for loose small items, but too many containers reduce flexibility and airflow. Begin with one category that repeatedly disappears.
Freezer storage should remain labelled and accessible. Flatten suitable foods only when packaging and safety guidance allow, group by use and avoid creating an unstable stack that falls when the door opens.
8. Adapt the kitchen to how your household cooks
The weeknight one-pan cook
Give the everyday pan, board, knife and staple seasonings the best positions. Store specialist bakeware or entertaining pieces outside the main loop. Keep a clear landing point for hot cookware using an appropriate heat-safe surface.
The baker
Group dry ingredients, measuring tools, mixing bowls and trays close to the largest usable surface. Keep heavy equipment where it can be moved safely, or leave it out only if it is used often enough to justify the worktop.
The packed-lunch household
Create one container-and-lid zone, one shelf for lunch components and one morning assembly area that does not collide with hot breakfast preparation. Children can reach appropriate items without entering the active cooking zone.
The batch cook
Protect space for cooling and portioning according to current food-safety guidance. Keep freezer containers visible and label contents and dates. Do not overcrowd the refrigerator or leave perishable food at room temperature longer than official guidance allows.
Several cooks or cuisines
Give each frequent method a compact kit: perhaps tea, coffee, spice grinding, flatbread, stir-fry or rice preparation. Store tools with the ingredients and surface they use. Label in the languages or symbols that make sense to the household, while keeping original safety information.
No cooking style is the default. A practical kitchen respects the food actually prepared there.
9. Renter-friendly and accessible small-kitchen options
For renters: use freestanding shelf risers, removable drawer dividers, a stable trolley that does not narrow the route, and over-door storage only when it is rated and does not damage or obstruct the door. Check the lease before drilling, painting or replacing fittings. Keep removed parts labelled if reinstatement is required.
For accessibility: prioritise a clear route, stable work position, usable handle types and comfortable reach over maximum capacity. Move frequently used ingredients out of deep upper shelves. Use pull-out trays only when their operating force and stability suit the user. Strong contrast between worktop edges, handles and the floor may help some people, while glare and highly patterned surfaces may make tasks harder for others.
Around 36 inches (915 mm) is a useful accessible-route reference, but turning, passing and appliance-door clearances can require more. Private homes and jurisdictions differ. An occupational therapist, access consultant or qualified kitchen professional can help plan for a specific person and property.
For families: keep knives, medicines, cleaning products, matches and other hazards in appropriate secure storage. Avoid placing treats or toys above tall units where children may be tempted to climb. Follow current product and local child-safety guidance.
10. The 60-minute small-kitchen reset
- Minutes 0–10: observe. Photograph the worktop and write the sequence of one common meal.
- Minutes 10–20: recover the preparation zone. Remove rubbish, packaging and items that belong elsewhere. Do not empty every cupboard.
- Minutes 20–30: gather one tool category. Choose knives, pans, containers or utensils; remove clear duplicates and place the frequent items near use.
- Minutes 30–40: reset one food group. Put open packages first, create a use-soon point and check labels and damage.
- Minutes 40–50: protect safety. Clear flammable items from the stovetop area, separate food from chemicals and check that ventilation and routes remain open.
- Minutes 50–60: test the loop. Simulate unloading, chopping, cooking, serving and cleaning. Move the first item that forces an unnecessary crossing.
Use the complete no-buy home reset if the kitchen first needs a wider edit of lighting, surfaces and items borrowed from other rooms.
The small-kitchen organisation checklist
- One clear landing point accepts grocery bags.
- One uninterrupted preparation area fits the tasks you perform.
- Everyday tools live near the step where they are used.
- Frequently used items occupy the safest, easiest reach.
- Cupboard doors, drawers and appliance doors open without collision.
- Raw and ready-to-eat food can be kept separate.
- The refrigerator is at the appropriate temperature and not packed too tightly for airflow.
- Flammable objects are kept away from the stovetop.
- Food and cleaning products are stored separately.
- Original labels and essential allergen or safety information remain available.
- Heavy items can be lifted without an unsafe reach or twist.
- Containers are tested and measured before purchase.
- The system reflects the foods and methods the household actually uses.
Frequently asked questions
Where should I start when every cupboard is full?
Clear one preparation zone, then choose one high-pressure category such as pans, food containers or mugs. Gather only that category, remove obvious duplicates or unusable items and return the frequent pieces near their point of use.
Should I decant all dry food into matching containers?
No. Decant only when a suitable container improves freshness, pest protection, visibility or access. Preserve ingredient, allergen, date and preparation information, and use containers intended for food.
What should stay on a small kitchen worktop?
Keep appliances or tools used frequently enough that moving them creates more friction than their footprint. Protect one continuous preparation patch and keep paper, cloth, packaging and oils away from the stovetop.
How do I store pan lids in a tiny cupboard?
Test vertical storage in a stable divider, a purpose-made door rack rated for the load, or beside the pans they fit. Do not overload hinges or create a stack that falls when the cupboard opens.
Are open shelves good for a small kitchen?
They can keep daily objects visible and make walls feel lighter, but they require cleaning and disciplined capacity. Use them for frequently washed or used items, install them correctly and avoid positions above heat where grease and safety become concerns.
How can two people cook in a small kitchen?
Assign separate tasks and zones—one person prepares while another washes or serves—and keep the route between them clear. Store shared tools where neither person must reach across heat or another body.
How do I make a small kitchen look calmer?
Clear one continuous surface, reduce packaging left on display, group tools by action and repeat a limited material or colour. Calm should not hide labels, food-safety separation or frequently used equipment.
The right kitchen system follows the meal
A compact kitchen does not need every organisational product. It needs fewer unnecessary crossings, a clear place to prepare food and storage that supports safe, familiar actions.
Watch one real meal from bag to table to clean-up. Move the first tool that interrupts the sequence. Then repeat. The kitchen will become easier not because every jar matches, but because the room finally understands how you cook.
About the visuals in this guide
These are original Dealsmaster editorial illustrations produced with AI assistance for explanation and inspiration. They do not document a real household, tested installation, reader result, or professional inspection.
Food-safety, fire and accessibility sources
- World Health Organization: Five Keys to Safer Food Manual
- U.S. Food and Drug Administration: Are You Storing Food Safely?
- U.S. Fire Administration: Cooking Fire Safety
- U.S. Fire Administration: Cooking Fire Safety Pictographs
- U.S. Department of Justice: 2010 ADA Standards for Accessible Design
- U.S. Environmental Protection Agency: What You Can Do
Editorial note: Food storage, fire, appliance, accessibility and rental requirements vary. Follow current product instructions and the rules and public-health guidance that apply where you live.