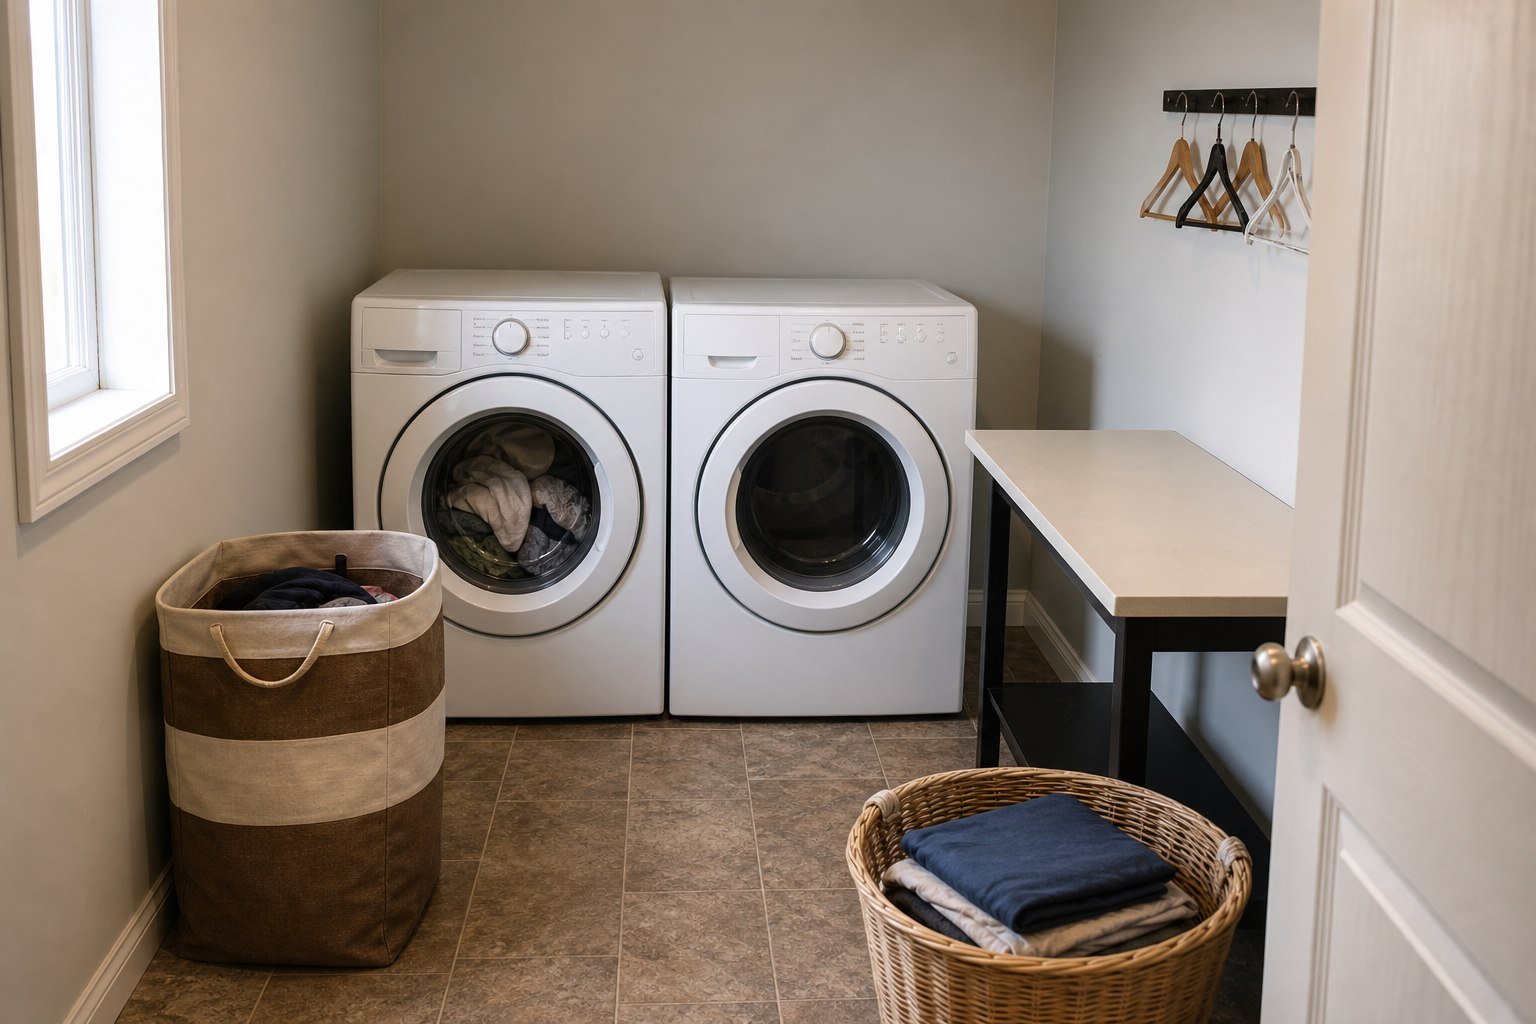
The most useful surface in a small laundry room is often the empty one. Not another shelf. Not a row of matching jars. One clear place where a hamper can arrive or a clean load can land without sitting on top of detergent, pocket finds or yesterday’s ironing.
Build the room around the route of one awkward load: arrive, check, wash, transfer, dry, finish and leave. Put current-use supplies where that sequence needs them. Move reserve stock elsewhere. Decide honestly whether large-item folding belongs in this room at all.
The goal is not to make laundry photogenic. It is to complete a load without creating a temporary pile that quietly becomes furniture.
The one-load plan
- Follow the load that causes the most trouble from hamper to wardrobe.
- Mark every backtrack, blocked door and “put it here for now” pile.
- Protect the appliance approach and one landing place.
- Keep only current-use supplies near the washer.
- Prepare the drying choice before the cycle ends.
- Give the finished load an exit route.
- Check electrical, venting, moisture, service and child-safety limits before adding storage.
Small-room design advice often begins with vertical space. Laundry works better when it begins with time: what must be available at each handoff, and what can leave when that handoff is over?
Follow the awkward load, not an imaginary average
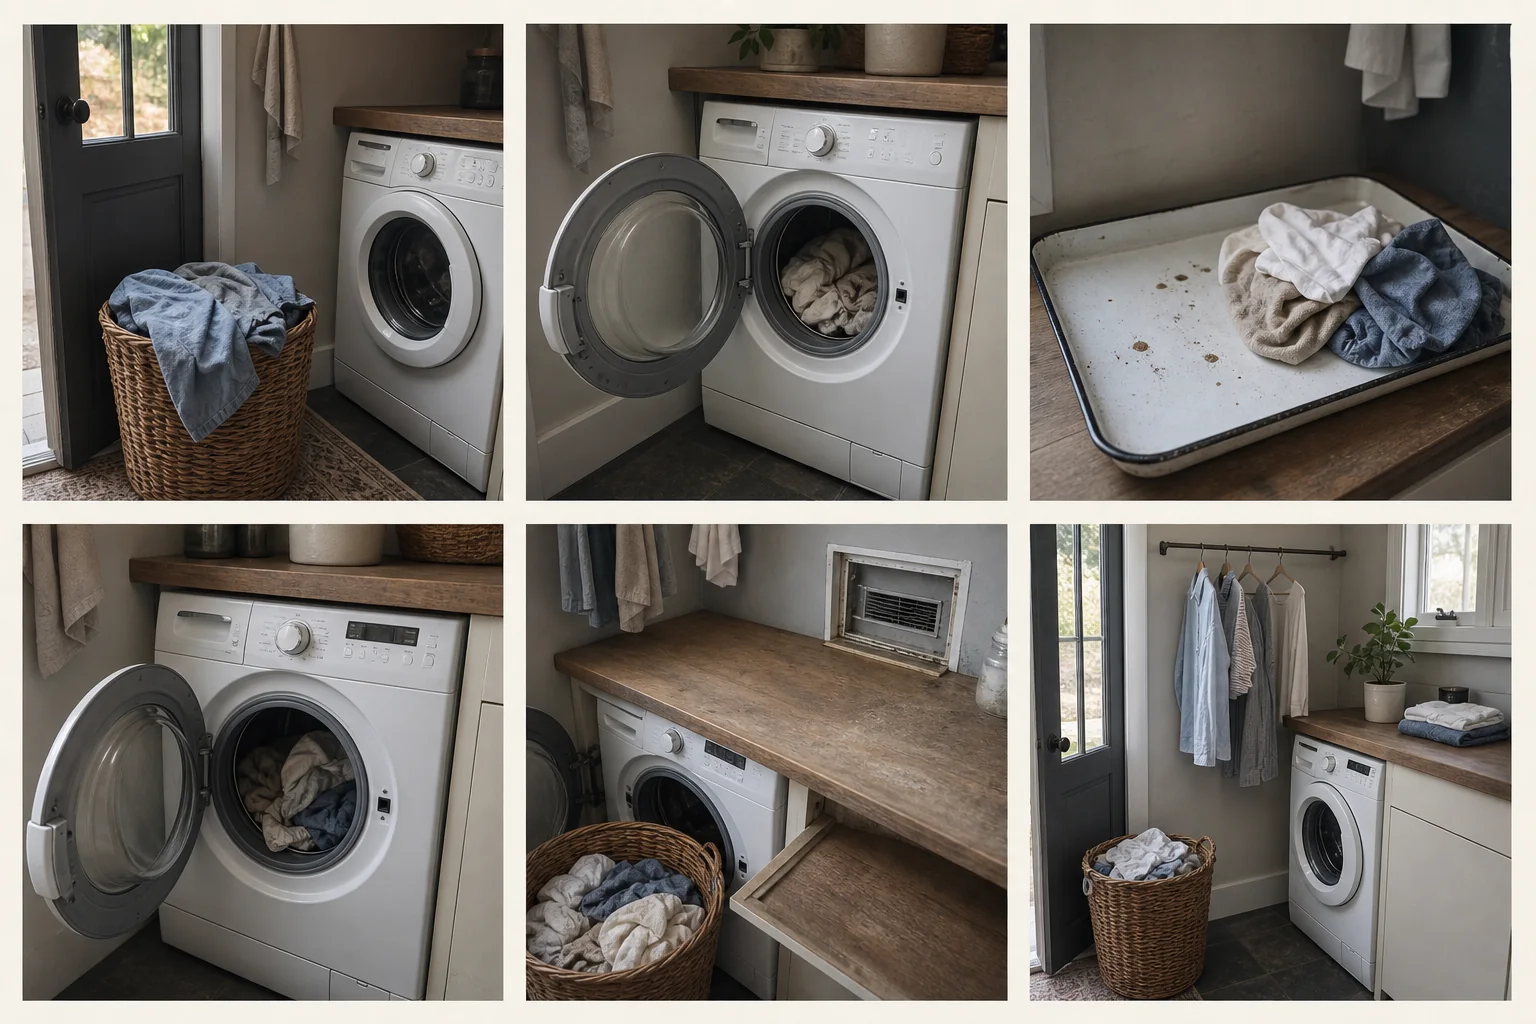
- 01Collect
- 02Load
- 03Check pockets
- 04Transfer
- 05Land + service
- 06Return
Choose the load most likely to break the routine. It might be school clothes with full pockets, shirts that need hangers, dark socks that split up, bulky bedding or a wet-weather load that cannot go straight into a dryer.
Walk it through and write down the answers:
- Where does the hamper stop on arrival?
- Where are pockets checked and stains noticed?
- Can the machine door or lid open with the hamper present?
- Where do the detergent and stain product live?
- What happens to hang-dry, flat-dry and tumble-dry pieces?
- Where does clean fabric wait?
- Where are small items paired and shirts hung?
- How does the finished load leave?
Circle any answer that means “on top of something else.” Detergent on the folding counter and clean socks on the washer are not storage solutions; they are two jobs competing for the same landing place.
Sketch the appliance edges, room and machine door arcs, utilities, vent route and service access. Exact spacing, stacking, ventilation, drainage and installation requirements are product- and site-specific. The appliance instructions, applicable local requirements and qualified installers outrank a photograph on the internet.
Do not improve the route by hiding the route. A full-depth trolley pushed between a dryer and the wall may look efficient from the doorway while pinching a vent, covering an outlet or making a shutoff inaccessible.
A worked example: the cupboard that became a storeroom
Consider a 1.65-by-2.1-metre room (about 5 feet 5 inches by 6 feet 11 inches). These are example dimensions, not a recommended minimum. A front-loading washer and dryer sit side by side. The door opens inward. One shelf runs above the machines and a short hanging rail sits on the opposite wall. Two adults and one child use the room.
On laundry day the hamper blocks the door. Stain spray, coins and hair clips spread across the washer top. Bulk detergent, cleaning cloths and spare light bulbs occupy the shelf. Hangers live in a bedroom. Clean clothes travel to the sofa because the room’s only landing surface has become permanent product storage.
No new cabinetry is needed. Five small decisions make the workflow legible.
The hamper gets an arrival address. Painter’s tape marks a spot clear of the room door and both appliance doors. If the actual hamper does not fit, it waits just outside during loading rather than becoming floor storage.
Pocket checking gets a small washable tray. It holds the coins, clips and receipts found in the current load, then gets emptied. A large “miscellaneous” basket would only preserve the unfinished task.
Current-use products stay; reserve products leave. One detergent and the stain product used by this household remain securely near the washer without blocking controls or services. Refills and unrelated stock move out. With a child present, concentrated laundry packets stay in original packaging, locked and out of sight and reach.
The landing surface stays empty by rule. In this measured room it is 55 by 70 centimetres because that fits the space—not because every laundry needs those dimensions. It holds an arriving basket or a finished load, never stock.
Folding splits by fabric. Shirts go straight onto nearby hangers. Small pieces pair on the landing. Bedding moves in one clean basket to a bed or table. The room stops pretending it can fold a duvet cover beneath a low shelf.
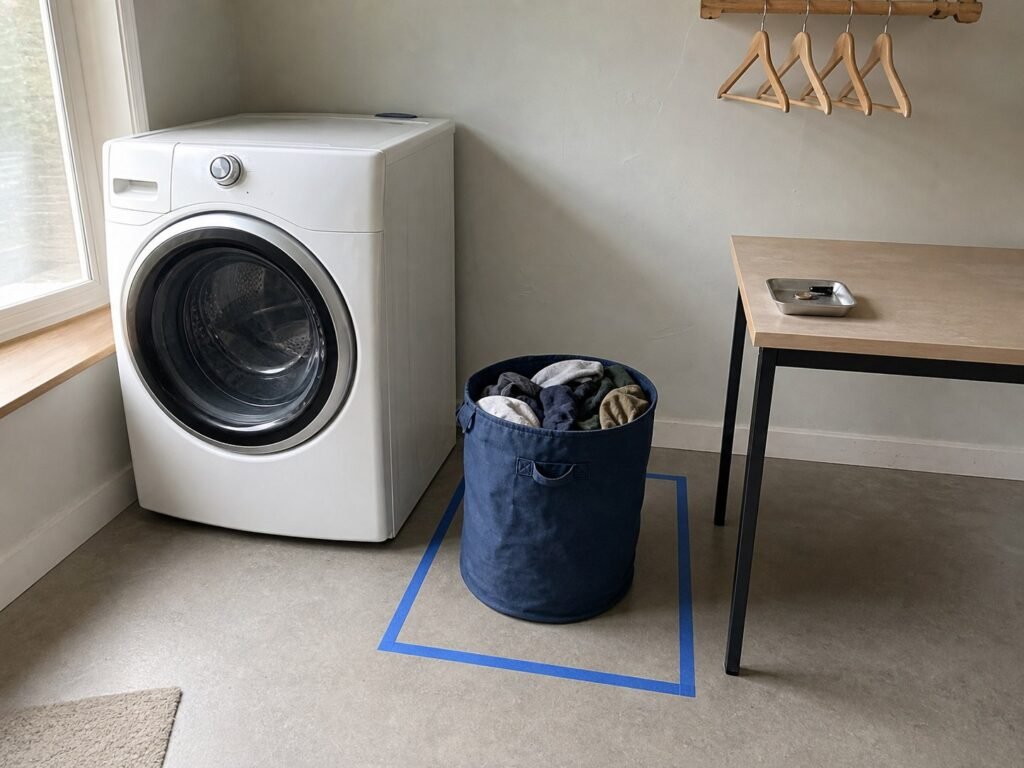
The appliances have not moved. The room simply stops storing unfinished decisions in every gap.
Six stations can share three square metres
A station is a task, not necessarily a cabinet. In a laundry closet, several stations may use the same surface at different moments. The important thing is that their contents do not all live there permanently.
1. Arrival and sorting
The arrival point must fit the actual hamper while preserving the room and appliance door paths. Sort only as far as the household consistently maintains. If clothes arrive mixed, three permanent floor bins may waste space; separate bags in bedrooms can work better.
Keep dirty fabric off the clean folding surface. If one surface must serve both stages, use it sequentially and clean it appropriately before clean laundry lands there.
2. Check and treat
Pockets, fasteners, stains and care labels need decent light and a visible spot. Keep the household’s current stain product here, labelled and used as directed.
A coin cup is only helpful if somebody empties it. Otherwise it becomes a tiny museum of mystery keys and one button no one recognises.
3. Wash
Keep current detergent within comfortable reach without obstructing controls, machine doors, hoses, ventilation or service access. Do not assume the top of an appliance is an approved shelf; check its instructions.
ENERGY STAR recommends full washer loads when practical and cold water where appropriate, noting that heating the water accounts for most of a washer’s operating energy. Care labels, oily stains, sanitation needs and product directions can change the setting, so “always wash cold” is too broad. Where the machine and fabric allow it, a suitable higher spin can leave less moisture for the drying stage.
4. Transfer and dry
Prepare hangers, a line, a flat-dry surface or the dryer before the wash ends. A wet pile waiting for somewhere to go is where the workflow starts to backtrack.
Any fixed rail or rack needs suitable structure, mounting, load capacity, door clearance and ventilation. A rack that blocks an exit, heater or machine door does not save useful space. Air-drying reduces dryer use but adds moisture indoors, so watch ventilation, condensation and the room’s actual conditions.
For a vented tumble dryer, U.S. Fire Administration guidance says to clean the lint filter before and after every cycle and keep the vent undamaged, uncrushed and unrestricted. The exterior covering should open while the dryer runs. Installation and servicing belong with an appropriately qualified person.
5. Fold, pair or hang
Pair small pieces while their partners are still together. Put shirts on hangers at the transfer point. Move large items deliberately to a clean bed or table rather than forcing them beneath a shelf.
If folding happens elsewhere, use one outbound basket and let it leave at the end of the load. “Elsewhere” is a plan; “later, on the sofa” is a holding pattern.
6. Leave and reset
When the load is done, the basket leaves, nests safely or returns to its collection point. Empty baskets do not deserve the best square metre of floor.
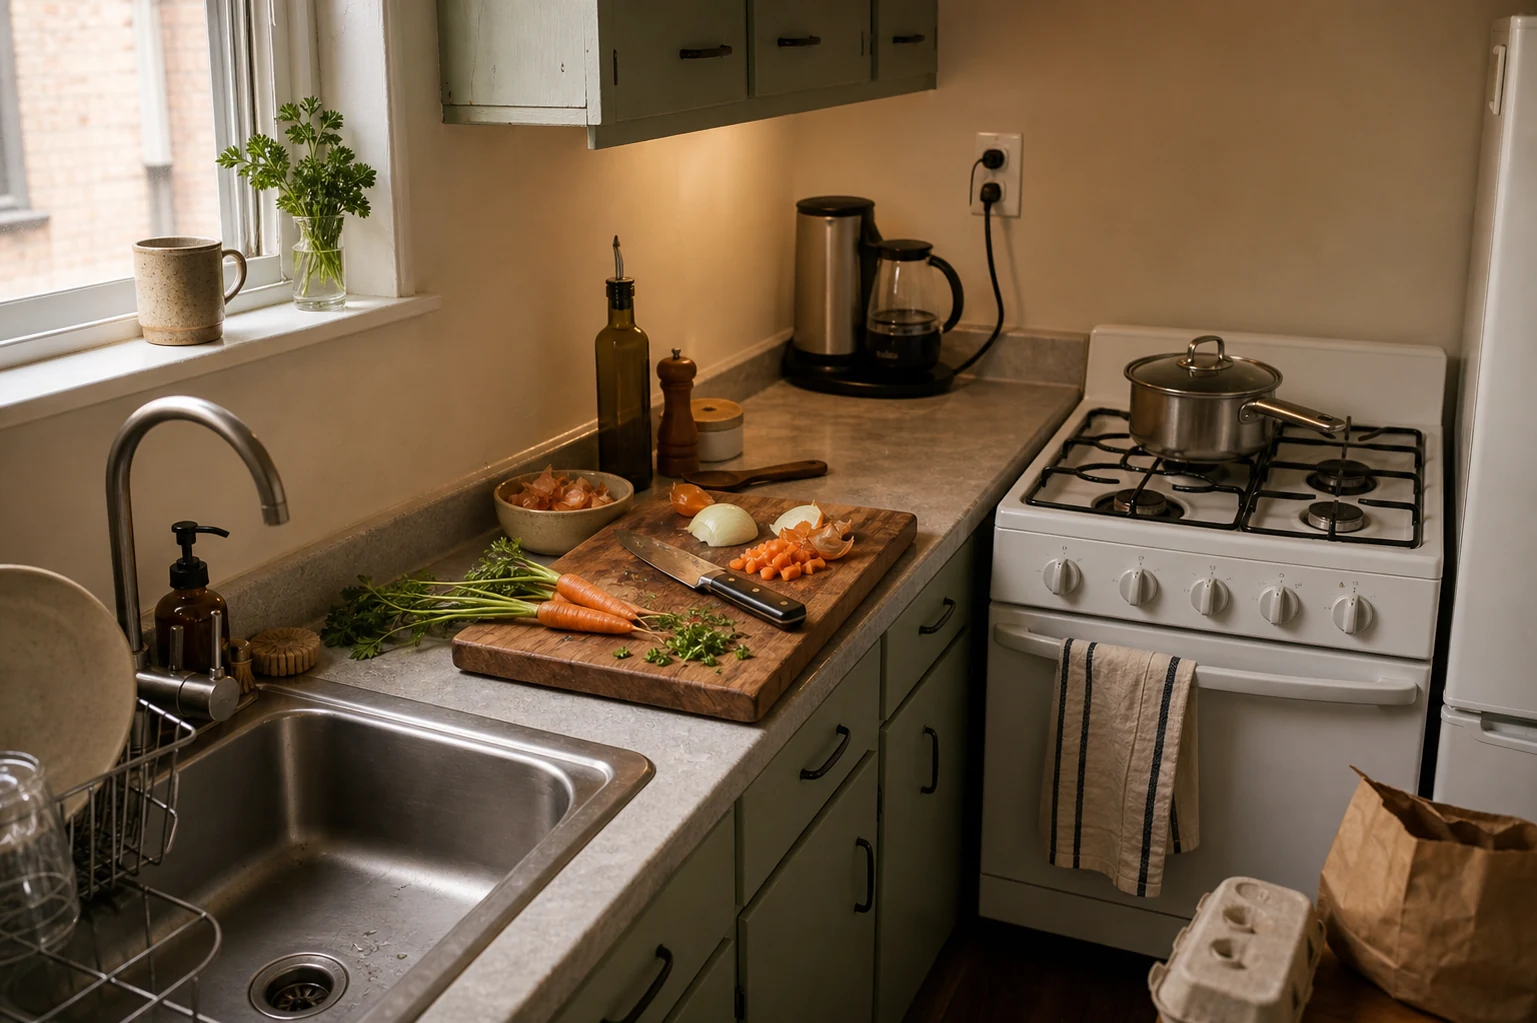
This sequence-first approach also works in other compact work zones. The guide to small-kitchen organisation built around how you cook follows the same logic: keep the object near the step that uses it, not near the shelf that happened to be empty.
Give the landing surface a job description
“Keep the counter clear” sounds good and fails easily because clear space attracts anything looking for a home. Define what may land there and when.
Before a wash, the surface may hold the arriving basket while pockets are checked. During the cycle, it returns to empty. At the finish, it may hold one clean load while small pieces are paired. Detergent, reserve stock, tools, post and unrelated household supplies never become permanent residents.
If dirty and clean fabric must use the same surface, separate the stages and clean the surface appropriately between them. A removable washable mat can help identify the dirty handoff, but it must be stored dry and must not become another rumpled layer beneath clean clothes.
Size the landing from the household’s load, not from a catalogue counter. Put the actual basket on a table and note the minimum area that lets it sit securely. Then make a cardboard template and test the proposed position with appliance doors open. A fold-down surface only works if a person can stand safely while it is open and if it does not block the route, controls or services.
The room also needs a rule for interruption. If someone has to stop midway, the load goes to one named basket—not the machine top, floor and rail at once. That basket carries the unfinished load forward and leaves when the cycle is complete.
This single rule prevents the most common small-room domino effect: detergent occupies the counter, clean laundry moves to the washer, wet pieces wait in the drum, and the next hamper blocks the doorway. Protect the landing and every later handoff has somewhere honest to go.
Let the machine choose the layout
Six handoffs
Follow the load until it is back where it belongs.
The first repeated waiting point deserves the first fix.
- HamperCollectSort only when it changes the wash.
- MachineLoadKeep instructions and clearances visible.
- LandingTransferGive the clean load a protected place.
- RoomReturnThe workflow ends outside the laundry.
There is no single best small-laundry arrangement because the appliance changes which space must remain open.
Laundry closet: protect the threshold. Confirm that closet doors, appliance doors, controls and ventilation can all work together. Folding often belongs somewhere else. Never pack supplies around hoses, outlets or air paths.
Side-by-side machines: their tops are not automatically a counter. Check the instructions before adding a worktop, preserve required access and keep at least one genuinely usable landing section if an approved surface is installed.
Stacked pair: stacking frees width but can push controls, detergent compartments or the lint screen beyond a user’s reach. Stack only compatible appliances with approved hardware and a suitable installation. Do not improvise the structure.
Top-loader: the lid needs a volume, not just a line on a floor plan. Tape or mock up that full movement before placing a shelf above it, then verify the appliance instructions. A shelf that technically clears the lid may still force an awkward lift over it.
All-in-one or ventless appliance: eliminating the washer-to-dryer transfer or an exterior dryer vent changes the route, but not the need for service, drainage, moisture control and product-specific maintenance.
The right layout test is not “How much storage can fit above this machine?” It is “Can the user carry, open, reach, transfer, inspect and leave without moving something first?”
Reject storage that hides maintenance
The prettiest plan fails if it makes the equipment harder to install, inspect or clean.
Electrical: U.S. Fire Administration guidance says major appliances, including washers and dryers, should plug directly into a wall outlet rather than an extension cord. Do not overload an outlet, cover it with storage or ignore a damaged cord. Follow the electrical rules and appliance instructions that apply where you live.
Dryer lint and venting: Clean the lint filter as the manufacturer directs; USFA’s home guidance specifies before and after each dryer cycle. Keep the vent route visible enough to spot crushing or damage and do not fill the gap around the dryer with paper, textiles or baskets. Drying that suddenly takes much longer can be a sign that the machine or airflow needs assessment.
Water and hoses: Do not conceal leaks, kink hoses or block shutoffs and service access. Connection methods and replacement schedules vary by appliance and site. If the services are unfamiliar, this is not a decorating job.
Moisture: The U.S. Environmental Protection Agency recommends controlling indoor moisture and venting moisture-producing appliances outdoors where possible. Persistent condensation, musty odour or visible damp needs a cause addressed, not a scented product or a basket pushed in front of it.
Children and vulnerable adults: Concentrated laundry packets can cause serious injury. U.S. Consumer Product Safety Commission guidance says to keep them in original packaging, locked, and out of sight and reach of children. If an appliance maker advises leaving a front-loader door ajar after use, make sure a child cannot climb inside and follow the machine’s instructions.
Heat and combustibles: Keep paper, loose textiles and stored products away from heat and required air space. Do not assume an unused-looking gap beside a dryer is a storage slot.
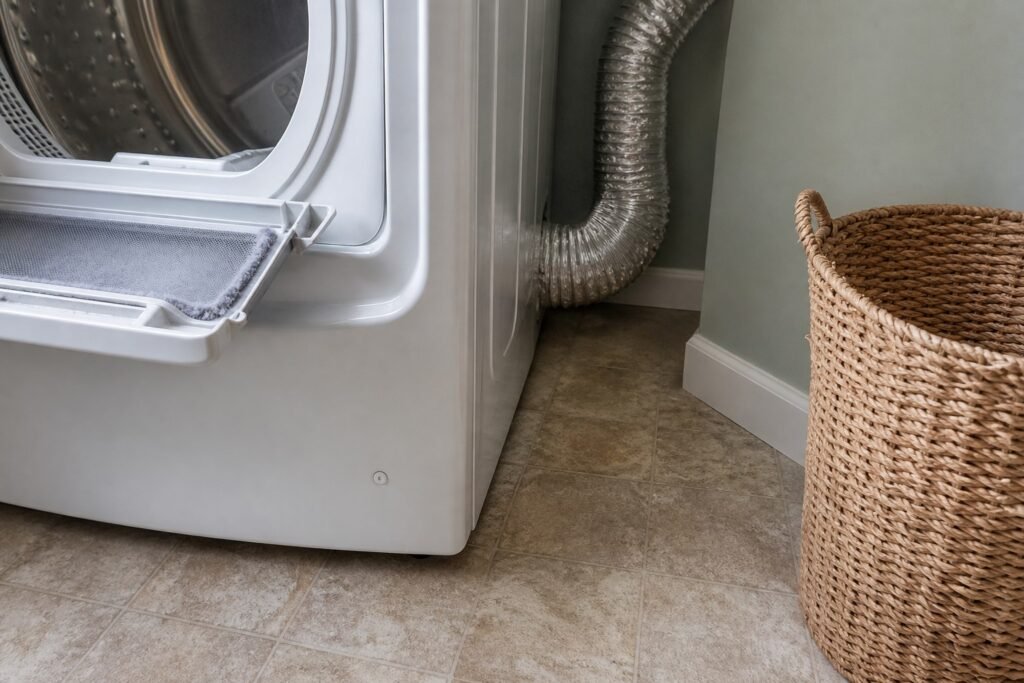
This is why the useful laundry photograph shows the vent, lint screen and floor access—not just a pleasing shelf above them.
Accessibility is the whole route, not one reach height
Machine-led layouts
Door arcs and service access come before shelving.
A storage idea fails if it blocks operation, ventilation, or maintenance.
- Front-load pairProtect both arcsLanding above only where instructions allow.
- Top-loaderKeep lid volumeNo shelf inside the open path.
- Laundry cupboardPreserve service reachDoors, hoses, and shut-offs stay accessible.
Moving everything upward may clear the floor and still make the room unusable. Test the complete task: carrying a hamper, reaching controls, opening doors, retrieving wet fabric, cleaning the lint screen and turning with a basket.
As an inclusive reference, the U.S. Access Board requires a 30-by-48-inch (760-by-1,220-mm) clear floor space centred on a washer or dryer for a parallel approach in covered accessible facilities. That is not a universal private-home rule. As a tape test, it can reveal whether a trolley or base cabinet consumes the only workable approach. Check the legal and building requirements that apply to your project.
Keep everyday supplies within the actual user’s comfortable reach. Large refill bottles can be difficult to lift and pour. Decanting chemicals removes important labels and can introduce an unsuitable container, so a smaller original package may be a safer and more usable choice than a bulk bottle on a high shelf.
Front-loading machines may suit some users because loading happens from the front; stacked controls can be inaccessible to others. There is no universally accessible appliance format. Choose from the household’s movement, reach, vision and dexterity needs, with professional advice where appropriate.
Keep the route firm, stable and free of loose cords, basket handles and small mats. Someone carrying a hamper may not see a low obstruction. Lighting should reveal controls and stains without adding a portable lamp or trailing lead.
Improve a rental without touching the utilities
Renters can shorten the handoffs by changing quantity, positions and basket routines. A narrow trolley is acceptable only if it does not pinch a hose or vent, cover an outlet, block the machine approach, interfere with a door or provide a child’s route to hazardous products.
Get written permission where required before drilling, adding a rail or worktop, changing cabinetry or altering any vent, drain, outlet or connection. Gas, electrical, plumbing and dryer-vent work require the appropriate qualified person. Removable fittings still have load limits and can damage finishes.
Try this order:
- Move non-laundry household stock out.
- Reduce products to what the current routine uses.
- Mark the hamper and landing positions with tape.
- Bring hangers in for the load if permanent hanger storage crowds the room.
- Choose another clean surface for bulky folding on purpose.
- Record the one remaining repeated problem for a week.
If the whole space has become a holding area, the no-buy home reset can expose which objects have no job. If the answer involves a rail, counter or work near services, use the measure–test–safety checklist before taking the project further.
What not to buy yet
Wait on a multi-bin sorter if loads are not actually separated here. Wait on uniform jars; original detergent packaging carries instructions and warnings. Wait on a shelf shown in a styled photograph that hides the appliance lid, hoses, vent and user reach. Wait on a fold-down table if there is nowhere safe to stand when it is open.
Also wait on the “laundry” sign. The machines have made a convincing case already.
Spend only after the route exposes a durable need: a correctly sized hamper, one washable pocket tray, appropriate secured storage for hazardous products, or a professionally assessed rail may earn its footprint. Decorative containers do not need to audition first.
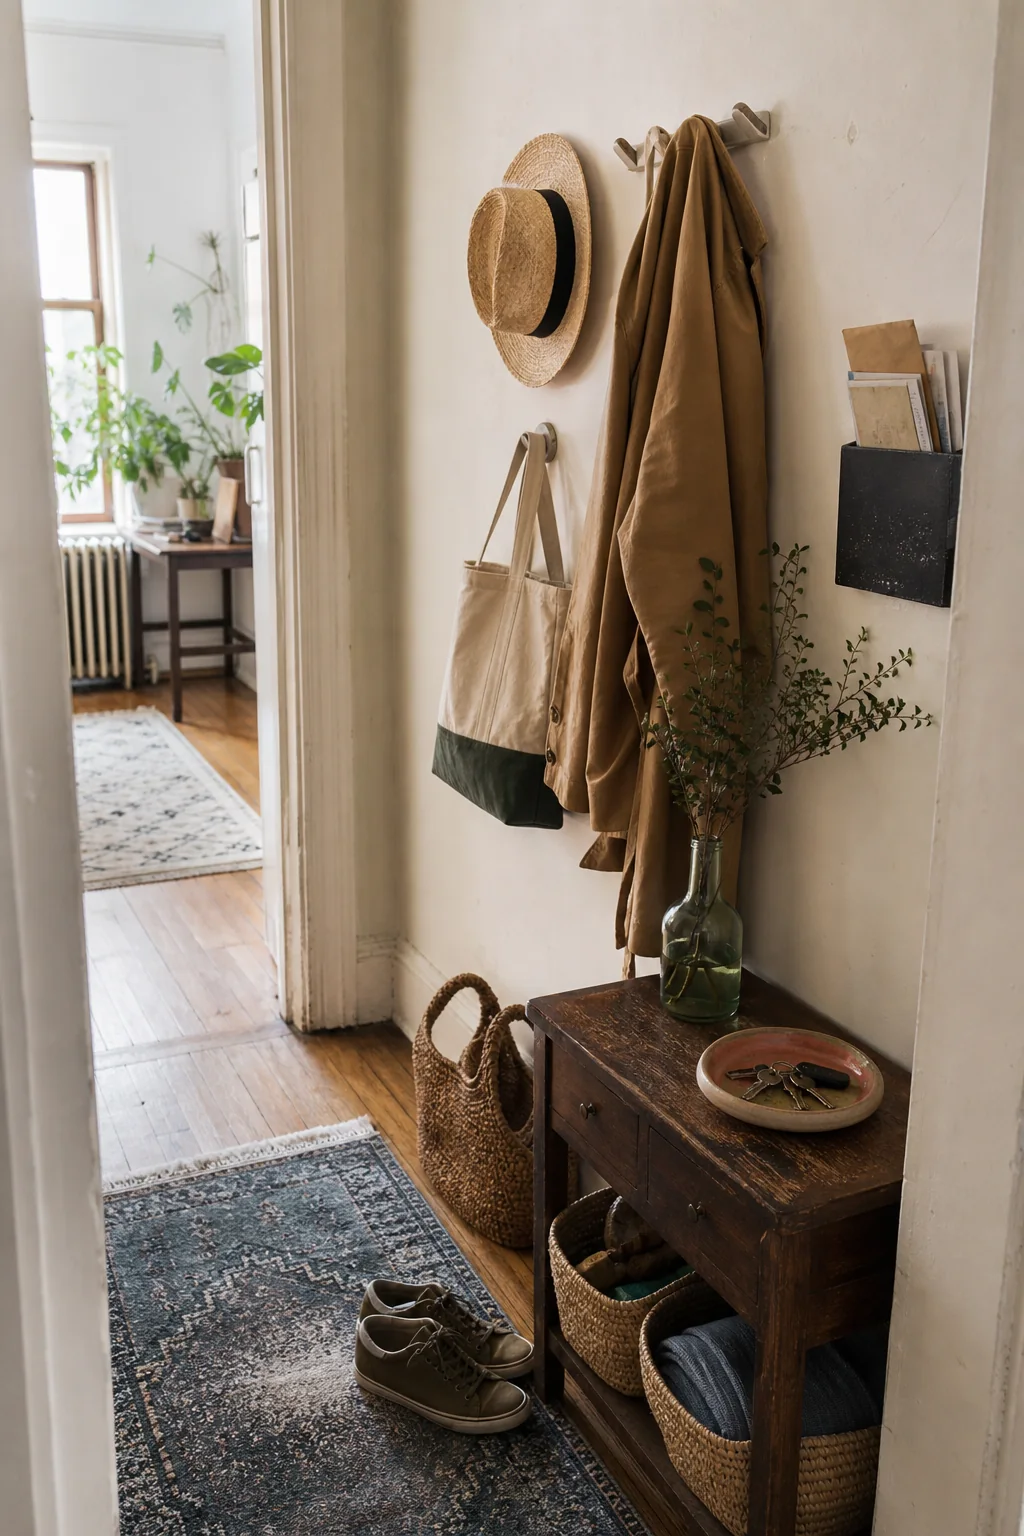
If the main trouble is that bags and clothing never reach this room cleanly, the entryway drop-zone guide tackles the handoff at the other end of the household route.
Run the seven-load scorecard
For the next seven loads, record five things:
- where the hamper stopped;
- which item had to be fetched;
- where clean fabric waited;
- which object had to move before a door, lid or person could pass;
- what prevented the load from leaving the room.
Seven-load scorecard
Fix the event that repeats most often
Do not redesign the whole room to solve a problem that happened once.
| Load | Hamper stop | Fetched item | Clean waiting place | Object moved | Exit delay |
|---|---|---|---|---|---|
| 1 | |||||
| 2 | |||||
| 3 | |||||
| 4 | |||||
| 5 | |||||
| 6 | |||||
| 7 |
After load seven: fix the event that repeated most often.
After load seven, fix the event that repeated most often. If hangers were fetched six times, give them a safe point near the drying stage. If detergent was always within reach but the hamper blocked the dryer, change the hamper position, not the shelf. If clean loads repeatedly waited because folding did not fit the day, formalise the outbound basket and the later folding place.
Start with the most awkward load, not the easiest. Clear one landing surface, run that load all the way through and leave the room ready for the next one. One completed cycle will tell you more than a cart full of organisers.
Sources and safety context
These U.S. sources support specific energy, fire, product-safety, moisture and accessibility boundaries in this global guide. They do not replace appliance instructions, local requirements or a qualified assessment of a particular installation.
- ENERGY STAR: Clothes Washers
- U.S. Fire Administration: Appliance and Electrical Fire Safety
- U.S. Fire Administration: Clothes Dryer Fire Safety
- U.S. Environmental Protection Agency: A Brief Guide to Mold, Moisture and Your Home
- U.S. Consumer Product Safety Commission: Single-Load Liquid Laundry Packets
- U.S. Access Board: Clear Floor or Ground Space and Turning Space
- U.S. Access Board: Washing Machines and Clothes Dryers, Section 611
About the visuals in this guide
These are original Dealsmaster editorial illustrations produced with AI assistance for explanation and inspiration. They do not document a real household, tested installation, reader result, or professional inspection.