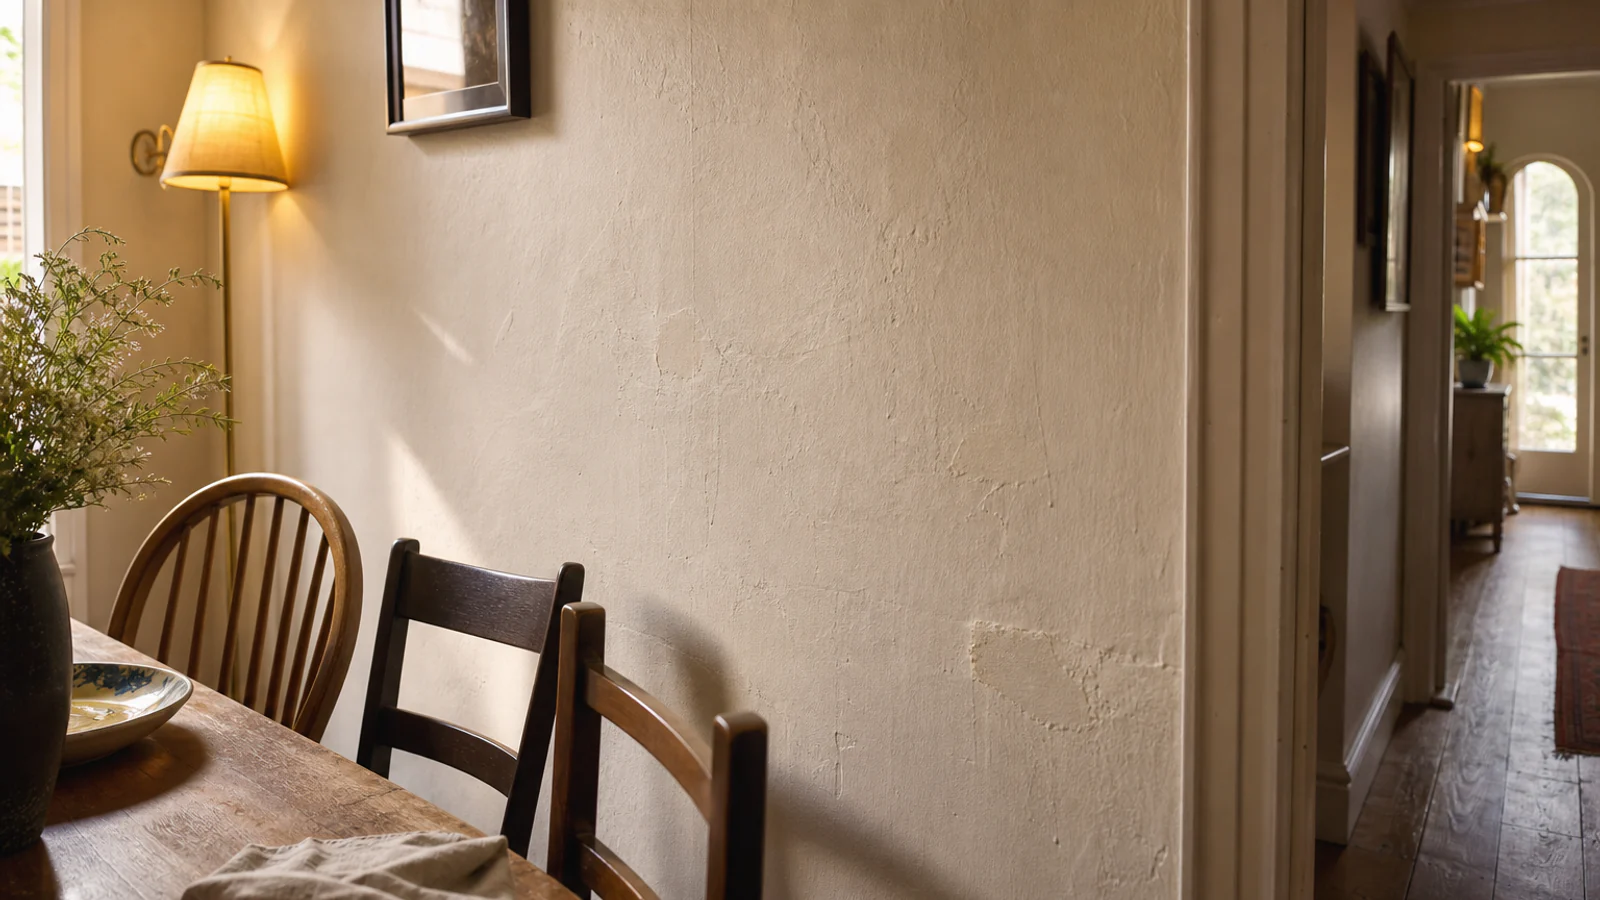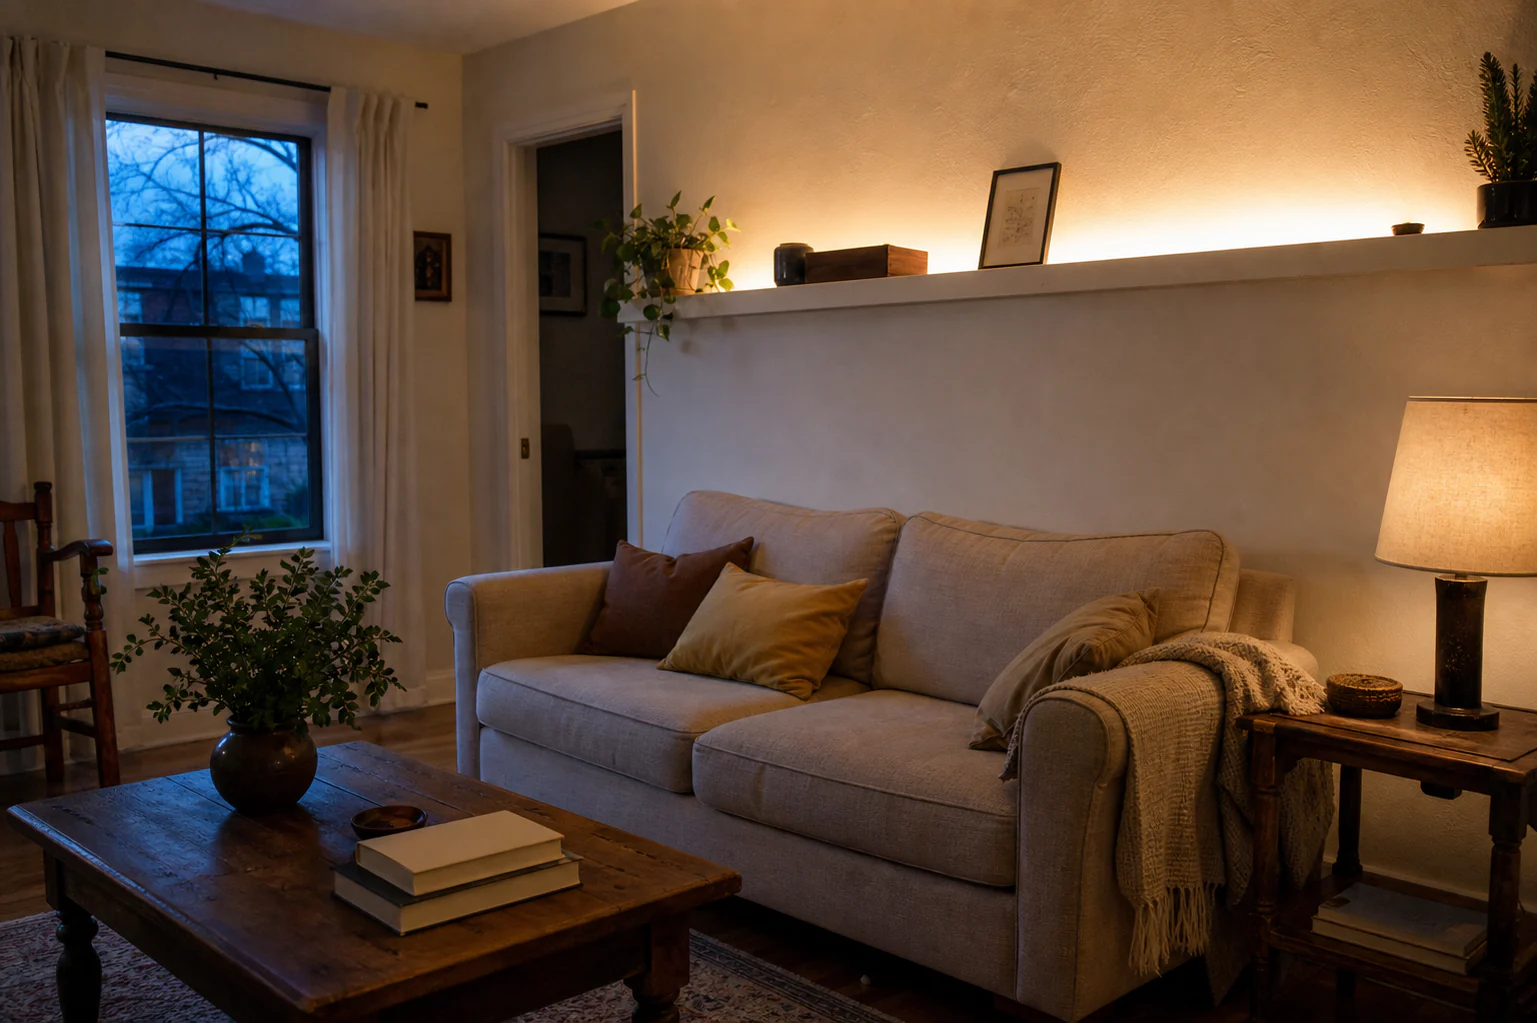
A reflected-light lab after sunset
Hide the source. Light the surface. Judge the room.
Indirect light is a relationship between the emitter, the edge that conceals it, and the wall or ceiling that becomes luminous.
- 01Hide
- 02Bounce
- 03Dim
- 04Live with it
The attractive part of an LED strip is not the strip. It is the wall, shelf or ceiling made visible by the light.
When the source is visible, the eye reads a dotted line. When it reflects in a television, it becomes a second programme. When the cable and driver are trapped behind furniture, a decorative idea has created an inspection problem.
Use one rule:
Hide the source. Light a surface. Keep the equipment accessible.
Begin after dark
Night audit
Stand in the positions that matter
| Position | Look for | Change first |
|---|---|---|
| Seated | Visible dots or bright edge | Increase concealment |
| Doorway | Uneven wall wash | Change distance or aim |
| Screen | Reflected line | Move source or reduce output |
| Bed | Light in the eye | Lower, shield, or remove |
Turn on the lights normally used in the room. Sit, stand and walk through it. Record:
- the dark surface you want to reveal;
- the task that still needs proper light;
- any screen or glossy surface;
- where a bare lamp is visible;
- where a new cable would enter;
- which switch or control should operate the effect;
- when the light should be off.
Do not begin by choosing RGB colours. Begin by choosing the surface that will return the light.
Good candidates include:
- a matte wall behind a low cabinet;
- the underside of a shelf washing the wall below;
- the top of a wardrobe washing the ceiling;
- the rear edge of a headboard lighting the wall—not the pillow;
- inside an open display recess where heat and product instructions allow;
- a toe-kick only when the route, surface and installation are suitable.
Mirrors, glossy tiles, televisions and polished stone can reveal every bright point. Test before fixing.
Understand the section
Section geometry
Three distances make the effect
- SetbackHow far the emitter sits behind the hiding edge
- ThrowHow far light travels before meeting the surface
- Viewing angleWhether a seated or standing eye can see the source
Draw a side section with four parts:
- LED source;
- concealment lip or profile;
- throw distance to the surface;
- viewer's eye.
If a seated viewer can see the source, deepen or reposition the concealment. If individual dots appear on the surface, increase diffusion or distance where the product and geometry allow.
A channel with diffuser can create a more continuous line and protect the strip, but profiles vary in thermal and optical performance. Use components intended to work together and follow their ratings.
Do not place a strip against an unsuitable combustible, heat-sensitive, wet or enclosed surface merely because the adhesive holds.
Choose light quality before colour effects
Light-quality brief
Choose the white light before the colour scene
| Control | Question | Useful evidence |
|---|---|---|
| CCT | Does the white feel right with the room at night? | Test sample in place |
| Fidelity | Do wood, skin, art, and textiles look believable? | Compare at the same brightness |
| Dimming | Can it become background rather than spectacle? | Test the lowest stable level |
The U.S. Department of Energy explains that correlated colour temperature describes the appearance of the light, while colour fidelity describes how it renders objects. DOE notes that CRI 80 is commonly recommended as a minimum for interior lighting and CRI 90+ indicates excellent fidelity, while also warning that CRI is imperfect.
For a home atmosphere, test:
- warm white against timber and textiles;
- neutral white where reading, grooming or food tasks need clarity;
- dimming at the lowest useful level;
- colour consistency with nearby light sources;
- how skin, artwork and food appear.
A numerical label does not guarantee comfort. The same strip can feel soft when hidden against a matte wall and harsh when reflected in glass.
Full-colour systems can be fun, but design a convincing white-light scene first. If the room only looks good in one saturated colour, the surfaces may not be doing enough work.
Four placement recipes
Four placement recipes
Choose a surface with a reason to glow
- Media cabinetReduces the black-hole effect around a screen.
- Wardrobe topLifts a dim ceiling edge without seeing the source.
- Display shelfLights objects and the wall; protect the eye below.
- HeadboardA low evening wash; test every lying position.
1. Behind a media cabinet
Purpose: reduce the hard contrast between a bright screen and a dark wall and create depth.
Keep the strip out of direct sight and reflection. Choose a restrained level; the effect should not compete with the screen. Keep ventilation and manufacturer clearances for media equipment.
2. Above a wardrobe or tall cabinet
Purpose: return light from the ceiling and make a tall object feel integrated.
Check dust, access and distance from ceiling. The driver and connections must remain accessible. Do not place equipment where heat cannot dissipate according to instructions.
3. Under a display shelf
Purpose: reveal art or objects and light the wall plane.
Place the source toward the wall side, shielded from normal sightlines. Avoid heat- or light-sensitive objects. Use separate task light if someone reads or works below.
4. Behind a headboard
Purpose: create an evening wall glow.
Keep wiring, connectors and controls away from bedding and crushing points. The glow is not a substitute for a proper reading lamp. Avoid a source visible to a person lying down.
Test with a temporary rig
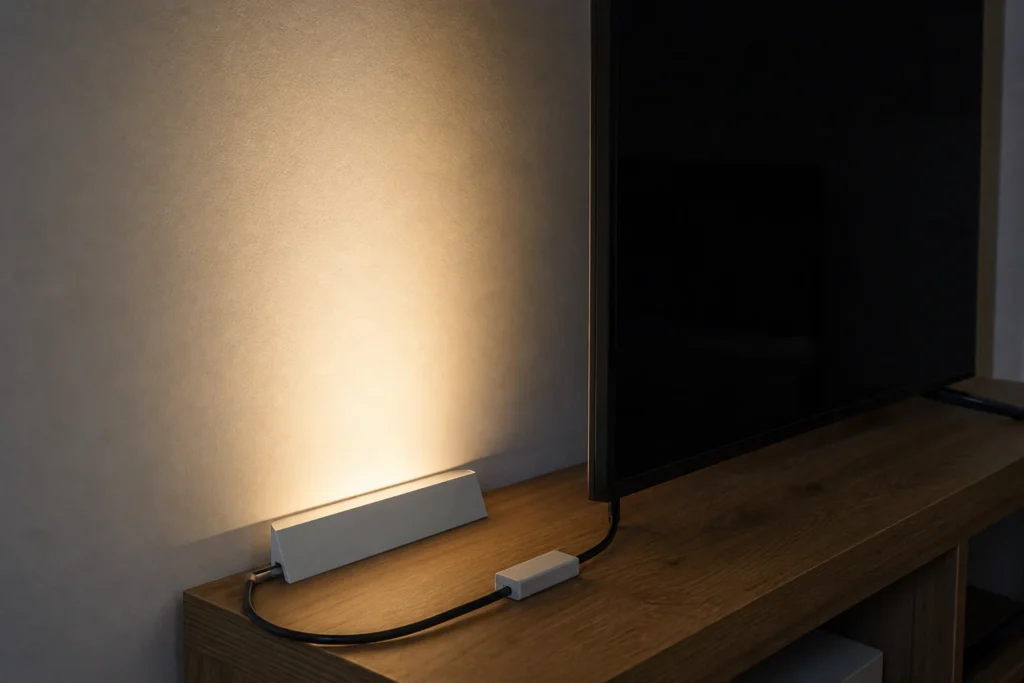
Before removing backing:
- Use the actual strip/profile where safe, or a small sample.
- Temporarily position it without damaging the surface.
- Test from every normal eye position.
- View it with other lights and with screens on.
- Dim through the usable range.
- Photograph reflections.
- Leave it on only according to safe test instructions and check product behaviour.
Do not rely on a phone photograph alone. Cameras smooth gradients and alter colour. The human eye in the room is the approval test.
Plan the equipment as part of the room
Equipment route
Design the power and maintenance before the glow
- 01PowerUse a suitable accessible supply.
- 02ControlPlace the dimmer where the room is used.
- 03HeatFollow product enclosure and mounting instructions.
- 04ServiceKeep connectors and driver reachable.
The visible glow may be delicate; the power system is still equipment.
Identify:
- rated power supply/driver;
- controller;
- plug and outlet;
- connectors;
- cable route;
- ventilation and access;
- how the system is switched off;
- what happens after power loss or app failure.
Use listed/certified products appropriate to the country and application. Follow instructions, load limits and wet-location ratings. Fixed mains wiring and new outlets belong to qualified electrical work where required.
Do not:
- run flexible cords under rugs;
- pinch wires behind furniture;
- hide a power supply in an inaccessible sealed box;
- join incompatible components;
- use damaged strips or plugs;
- assume an app-controlled light has no physical safety considerations.
Renters should confirm permission for channels, adhesives and drilling. Adhesive-backed does not mean residue-free or paint-safe.
A constructed example: 3.6 metre living-room wall
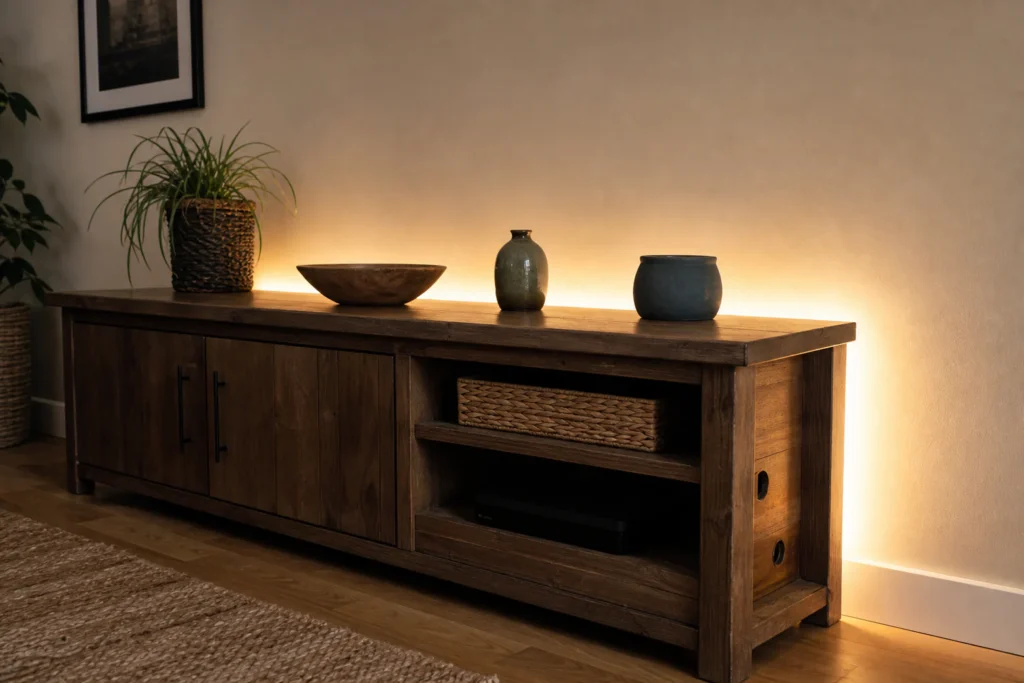
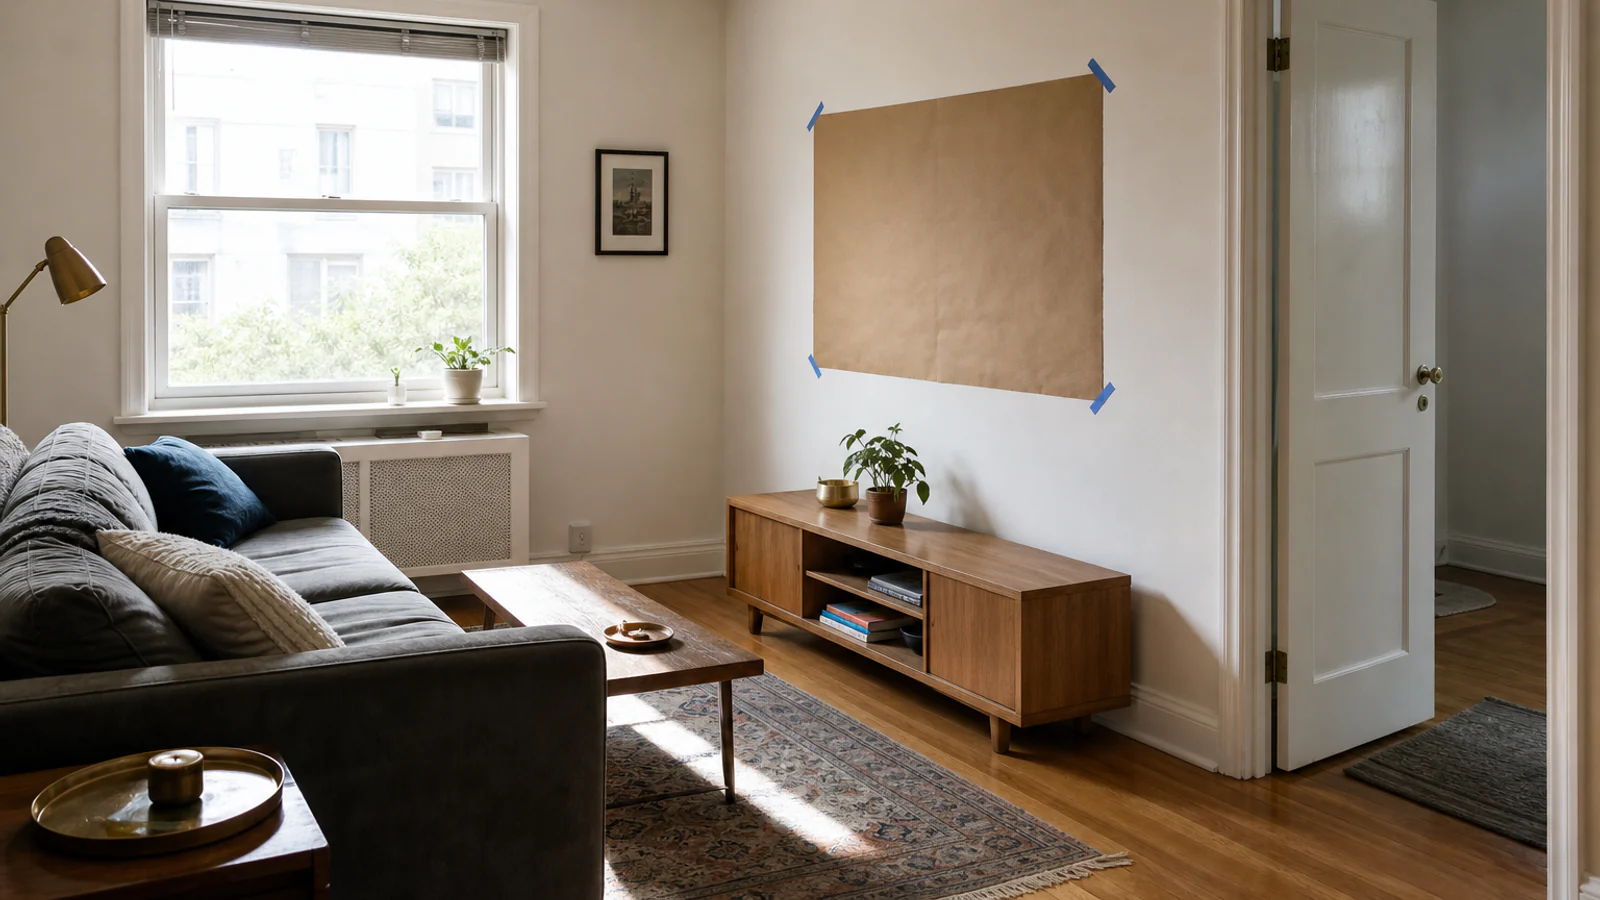
The wall has a low media cabinet, matte paint and a television. The first plan puts a bright strip around the television perimeter.
The nighttime test shows visible dots in the screen and a distracting outline.
Revised:
- one warm-white, dimmable source sits behind the cabinet;
- it washes the lower wall rather than tracing the screen;
- the strip is concealed in a compatible profile;
- driver and switch remain accessible inside a ventilated, manufacturer-approved arrangement;
- brightness is set below the reading lamps;
- no colour cycle runs by default.
The room gains depth. The television stops wearing a halo.
Diagnose the bad result
Symptom → adjustment
Diagnose the bad result without buying another strip first
- Visible dotsIncrease setback, add a suitable channel/diffuser, or change viewing angle.
- Harsh lineReduce output or increase the reflecting distance.
- Muddy colourTest a better white-light source against the actual finishes.
- Eye fatigueRemove direct view, lower contrast, and dim.
- Loose-wire lookShorten the route and create accessible cable management.
Visible dots
Increase diffusion or distance; change profile or surface relationship.
One harsh line
The source may be too close to the lit surface or insufficiently shielded.
Muddy colour
Wall colour and nearby light are mixing. Test a more appropriate white point and dimming level.
Eye fatigue
Look for visible source, screen reflection and high contrast. Reduce brightness and add proper ambient/task light.
Loose-wire look
Stop styling and redesign the power route. Concealment must not prevent inspection.
“Gaming cave” when that was not the goal
Use static warm/neutral white, illuminate architecture rather than furniture outlines and reduce the number of zones.
Check the strip when it is dim, not only when it is bright
Many indirect-light ideas look acceptable at full output in a bright room and become unpleasant at the low level used before bed or during television viewing. Test the entire dimming range. Watch for an unstable low end, abrupt steps, audible noise, colour shift, or a controller that forgets the chosen state. Product compatibility and instructions matter; do not assume every strip, driver and control will cooperate.
The reflecting surface matters as much as the emitter. A highly textured wall may create bright ridges and dark pockets. Gloss paint can produce a visible streak. A saturated wall changes the colour of the reflected light. Hold the temporary rig at several setbacks and photograph the wall with the room at the brightness you actually use.
If flicker, discomfort, headaches or other symptoms occur, stop using the setup and seek appropriate product or health guidance rather than treating this article as a diagnosis.
Make maintenance part of the composition
An invisible source should not mean inaccessible equipment. Drivers, connectors and control receivers need a location that follows their product requirements and can be reached without removing fixed joinery. Avoid crushing cable behind furniture or sealing a component into a cavity that its instructions do not allow.
Before fixing the strip, trace the whole system on paper: outlet, supply, control, driver, connector, strip, end point. Mark where slack is contained and how each part will be removed. If the route crosses a moving door, sharp edge, heater, wet area or walkway, redesign it.
Finally, live with the temporary version for three evenings. On night one you will judge novelty. On night two you will notice the television reflection. On night three you will discover whether the control is where your hand expects it. The right indirect light becomes part of the room’s atmosphere; it does not keep asking to be admired.
Useful next action
After dark, place a small portable light so it washes the proposed surface from the proposed direction. If the surface is uninteresting or reflective, no strip specification will rescue the placement.
About the visuals in this guide
These are original Dealsmaster editorial illustrations produced with AI assistance for explanation and inspiration. They do not document a real household, tested installation, reader result, or professional inspection.
Sources and limits
Useful advice should show its working
Material claims were checked against the primary guidance below. Dealsmaster dimensions and layouts are editorial planning starting points, not universal codes, professional assessments, or product instructions. Local rules, tenancy terms, building conditions, user needs, and manufacturer guidance control.
- U.S. Department of Energy — LED BasicsCCT, colour fidelity, CRI, and general LED-quality context.
- U.S. Department of Energy — GlareWhy source position, luminance, background, and the visual field affect discomfort.
Disclosure: This guide contains no affiliate links, sponsorship, or claimed product testing. Constructed examples are planning examples, not reported Dealsmaster households.