A project-state plan for real makers
The useful craft room is not the one that holds the most supplies. It is the one that lets a project begin, spread out, stop safely, restart without detective work, and leave the room clean. Plan those six states before buying pegboards or matching boxes: choose, gather, make, pause, clean and return. If any one state has no address, that is where the tabletop will eventually disappear.
This approach works in a spare room, a cupboard-and-desk setup or at the dining table. It also exposes an awkward truth: some crafts cannot safely share a small indoor zone. The attractive answer may be to store everything together; the responsible answer may be to move dusty, strongly emitting, hot, sharp or label-controlled work elsewhere.
Start with one project you actually repeat, not the imaginary collection of every craft you might try. A paper model, a hand-sewn repair and a resin casting have different footprints, pause conditions and cleanup routes. The room should first serve the work that really happens there.
Give one recent project a passport
Think back to the last project that stayed out longer than planned. Write down where each object came from, what had to remain undisturbed and what was still on the table the following morning. This is more revealing than counting pens or sorting ribbon by colour. You are tracing transactions: doors opened, lids removed, trips to the sink, and decisions postponed.
Mark the first stage that failed. If choosing was hard, more exposed supplies may make the problem worse. If gathering took twelve drawer openings, storage may follow shop categories rather than your process. If cleanup failed, a larger cabinet will merely give the dirty tools somewhere darker to wait.
A useful project passport fits on one page. List the project, the largest piece, the tools used at the same time, the material warnings that control the setup, the pause duration, the cleanup destination and the final storage address. Repeat this for three common projects. Shared needs become the room’s permanent infrastructure; uncommon needs can remain in portable kits.
Choose without displaying the whole hobby shop
Visible storage can help memory, but a wall of options is not automatically useful visibility. Separate ideas from projects that could begin this week. Keep distant inspiration in a folder or digital list. Give two or three ready projects a shallow tray, envelope or index card where their next decision is obvious.
This is the first limit worth setting: active options must fit their assigned space. When the tray is full, finish, cancel or archive something before admitting another project. The rule protects attention as well as floor area. It also prevents “organising” from becoming the craft that replaces every other craft.
Name storage for an action when that helps retrieval. “Paper cutting”, “hand-sewing repair” and “watercolour setup” often lead a person to the right tools faster than “miscellaneous supplies”. Product identity still matters wherever a label carries directions, cautions, age suitability or disposal information; an action label supplements that information rather than replacing it.
Gather by kit, share by frequency
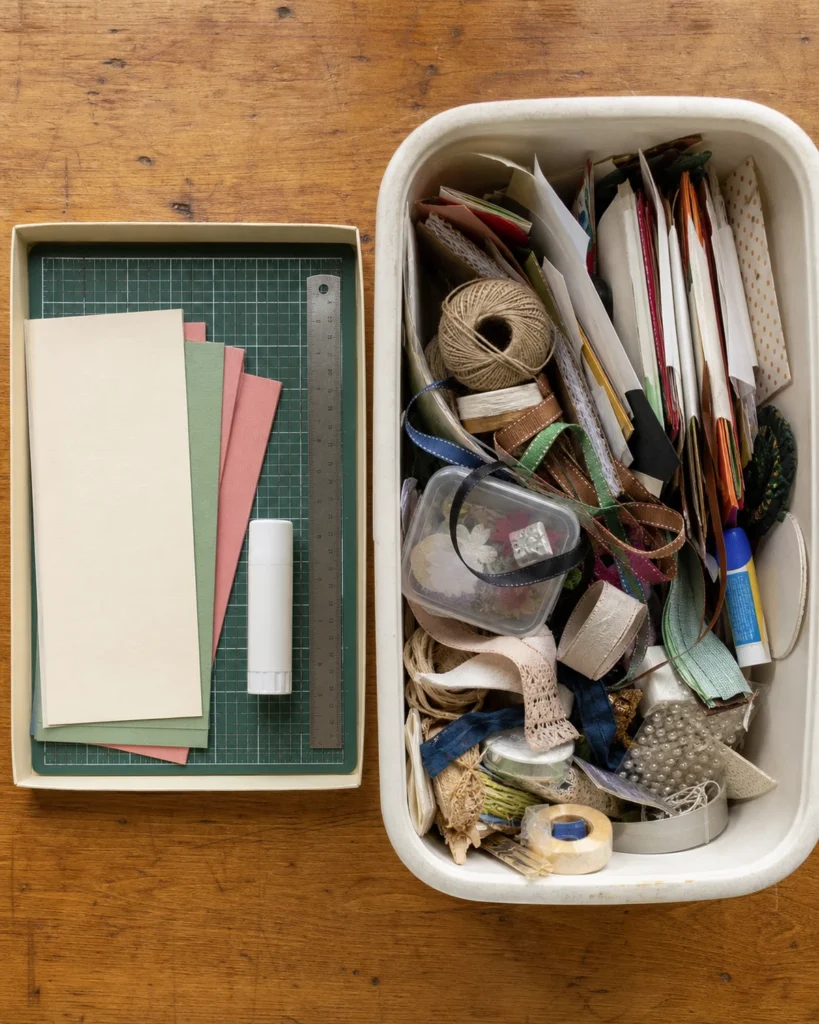
A project kit holds items that repeatedly travel together. Shared tools deserve a central home only if they are genuinely shared. A steel ruler used by five processes belongs near the main surface; a specialty blade used twice a year can remain with its specific kit.
Count retrieval friction before buying organisers. A lidded tub on a high shelf may technically contain everything, yet require clearing the floor, fetching a stool, lowering the tub and excavating three layers. Shallow storage makes small pieces visible; deep storage can suit large, light items that are easy to distinguish. The container is not a virtue by itself.
Keep labels with products. In the United States, the CPSC Art and Craft Safety Guide stresses reading labels, selecting materials for their intended users and taking special precautions around children. Readers elsewhere should follow the exact product label and their local requirements. A decanted jar that looks calmer on a shelf may remove the only useful warning or identification.
Design the surface around the largest move
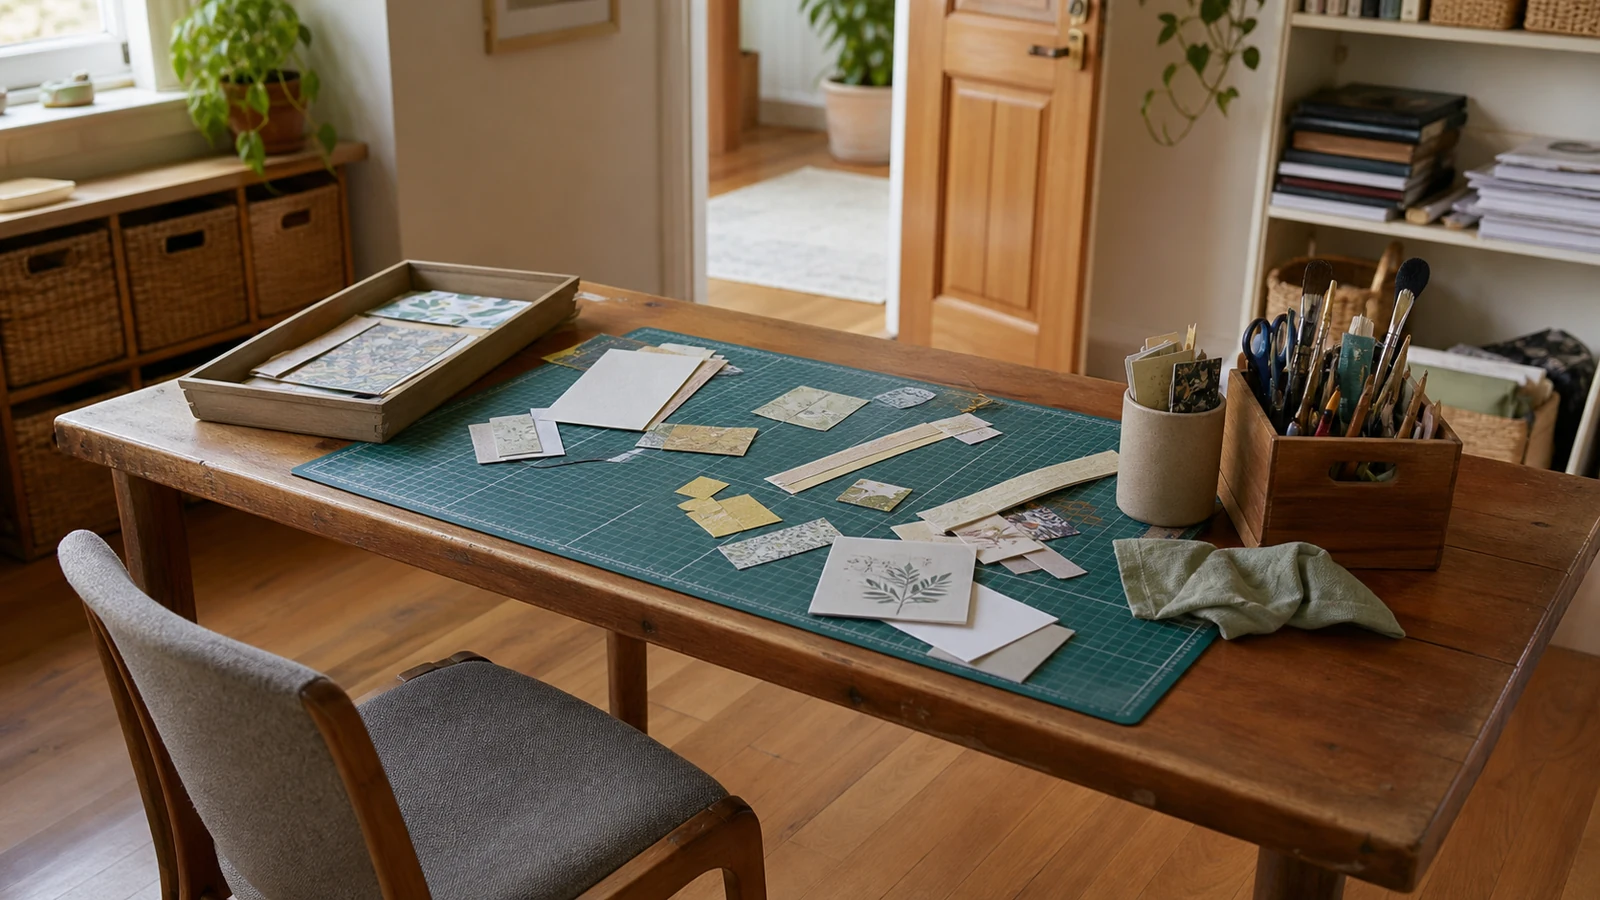
The nominal table size is misleading. The working surface is what remains after a lamp base, tool cup, active materials, waste and the mug that should probably be farther away have claimed their positions. Define the clear rectangle needed for the largest common motion: rotating a cutting mat, opening a sketchbook flat, feeding fabric without snagging it, or assembling two model sections.
Then arrange four temporary addresses around it:
- Incoming: pieces and materials not yet used.
- Active tools: only what the current step needs.
- Protected output: finished, fragile or drying components, handled according to their material instructions.
- Exit: reusable offcuts, ordinary rubbish and any separately controlled waste.
Those addresses can be tape marks, trays or sections of a washable mat. Their job is to prevent a completed piece from vanishing into the scrap pile. Keep sharp or hot tools oriented and positioned as their instructions require, away from the chair edge and walking route. If a cable must cross a route, the setup is not ready.
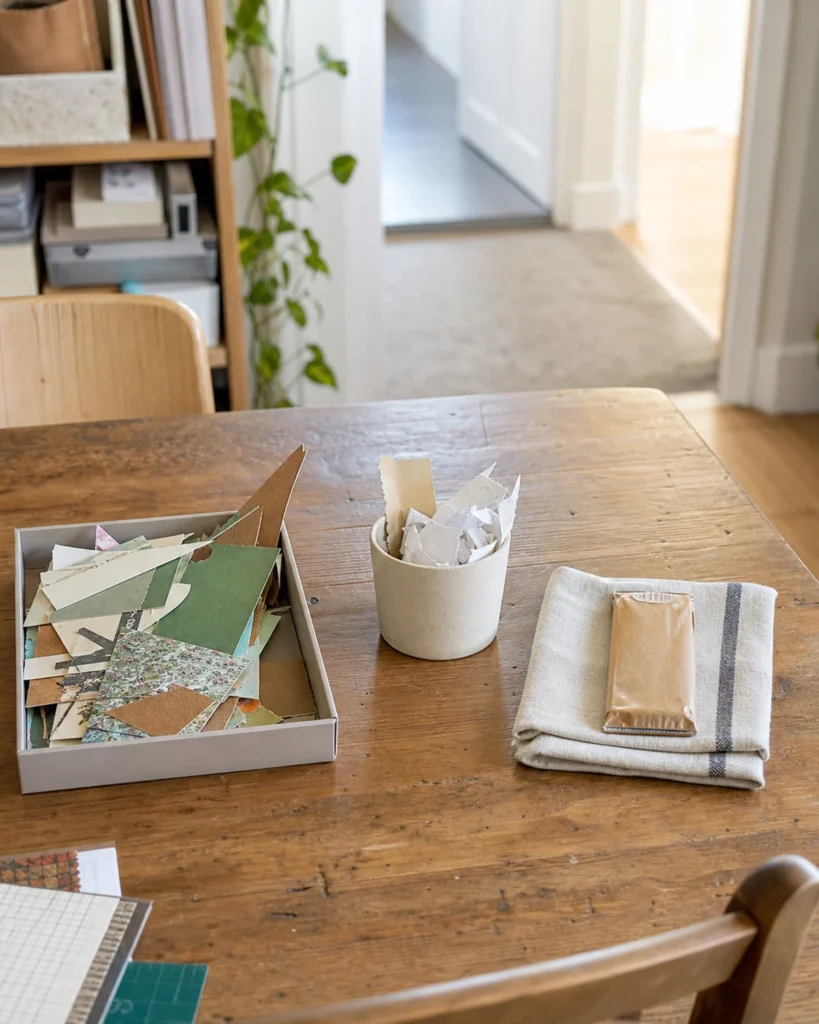
Incoming project tray, pieces kept in sequence
Cutting mat and the full sheet-turning motion
Tool caddy and separate scrap cup on the dominant-hand side
At dinner time, the dry paper project leaves in two lifts: tray first, then mat and caddy. The layout is a worked example, not a required dimension.
Test the table with expendable material before committing. Sit down, reach for the ruler, rotate the largest sheet, stand up and carry the tray away. Open nearby drawers. If the chair blocks one or the tray clips a lamp, the drawing has found a real conflict.
Treat pause as a designed state
A paused project is not clutter with a promising future. It has different requirements from stored supplies: its sequence may matter, its parts may be vulnerable, and its next action must survive a gap in attention.
For a dry, inert paper project, a shallow lidded tray may preserve the arrangement. Put components in step order, take a reference photograph if spatial order matters, and add one specific next-action note: “score the two dotted tabs” is restartable; “finish castle” is not.
Do not transfer that advice blindly to wet, curing, hot, dusty or chemically active work. A tight lid is not a universal safety device. Ventilation, temperature, separation, fire precautions, cure time and storage position are controlled by the exact material and tool instructions. If a shared room cannot provide the stated conditions, relocate that process rather than concealing it in a cupboard.
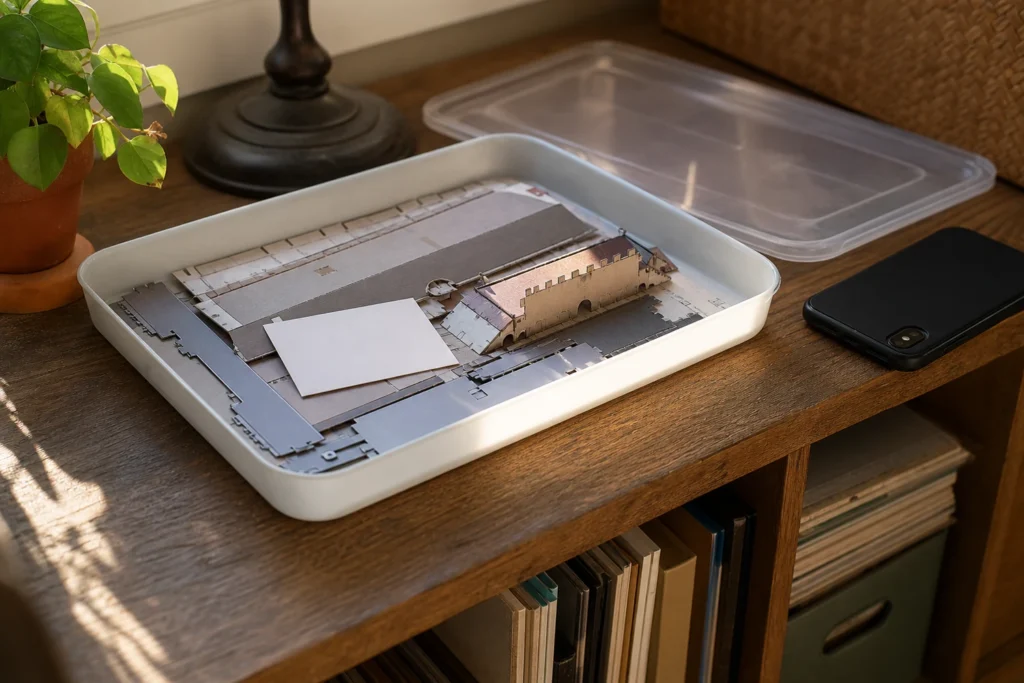
A pause shelf should not disable the room. Define its maximum footprint. Long projects can earn a dedicated board or tray that slides onto a supported shelf; tiny projects can use document boxes. Anything too large for the pause address needs an explicit exception before starting.
Plan cleanup before hands become messy
“Clean up” hides several different journeys. A clean fabric offcut may return to stock. A paper scrap may enter ordinary recycling where locally accepted. A brush may need a product-specific cleaning method. Leftover paint, solvent, resin components or other materials may have label and local disposal requirements. They should not be treated as one waste stream because they happened on the same table.
The U.S. EPA’s indoor-air guidance puts source control first and notes that painting, sanding and some hobby activities may require additional ventilation or relocation outdoors when appropriate. It does not say an open window makes every process suitable for a bedroom or shared family room. The product directions, outdoor conditions and room’s actual exhaust route still control.
For products that qualify as household hazardous waste, the EPA advises keeping them in original containers, retaining labels, following storage and disposal directions and checking local collection options. Its household hazardous-waste page also warns against casually pouring potentially hazardous leftovers down drains or mixing products. This is a decision boundary, not a claim that every paint or glue belongs in hazardous-waste collection.
Four exits from the work surface
| Exit | Question to answer before making | Nearby provision |
|---|---|---|
| Reuse | What size or condition is worth keeping? | A small, labelled offcut limit—not a floorless archive. |
| Ordinary waste | Is this accepted locally and uncontaminated? | A reachable bin that cannot be confused with reuse. |
| Label-controlled waste | What do the label and local service require? | Original identification and a safe temporary address, if permitted. |
| Wash or wipe | Which method and destination does the product specify? | The correct supplies before the container is opened. |
Walk the cleanup route with empty containers. If it requires carrying an open water cup across carpet, opening a child-accessible gate with dirty hands or balancing tools beside food preparation, change the work location or process. Good storage cannot repair a bad route.
Make return easier than postponement
The last ten items expose the quality of the system. Large equipment usually has a memorable home. The ruler, half-used packet, three useful scraps and borrowed household scissors create the drift.
Give shared tools obvious silhouettes or labelled addresses. Put often-returned items between knee and shoulder height where practical for the actual user, but do not invent a universal reach rule; mobility, stature, cabinet depth and access needs differ. Frequently used heavy items should not require a precarious lift. Wall-mounted or top-heavy storage must follow its manufacturer’s fixing instructions, the wall construction and any landlord or local requirements.
A “return tray” can absorb the end of a session if it has a hard limit. Make it one shallow tray, not a mystery drawer. When full, it must be cleared before another project begins. The limit converts a vague future chore into a visible maintenance signal.
Replenishment belongs here too. Mark a reorder threshold on genuine consumables, or keep one backup only where running out would halt a regular activity. A craft room crowded with aspirational inventory is harder to read than one with deliberate empty space.
Zone by material condition, not rainbow order
Colour sorting is satisfying when colour is the decision. It is less useful when the real question is whether an item is clean, dusty, wet, hot, sharp or controlled by a warning label. Two blue bottles may require completely different storage and cleanup. A white blade and a white ribbon should not become neighbours because the shelf photograph looks calm.
Begin with the lowest-complexity processes. Dry paper planning, pattern tracing and many hand-sewing tasks can often share a clean table when their tools are properly stored. Processes that make dust or airborne particles need the controls stated for the exact process; a tabletop box does not turn sanding into clean work. Wet processes need a suitable, reachable cleanup route and a surface that can be maintained. Products with ventilation, ignition, cure, age or disposal directions need their own rule set.
Put the rule on the storage address in plain language. “Read label before moving”, “adult access only”, “wash by product method” or “dry paper only” can be more useful than a decorative noun. Do not invent a warning or remove one from the product. The room label is a household prompt; the original label remains the authority.
Shared rooms need a close-down definition. For a clean paper project, that might mean every blade returned, adhesive closed, floor checked for dropped pieces, tray moved to the pause shelf and table wiped as appropriate. For a process with dust, heat, fumes or reactive materials, the close-down method comes from the tool and material guidance, and the shared room may not be suitable at all.
Also decide what never enters. Food-preparation tools should not silently become craft tools. An attractive vintage jar should not receive an unidentified chemical. A child’s open shelf should not become overflow for adult materials. Negative space is part of the safety and retrieval system: it keeps categories from bleeding together and leaves room to inspect containers for damage.
If several people make in the same place, assign each active project a bounded tray rather than an unrestricted portion of the table. Shared infrastructure—mat, lamp, ordinary paper tools—returns after every session. Personal projects carry their own next-action card. This makes responsibility visible without turning the room into a collection of locked cupboards.
Searchable safety and household limits
No craft material is safe because its packaging looks familiar. Read and retain the label; use the material only for its intended purpose and user; follow age restrictions, ventilation, personal-protection, ignition, cure, storage and disposal directions. Manufacturer instructions and local rules override this room-planning guide.
- Keep food and drink outside the active material area when the product guidance or process makes cross-contamination possible.
- Children and pets need physical separation and supervision appropriate to the tool or material; a high shelf is not automatically secure.
- Do not combine clean handwork, dusty cutting or sanding, wet work and label-controlled materials merely to complete a symmetrical room plan.
- Check leases before fixing rails, cabinets, lights or panels. Use a qualified professional where the fixing, electrical work, ventilation or surface condition is uncertain.
- Stop and address damaged cords, unstable furniture, spills, unexpected odour, heat or a material reaction according to the product’s emergency guidance.
This guide offers workflow and room-planning ideas. It does not certify a product, replace a safety data sheet, prescribe ventilation, or provide disposal instructions for an unidentified material.
Run a one-project audit before reorganising the room
| Stage | Evidence to record | Smallest useful repair |
|---|---|---|
| Choose | Which options delayed the start? | Reduce the visible project queue. |
| Gather | Every drawer, lid and trip. | Build one repeat-use kit. |
| Make | What invaded the working rectangle? | Add one defined landing area. |
| Pause | What could not be moved or remembered? | Create a protected tray and next-action note. |
| Clean | Which object or waste stream stalled? | Place the correct exit nearby. |
| Return | What remained after ten minutes? | Give that item an easier address. |
Do not fix all six rows at once. Repair the earliest repeated failure, then run another project. A gather kit may prevent the mess that looked like a cleanup problem; a pause tray may release the dining table without adding any permanent cabinetry.
Your next action: follow one unfinished thing
Choose the most recent project that overstayed its welcome. On one sheet, draw its path from idea to final return and circle the first place it lost a safe, obvious address. Fix only that point with something already available: a tray, a marked rectangle, a next-action card or a correctly separated cleanup container.
Then make the project again. The craft room earns its “dream” label when a person can stop mid-sentence, clear the shared table and later find the thread of the work—not when every jar faces forward for a photograph.
Sources and scope
- U.S. Consumer Product Safety Commission: Art and Craft Safety Guide — label, material-selection and child-safety boundaries.
- U.S. Environmental Protection Agency: Improving Indoor Air Quality — source control and ventilation principles for pollutant-generating activities.
- U.S. Environmental Protection Agency: Household Hazardous Waste — original containers, labels and local disposal routes for products that qualify.
Sources were checked 30 July 2026. U.S. sources are safety references, not global private-home law. This article contains no affiliate links and reports no personal product testing.
About the visuals in this guide
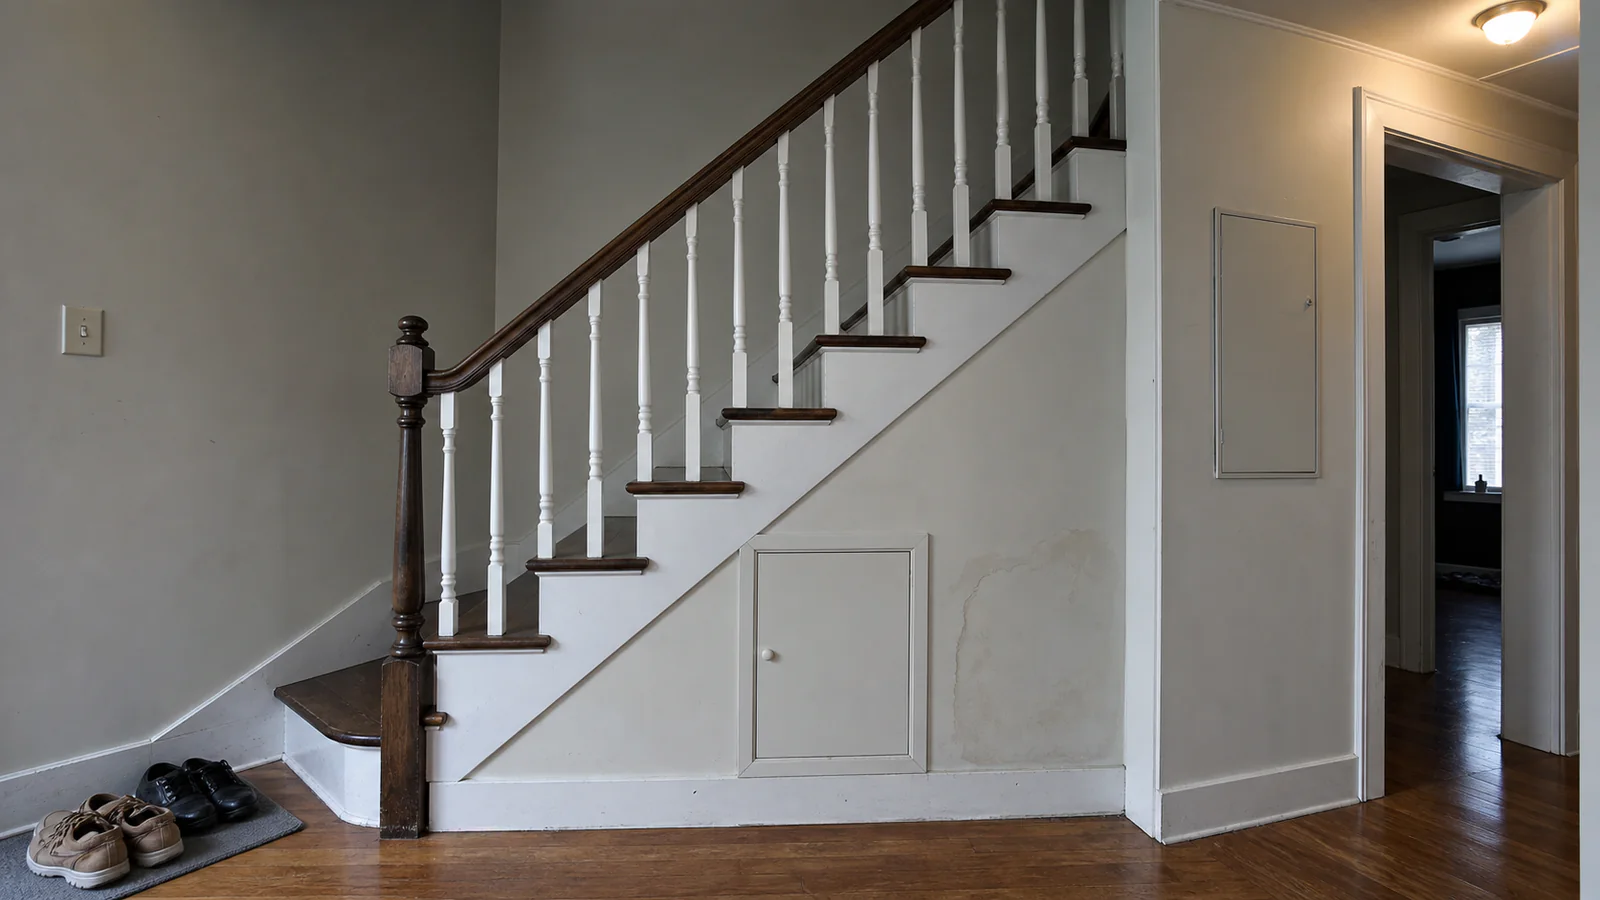
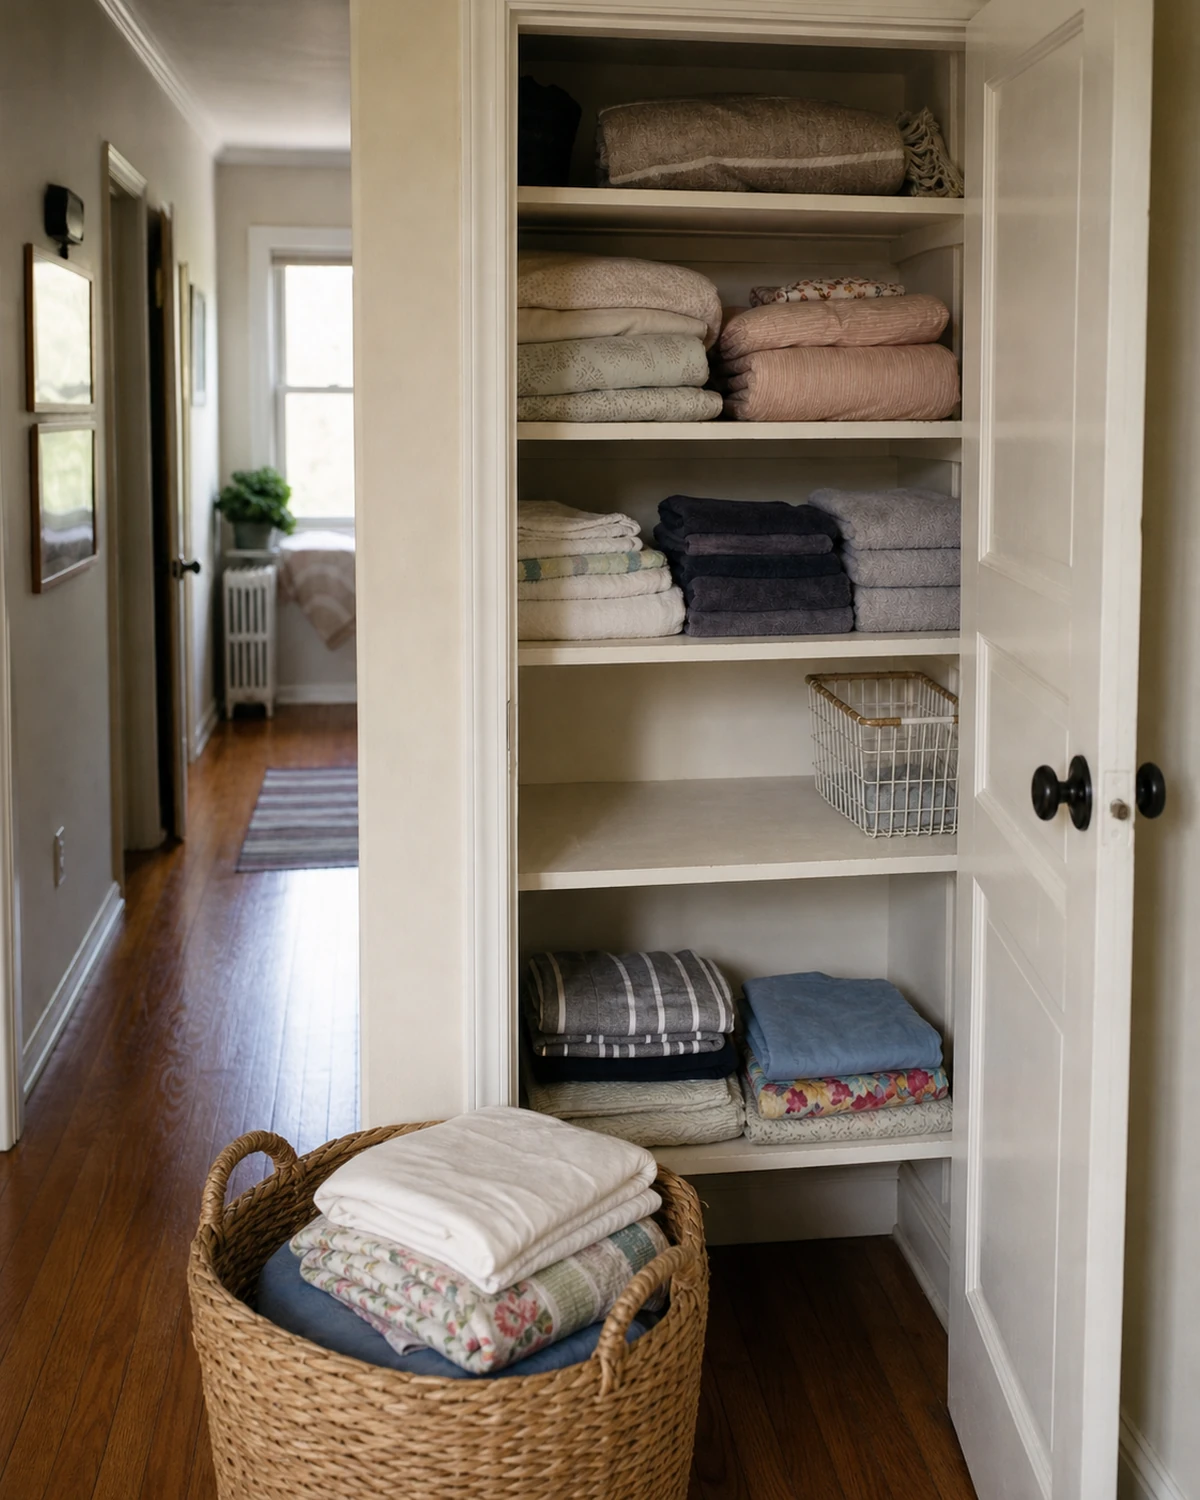
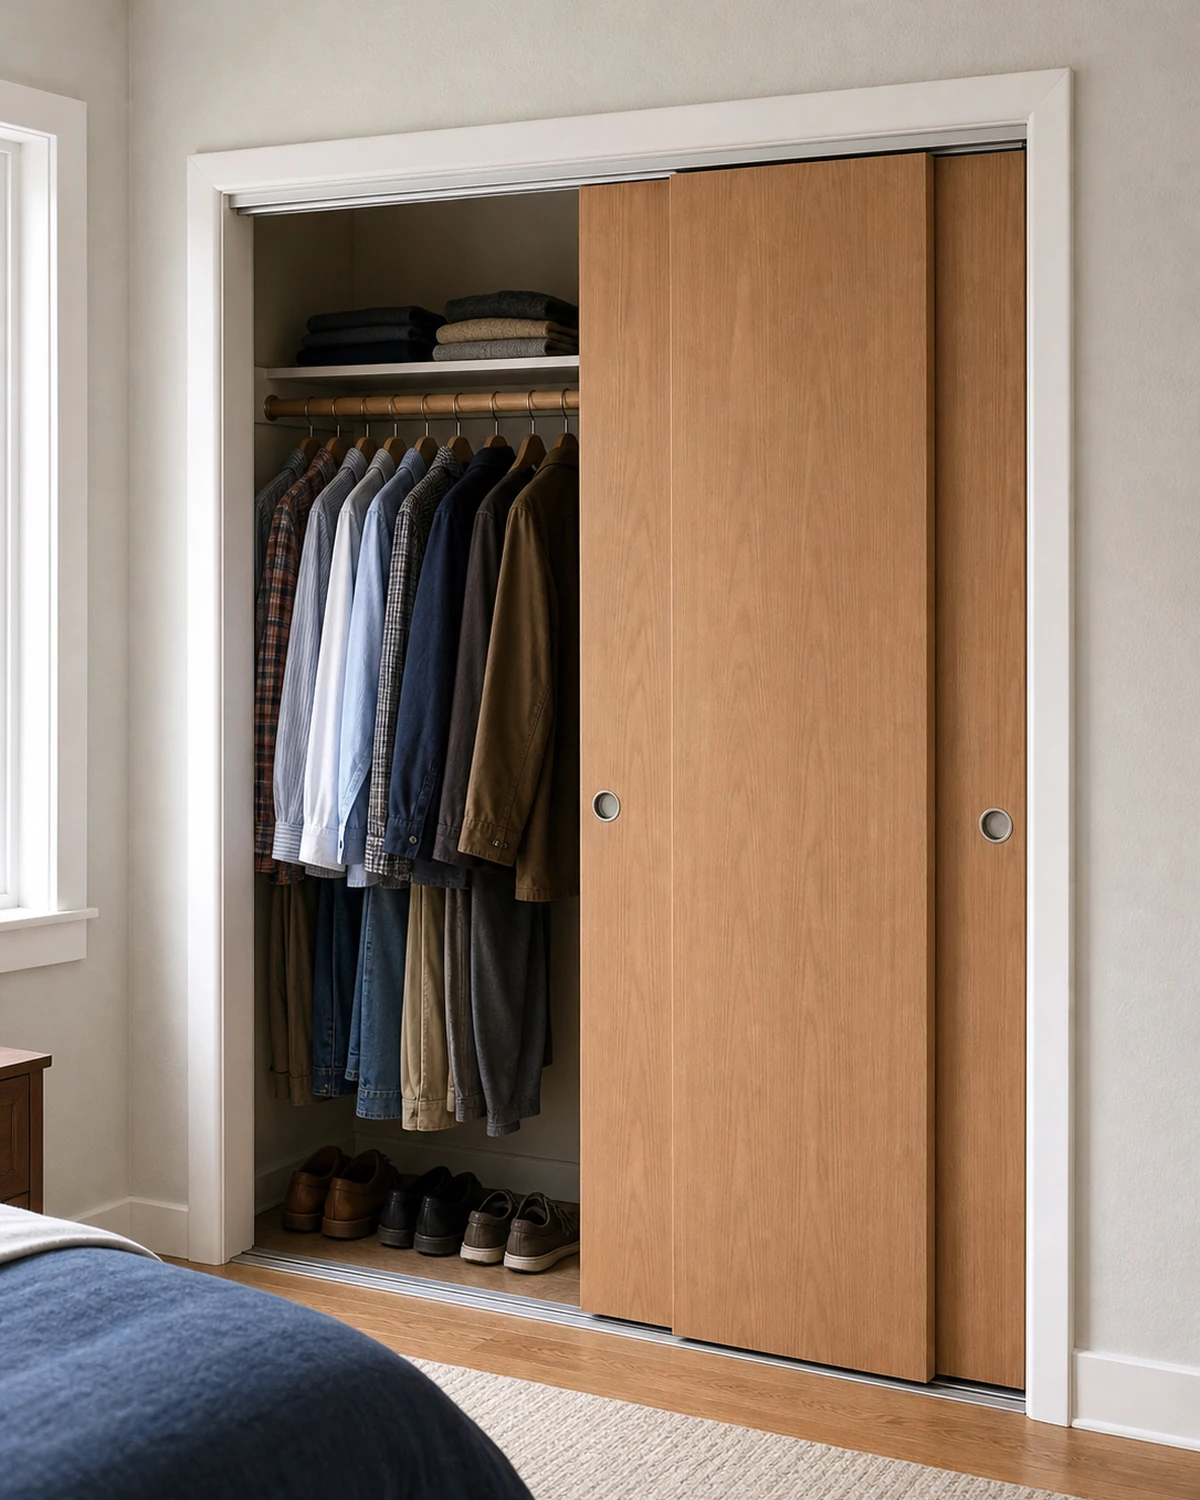
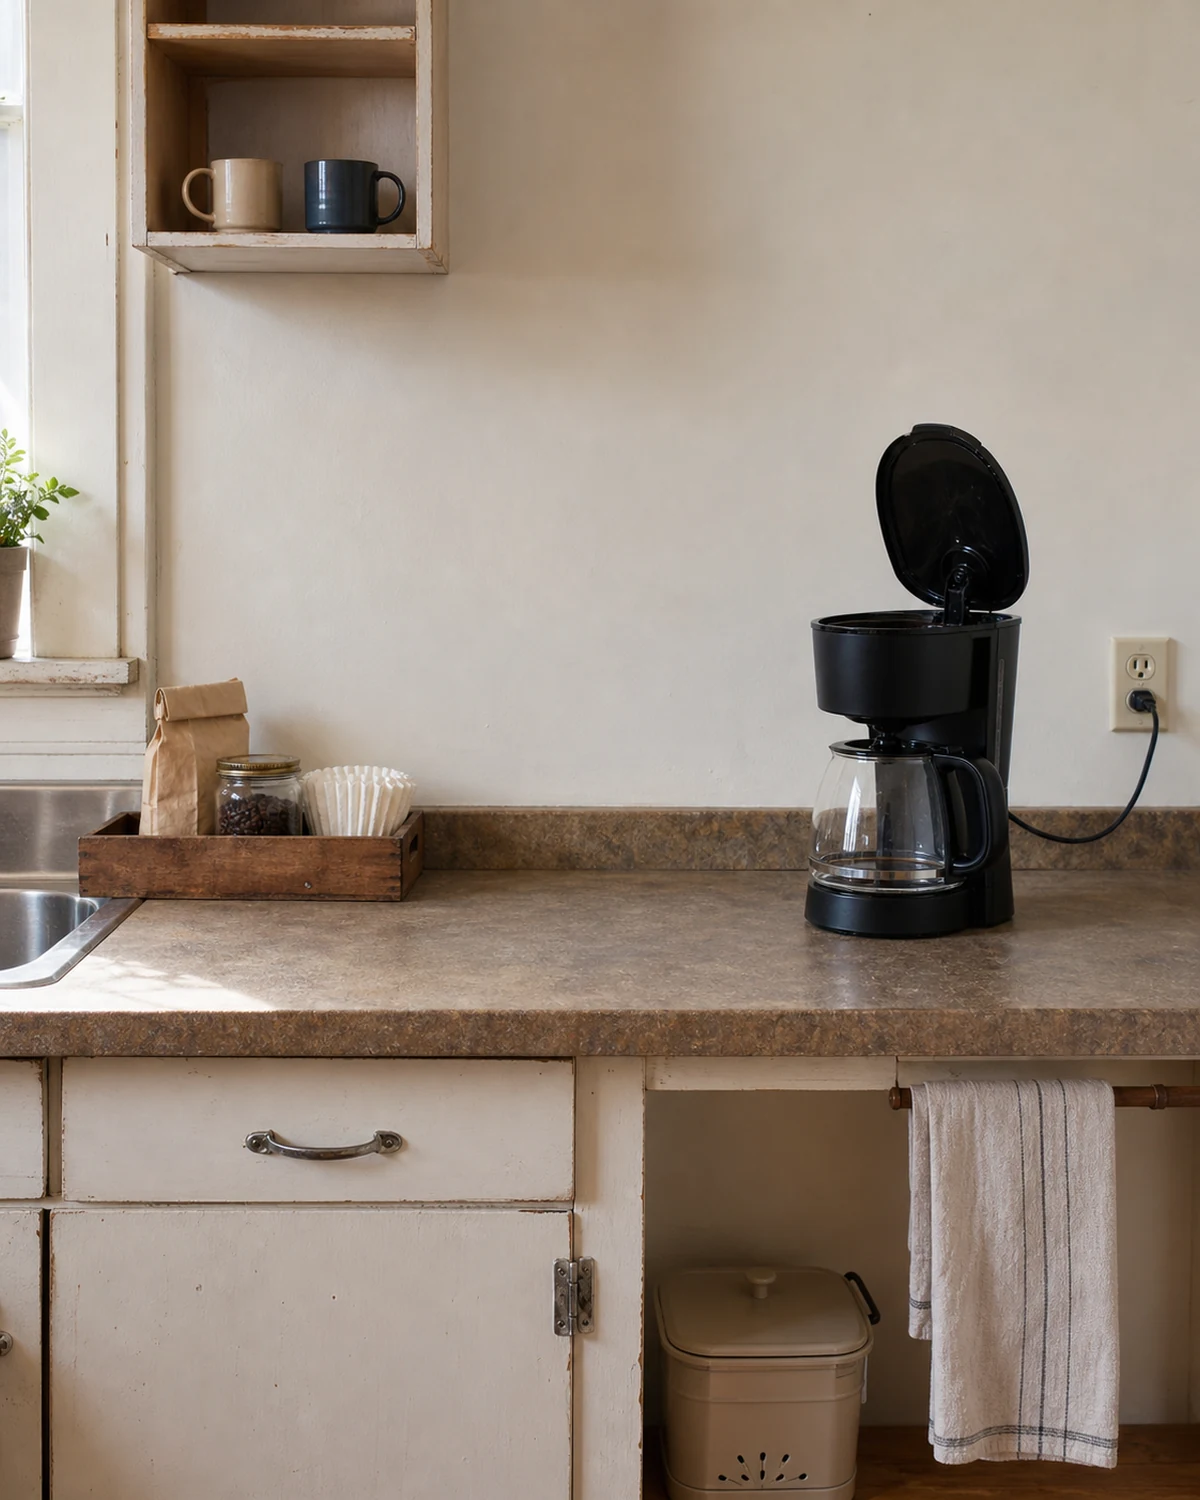
These are original Dealsmaster visual studies made with AI-assisted image tools and art-directed for this article. They illustrate planning examples, not photographed reader homes, product tests, or guaranteed outcomes.