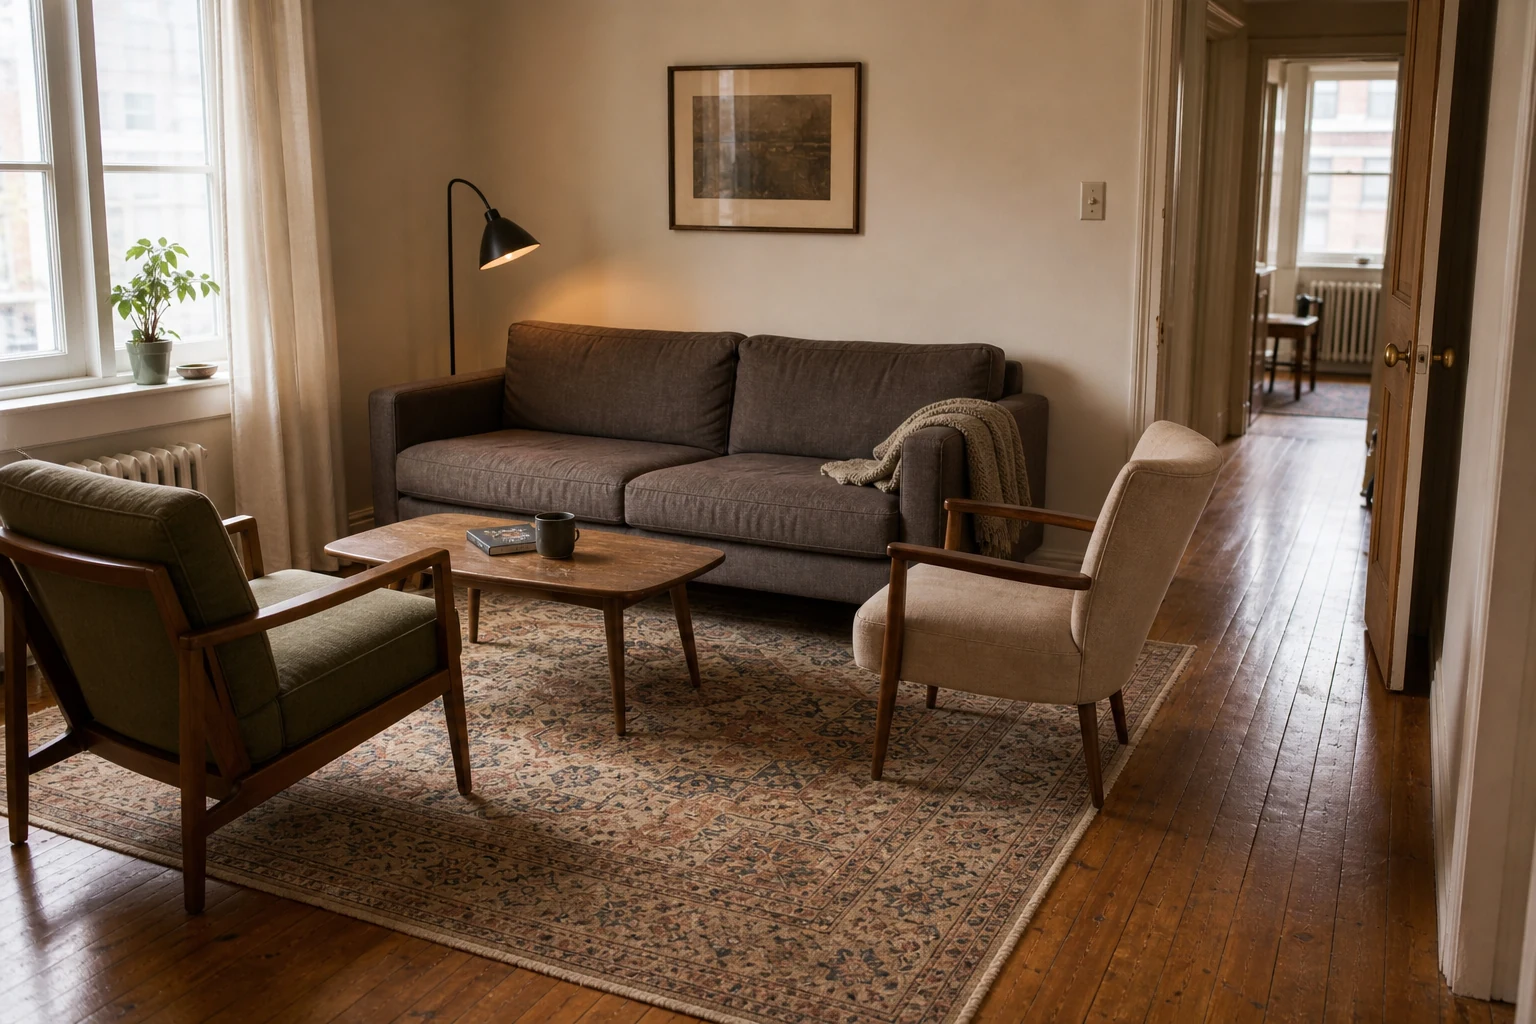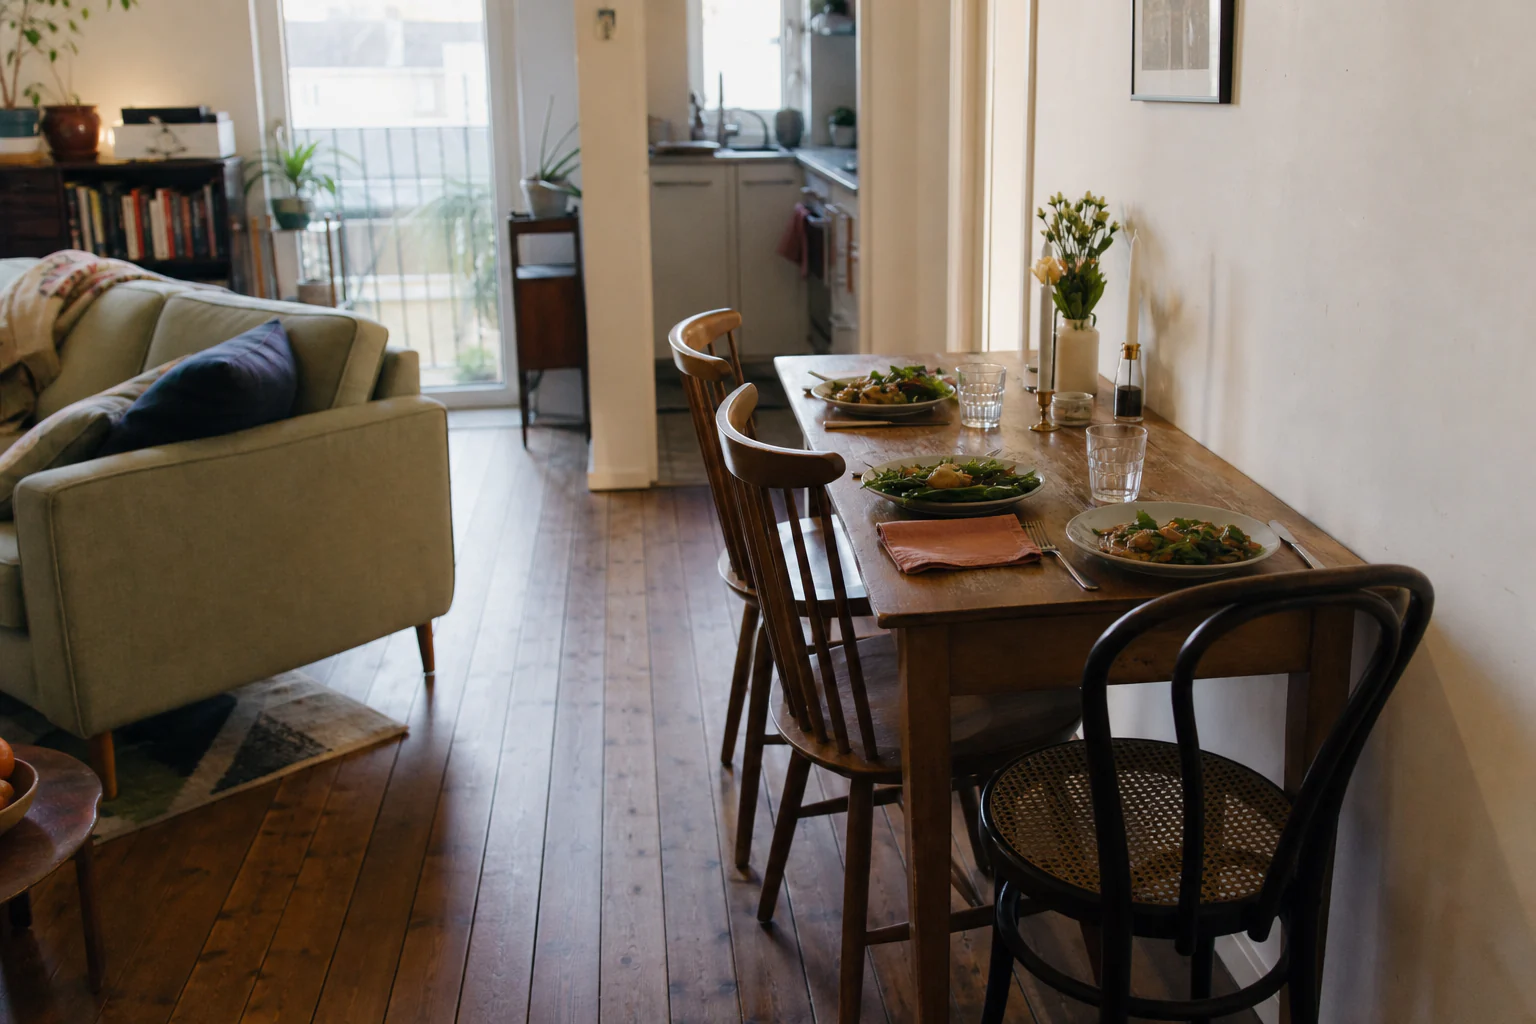
A meal, rehearsed at full size
The table is not the footprint. Dinner is.
Follow one ordinary meal from kitchen to chair to sink. The right zone is the one that still works after everybody sits down.
- 01Serve
- 02Sit
- 03Pass
- 04Clear
The table is rarely the whole dining-zone problem. The problem arrives when a chair slides back, a second person walks to the kitchen, the table leaf opens and somebody discovers that the bathroom route now runs through dinner.
If your home has no dining room, do not begin with a table shape. Begin with one meal you want the room to handle. Breakfast for one needs almost no ceremony. A weeknight meal for three needs plates, elbows and an easy route to the sink. Six people once a month may need a table that changes state rather than occupying its party footprint every day.
The useful question is not “Where can a table fit?” It is:
Where can the whole meal happen without borrowing space that another essential job needs at the same time?
That change in question usually saves more floor area than buying the smallest table you can find.
Rehearse one meal before measuring furniture
Chair movement study
A chair has three footprints
- 01TuckedThe room is passing by.
- 02OccupiedKnees, elbows, and a plate are in use.
- 03LeavingThe chair moves back and the route briefly grows.
Choose the meal that matters most and write its cast:
- how many people sit most days;
- the largest number you genuinely expect, not a fantasy holiday crowd;
- whether anyone uses a mobility aid or needs a more direct approach;
- whether food is served from the kitchen, from the table or from a nearby cabinet;
- what else the room must do during the meal;
- where a highchair, pet bowl or work laptop goes.
Now mark the existing walking route with painter's tape or removable paper. Include door swings, opening drawers, the route to a balcony and any path that must remain clear.
A chair is not its photographed footprint. It has at least three states:
- Tucked: the room is passing by.
- Occupied: a person needs knee and elbow room.
- Leaving: the chair moves back and the route temporarily grows.
Place a dining chair—or a chair of similar depth—where you think the table should go. Sit, stand and let another person pass. If the room only works while every chair is tucked, it does not yet work as a dining zone.
For a rough home tape test, many households find it useful to start with about 75–90 cm (30–36 in) from table edge to a wall or obstruction where a chair must be used. More space may be needed for a main route, accessibility, larger bodies or a serving path. This is not a code promise. It is a rehearsal starting point. Local accessibility or building requirements may ask for more.
Draw the occupied rectangle
Plan-view method
Draw the occupied rectangle
- Table only
- Occupied chairs
- Keep-clear route
Instead of measuring the table alone, draw a rectangle around:
- the tabletop;
- the deepest chair in its occupied position;
- the chair's leaving movement;
- the route that must remain after everyone sits.
Call this the occupied rectangle. It is the dining zone's honest footprint.
A 120 × 75 cm table may sound compact. Add two occupied chairs on each long side and the working footprint can become closer to 240 × 195 cm before a generous passing route is considered. Your chairs and bodies determine the real number; measure them.
If the occupied rectangle collides with another essential job, change the zone type before shrinking every component.
Four dining zones worth tape-testing
Four useful zone types
Change the arrangement before shrinking every object
- Wall-sideBest for one or two daily diners; pull out for guests.
- Bench edgeReduces pull-back on one side; keep one easy chair approach.
- Changing tableA daily state and a larger occasional state.
- ThresholdUse light, art, or colour to mark the zone without blocking flow.
1. The wall-side everyday table
Place a rectangular or drop-leaf table with one long edge near a wall for ordinary days. Pull it out only when both sides are needed.
This is strong when:
- one or two people eat most meals;
- the room has a clean wall outside the main route;
- occasional guests matter more than daily symmetry;
- the table can move without scratching the floor.
It fails when a heavy table is never moved, the folded leaf blocks legs or the “spare” chairs permanently live in the route.
Give the displaced chairs a real home. A guest chair can be a desk chair, bedroom chair or light occasional chair. Four identical chairs standing guard around a two-person table are not compulsory.
2. The banquette or bench edge
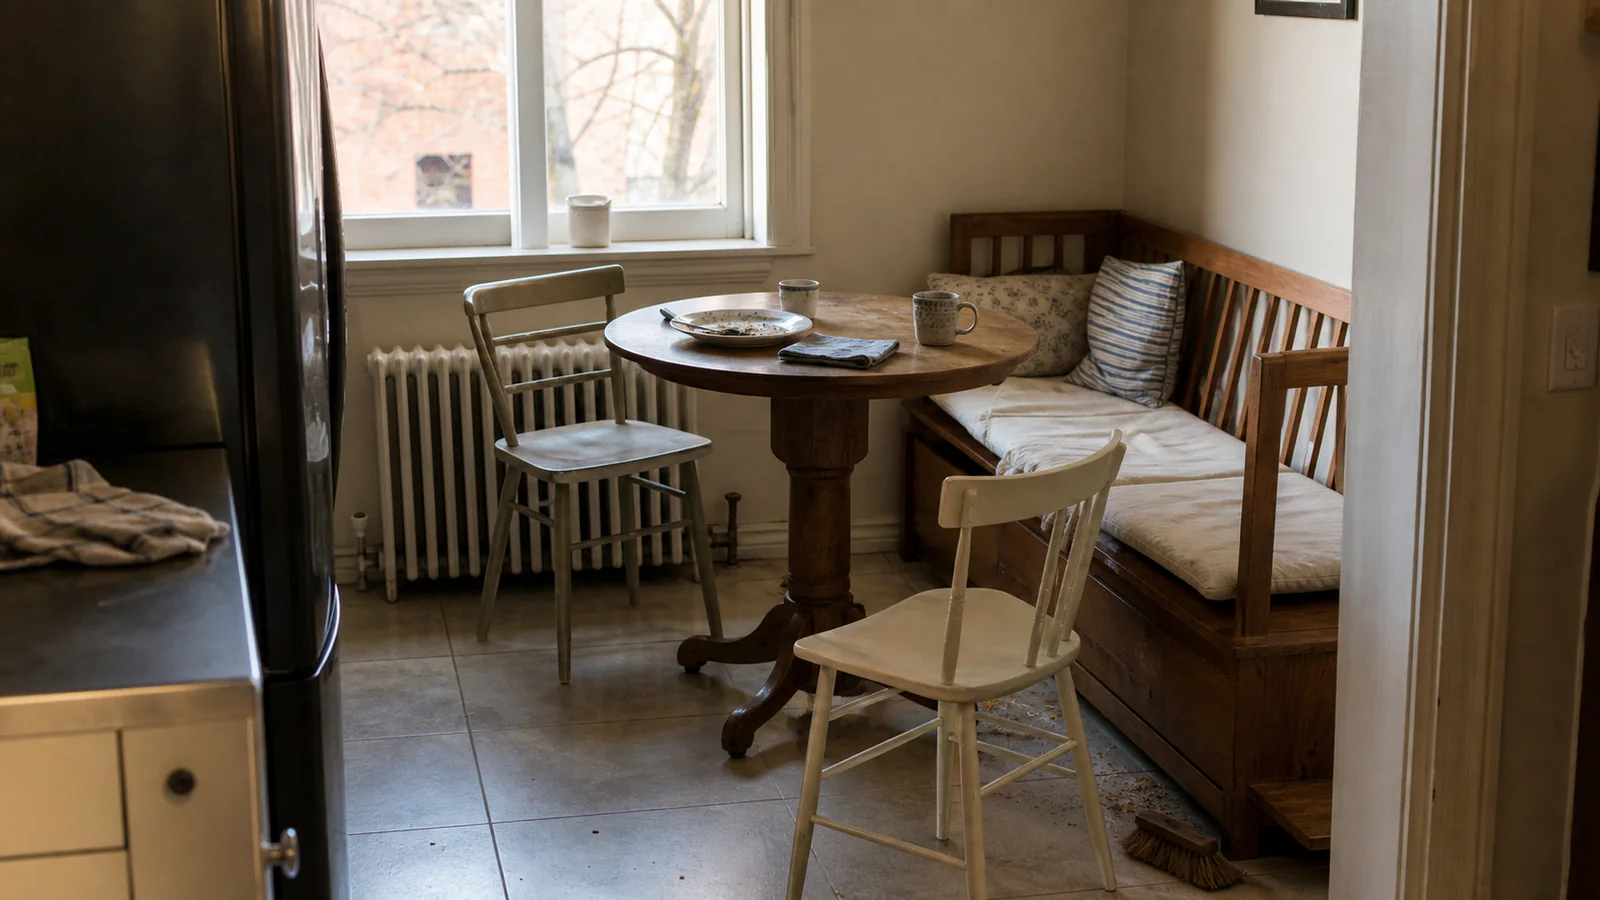
A bench against a wall reduces chair pull-back on one side. It can make a narrow kitchen edge or living-room corner workable.
Do not confuse reduced pull-back with universal accessibility. A fixed bench may be difficult for some people to enter or leave, and the person in the middle may need others to move. Keep at least one chair position with a straightforward approach.
A bench works best when its seat depth, back comfort and table support do not force people to lean forward. Test it for the length of a real meal, not a ten-second showroom sit.
Avoid building storage into a bench merely because the cavity exists. Deep, low storage is inconvenient for daily items, and a heavy lid beside small fingers needs careful hardware and risk review.
3. The table that changes state
Drop-leaf, gateleg, folding and extending tables earn floor area by having a daily state and an occasional state.
Before buying, tape both:
- closed occupied rectangle for daily use;
- open occupied rectangle for the largest intended meal.
Then rehearse the change. Where do objects on the table go while it opens? Can one person operate it? Do the legs land where knees need to be? Is the open state stable on the actual floor?
The most useful transforming table is not the one with the smallest closed measurement. It is the one your household will actually change without resentment.
4. The threshold zone
Sometimes the best dining place sits between kitchen and living area. A rug, pendant, wall colour, low cabinet or art composition can make it read as a zone without erecting a divider.
Keep the boundary visual, not obstructive. A tall open shelf may look like zoning in a photograph but create a narrow route, block daylight or require anchoring. A ceiling light may define the table beautifully, but moving hardwired electrical points belongs to a qualified professional and local rules.
Use the threshold zone when the room is already open-plan and the table can serve both sides: food arrives from one direction; conversation continues into the other.
Choose shape by the collision
Shape by collision
Choose the edge that solves the actual pinch point
| Shape | Useful when | Still test |
|---|---|---|
| Rectangle | The room follows a long wall | End-chair clearance |
| Round | Hard corners interrupt a turn | Total diameter |
| Oval | You need softer ends | Base and usable edge |
| Drop-leaf | Daily and guest states differ | The opening ritual |
Shape is useful only when it removes a specific collision.
- Rectangular: aligns with long walls, benches and narrow rooms; often easiest to extend.
- Round: removes hard corners from a tight turning area and keeps conversation open, but its diameter can consume more width than expected.
- Oval: softens the ends of a rectangular footprint; check the base and usable edge space.
- Square: orderly for four, awkward when enlarged for more people.
- Console-depth: helpful for one-sided daily eating, but some are too shallow or high for comfortable meals.
Pedestal bases can reduce leg collisions, yet a poorly proportioned base may wobble or limit foot placement. Four legs are predictable but can fight with chair positions. Sit at every intended seat.
Light the food and the faces
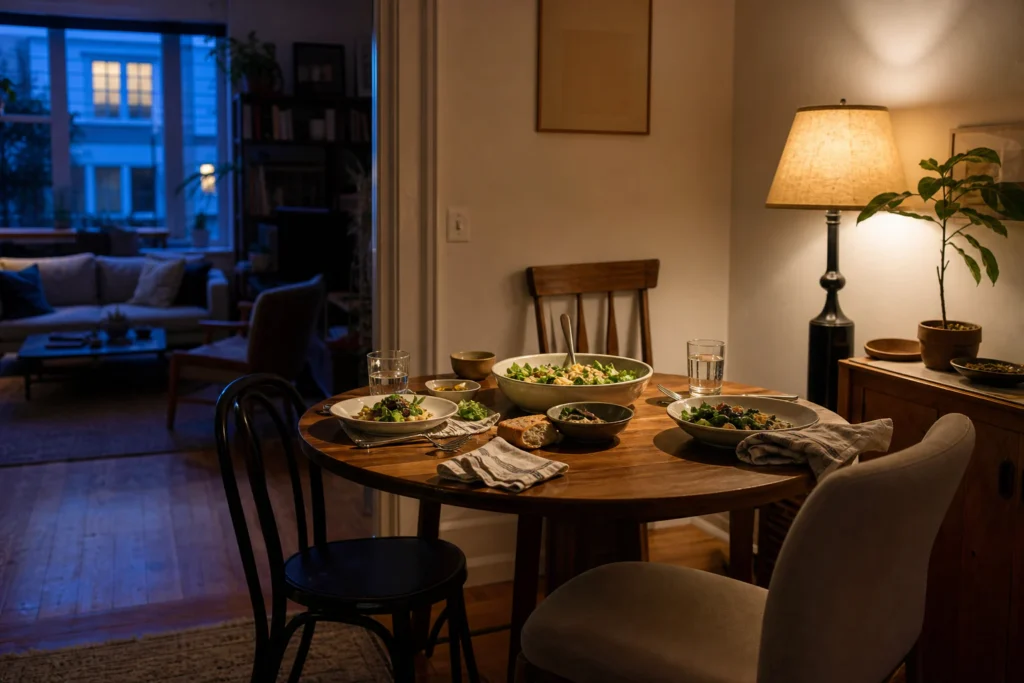
A dining zone needs enough light to see the plate without turning the rest of an open room into a waiting room.
If there is no pendant above the table, try:
- a shaded floor lamp that throws light across, not into, people's eyes;
- a plug-in wall light installed according to its instructions and tenancy rules;
- a table lamp on a nearby cabinet;
- the room's ambient light plus a focused, dimmable layer.
Hide neither cords under rugs nor improvised wiring behind a bench. The existing Dealsmaster layered-lighting guide explains ambient, task and accent roles in more depth.
Let the zone carry one secondary job
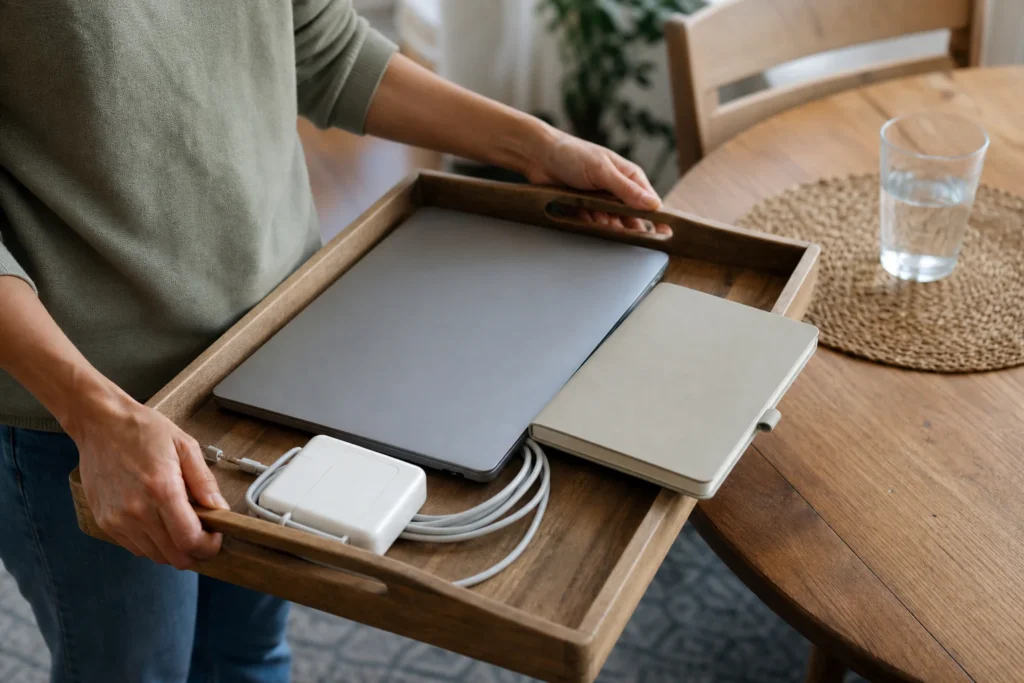
In a small home, a dining table may also host homework, sewing or administration. That is reasonable. Trouble begins when the secondary job cannot leave.
Give the work a closing container:
- one lidded tray for chargers and notebooks;
- a vertical file on a nearby shelf;
- a portable caddy that moves as a unit;
- a drawer reserved for the current project.
The goal is not a permanently empty table. It is a table that can become available in one short action.
Avoid turning the dining zone into permanent general storage. If every meal begins with relocating parcels, laundry and tools, the room has assigned arrival jobs to the wrong surface. The no-entryway drop-zone guide can help repair that route.
A worked example: 3.2 × 4.1 metres, three daily diners
Constructed planning example
Same table, smaller daily collision
- BeforeFour chairs surround the table; one blocks the balcony route.
- AfterTwo sit on the wall-side bench, one at the end, and the guest chair lives at the desk.
The room contains a kitchen door on the short wall, a sofa along one long wall and a balcony door opposite the kitchen. A 140 × 80 cm table with four chairs looks plausible in the leftover corner.
The tape test shows the fourth chair opening directly into the balcony route. Pulling all chairs out leaves no comfortable crossing.
Three changes solve the actual collision:
- Turn the table so its long edge follows the wall.
- Use a wall-side bench for two daily diners and one chair at the end.
- Store a fourth lightweight chair at the desk; pull the table 45 cm away from the wall only for guests.
The table is not smaller. Its daily occupied rectangle is.
The visual boundary comes from a narrow art arrangement and a washable runner rather than a rug, because the household prefers easy chair movement and frequent cleaning. A shaded floor lamp near the end provides evening light without new electrical work.
That plan is less symmetrical than the original. It is also available for dinner.
The 20-minute tape test
Saveable working tool
The 20-minute occupied-rectangle test
0 of 7 complete
- Mark the fixed route.
- Tape the tabletop.
- Place real chairs in occupied positions.
- Sit at every place.
- Carry a plate from kitchen to table.
- Open the nearest door, drawer or cabinet.
- Let the largest expected group stand up.
- Test the table's open and closed states.
- Photograph the tape from above if possible.
- Leave it for one evening and notice where people step through it.
If tape repeatedly crosses a necessary route, do not negotiate with the evidence. Try a different zone type.
What to buy last
Buy décor last. First confirm:
- the occupied rectangle;
- the table's change of state;
- stable, comfortable seats;
- one accessible approach where needed;
- the route during a real meal;
- the light after sunset;
- the closing container for secondary work.
Then choose the visual layer. One strong object—a pendant where safe and feasible, an artwork, a wall colour, a runner, a compact cabinet—usually establishes the zone more convincingly than many small dining-themed objects.
Your home does not need to pretend it has a dining room. It needs a place where the meal can begin without the room stopping.
Useful next action
Tape only the occupied rectangle for tonight's most common meal. Do not shop. Eat beside the outline once and write down the first collision.
About the visuals in this guide
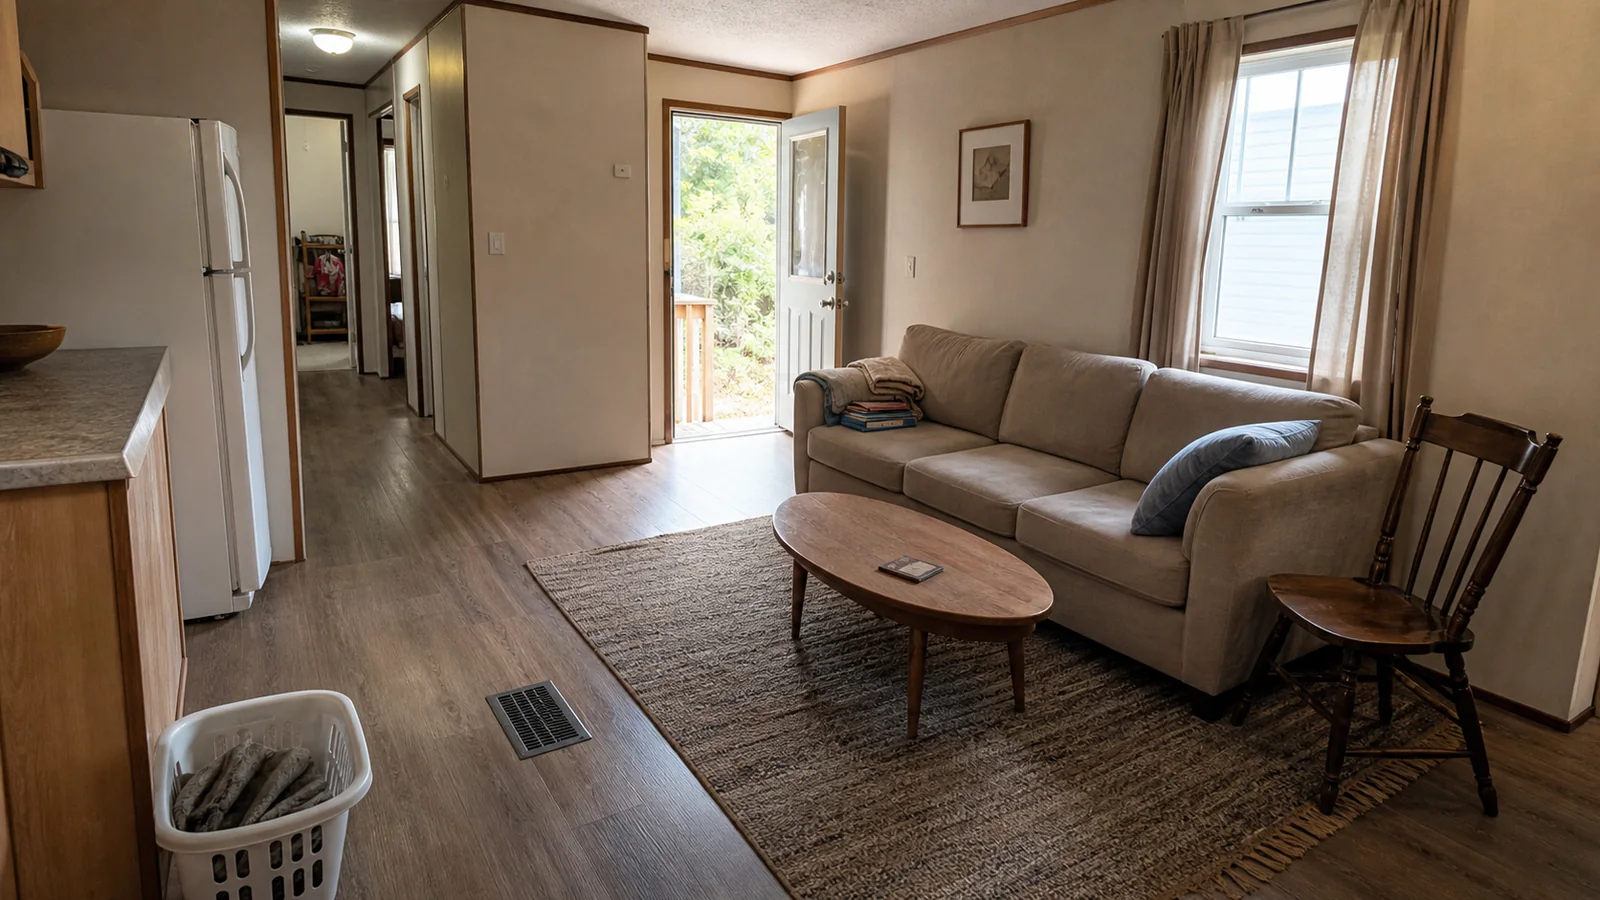
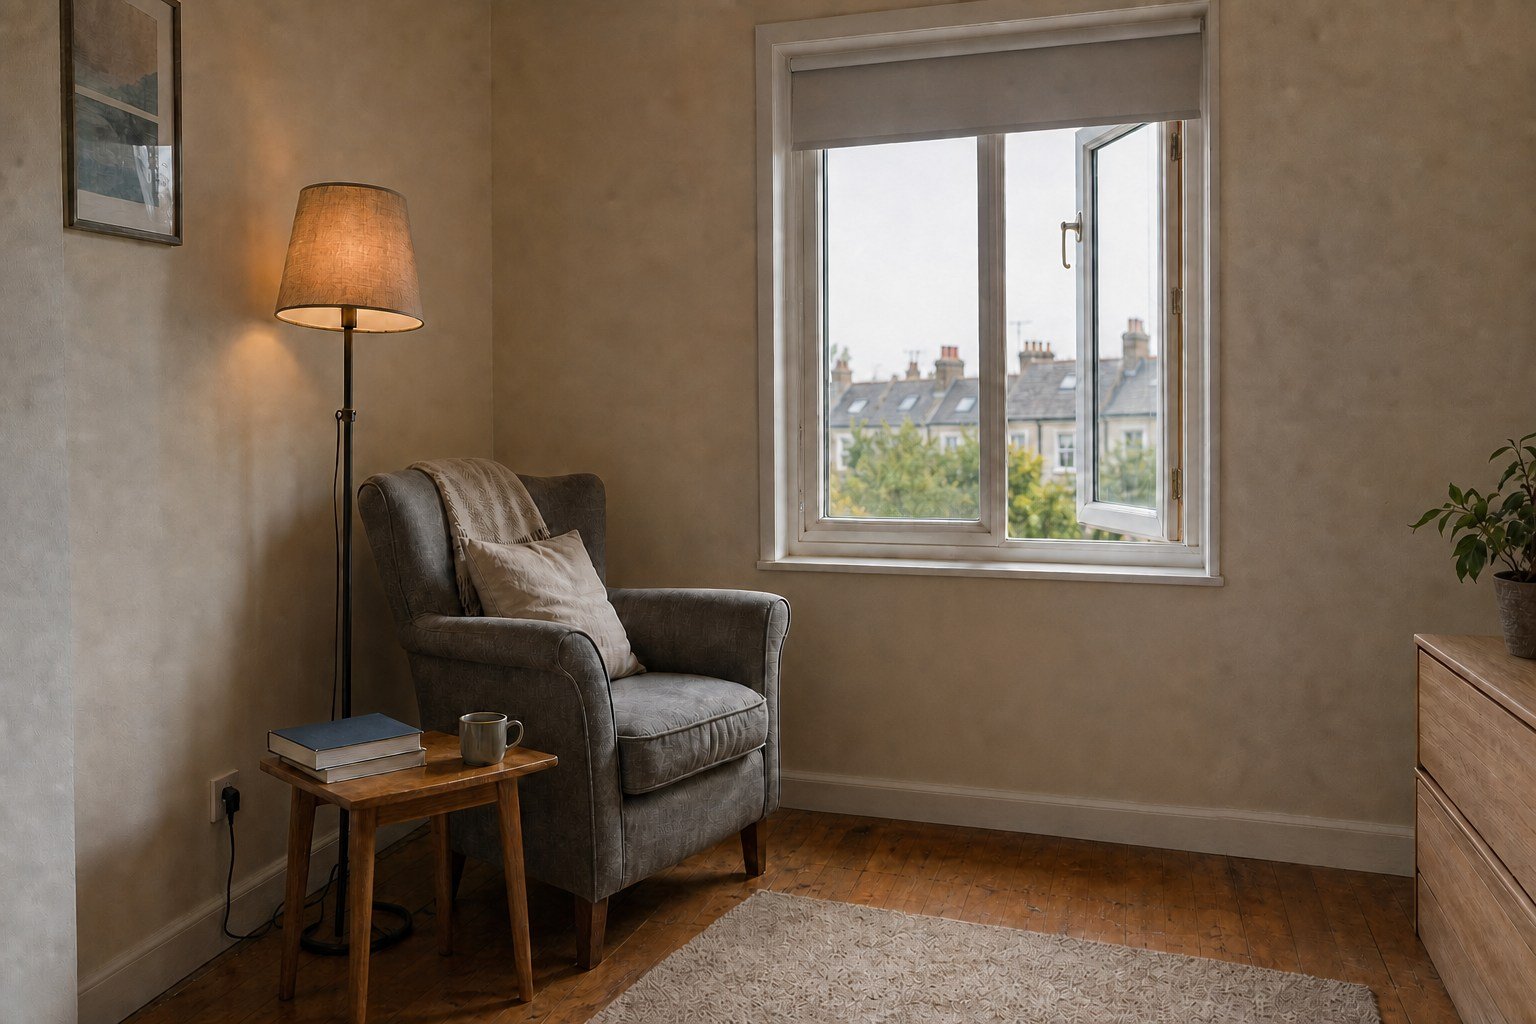
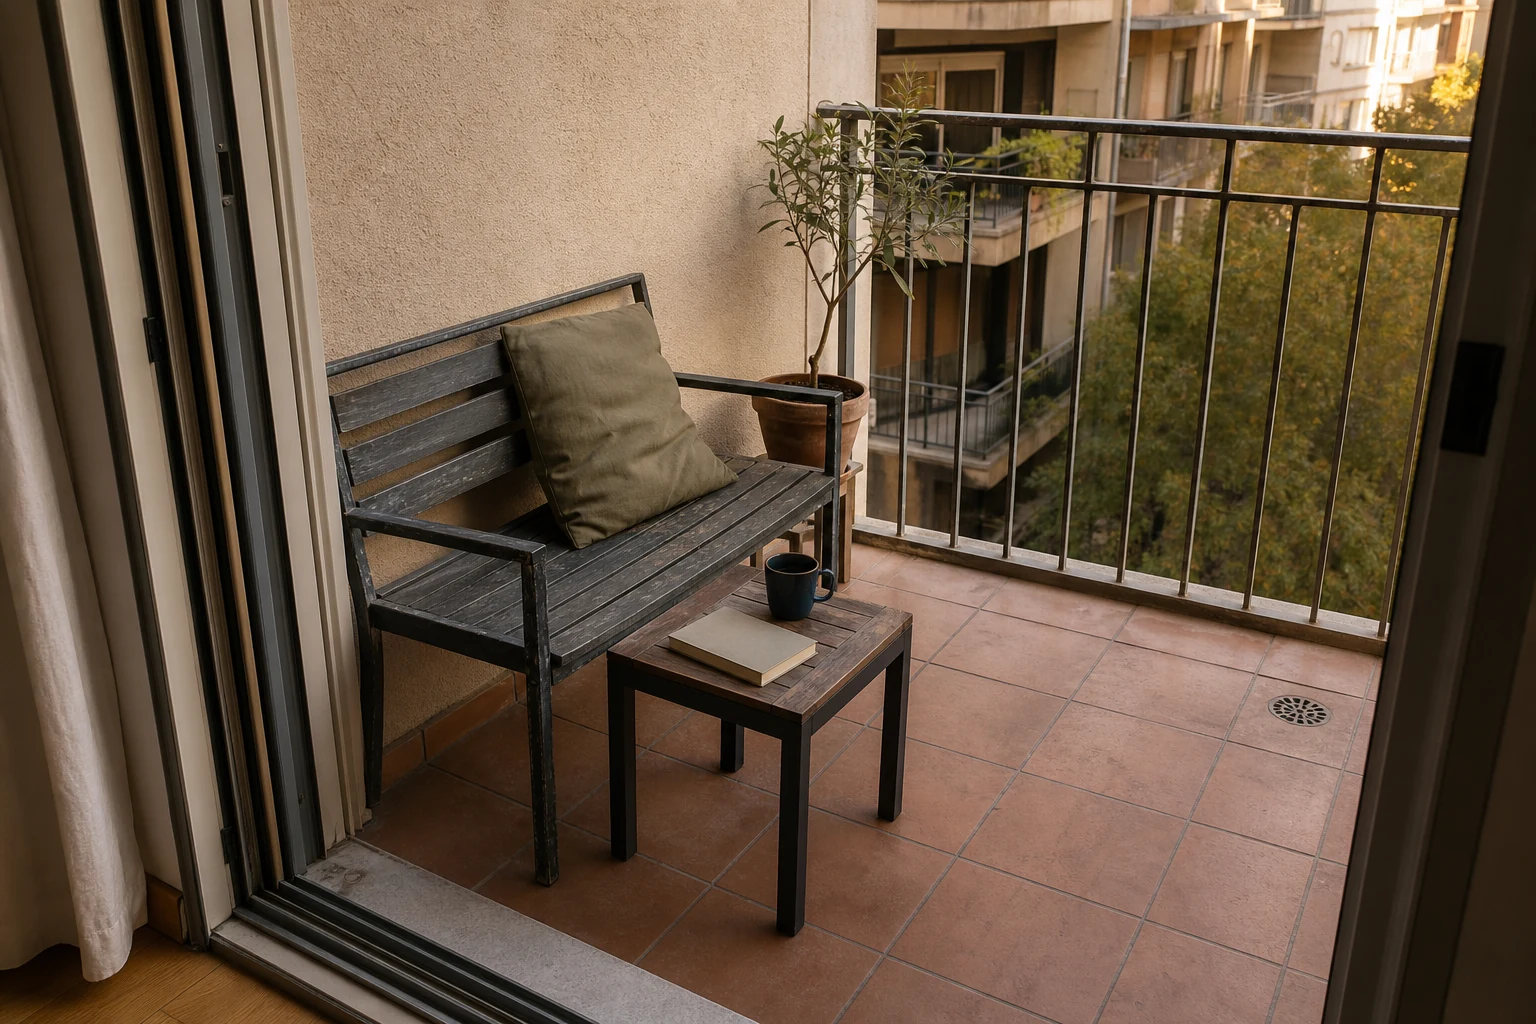
These are original Dealsmaster editorial illustrations produced with AI assistance for explanation and inspiration. They do not document a real household, tested installation, reader result, or professional inspection.
Sources and limits
Useful advice should show its working
Material claims were checked against the primary guidance below. Dealsmaster dimensions and layouts are editorial planning starting points, not universal codes, professional assessments, or product instructions. Local rules, tenancy terms, building conditions, user needs, and manufacturer guidance control.
- U.S. Access Board — Clear Floor or Ground Space and Turning SpaceClear floor-space and approach principles used to frame the route check.
- U.S. Access Board — Accessible RoutesContext for keeping required routes connected and unobstructed.
Disclosure: This guide contains no affiliate links, sponsorship, or claimed product testing. Constructed examples are planning examples, not reported Dealsmaster households.