One album, from shelf to signal and back
Plan a record-player corner in this order: confirm the exact equipment path, give the turntable stable support, reserve a clean sleeve-landing space, store records upright, route cables for access, and only then compose the view. The setup should survive somebody choosing an album, opening the dust cover, sitting down and reshelving it. If a plant or speaker must move every time, the photograph has won and the listener has lost.
This is room-planning guidance, not a universal audio system diagram. Turntables differ: some have an internal phono preamplifier, some require an external phono stage or a receiver with a phono input, some can feed powered speakers, and some cannot. The manuals and specifications for the exact models decide what connects, how it is powered and what clearance it needs.
Draw the signal path before choosing furniture
Write down every exact model number, including inherited or second-hand components. Find the manufacturer’s manual for each. Do not treat a connector that physically fits as proof that signal level, grounding, amplification or settings are correct.
A common analogue arrangement might include a turntable, phono stage, amplifier and passive speakers. Another turntable may include the phono stage and connect at line level to powered speakers. A receiver may combine several functions. Bluetooth adds another product-specific route. Draw what you own, not the most elegant diagram on the internet.
Output and PHONO/LINE setting?
Phono stage
Built in, external, or in the receiver?
Amplification
Receiver, integrated amp, or powered speakers?
Speakers
Passive or powered; wired or supported wireless route?
Also draw power, ground where applicable, audio cable type, control access and manufacturer-stated ventilation around each box.
An Audio-Technica AT-LP3XBT manual, for example, assigns different PHONO/LINE settings depending on whether the connected equipment has a phono input and says powered speakers are needed for a direct speaker connection. That is useful evidence that layouts vary; it is not permission to apply that model’s instructions to another turntable.
Measure the supplied and approved cable lengths without pulling them taut. Confirm that controls, connections, dust cover and ventilation remain usable. A cabinet with the right exterior width can still fail because the lid cannot open, the cable bends sharply at the rear or an amplifier’s stated clearance disappears behind a door.
Make an equipment passport
Keep the technical evidence beside the room sketch. It prevents duplicate purchases and gives future troubleshooting a starting point. A note on a phone is enough; accuracy matters more than stationery.
Repeat the passport for each component. If the manual is unavailable or the equipment is modified, pause the layout and obtain model-appropriate help. A room guide cannot identify an unknown output or certify a vintage electrical item.
Give the turntable a surface that stays put
A turntable needs the support its manufacturer specifies. “Looks solid” is not a test. A narrow cabinet may twist when a drawer opens; a rolling cart may move when a record is handled; a wall shelf depends on the wall, fixings, installation and load.
Test candidate furniture empty. Place it in the proposed position, level it as the furniture instructions allow and then imitate normal use around it. Open every door and drawer. Walk the route from record shelf to seat. Sit down and stand up. Press gently at the corners without climbing, shaking or exceeding the furniture’s intended use.
The no-equipment stability gate
- Floor contact: does the unit rock, twist or bridge an uneven surface?
- Moving parts: does opening a drawer or door move the top?
- Human route: does ordinary walking, seating or a nearby door disturb it?
- Load evidence: is the rated use appropriate for the equipment and record weight?
- Tip-over plan: do the manufacturer, wall construction and household conditions require securing?
Sony’s turntable support guidance for skipping starts by telling users of applicable models to ensure the turntable is on a flat, level surface. The exact setup procedure remains model-specific, but the room implication is clear: a soft, sloping or frequently moving address is not a neutral decor choice.
Heavy record collections concentrate load. Do not assume a decorative cube, floating shelf or vintage cabinet can carry the equipment plus a full bay of records. Check the furniture’s documentation and condition. For households with children, the CPSC Anchor It guidance advises sturdy furniture and following manufacturer instructions to secure top-heavy furniture. Wall type, fastener, rental permission and installation skill all matter; do not improvise anchoring from a styling article.
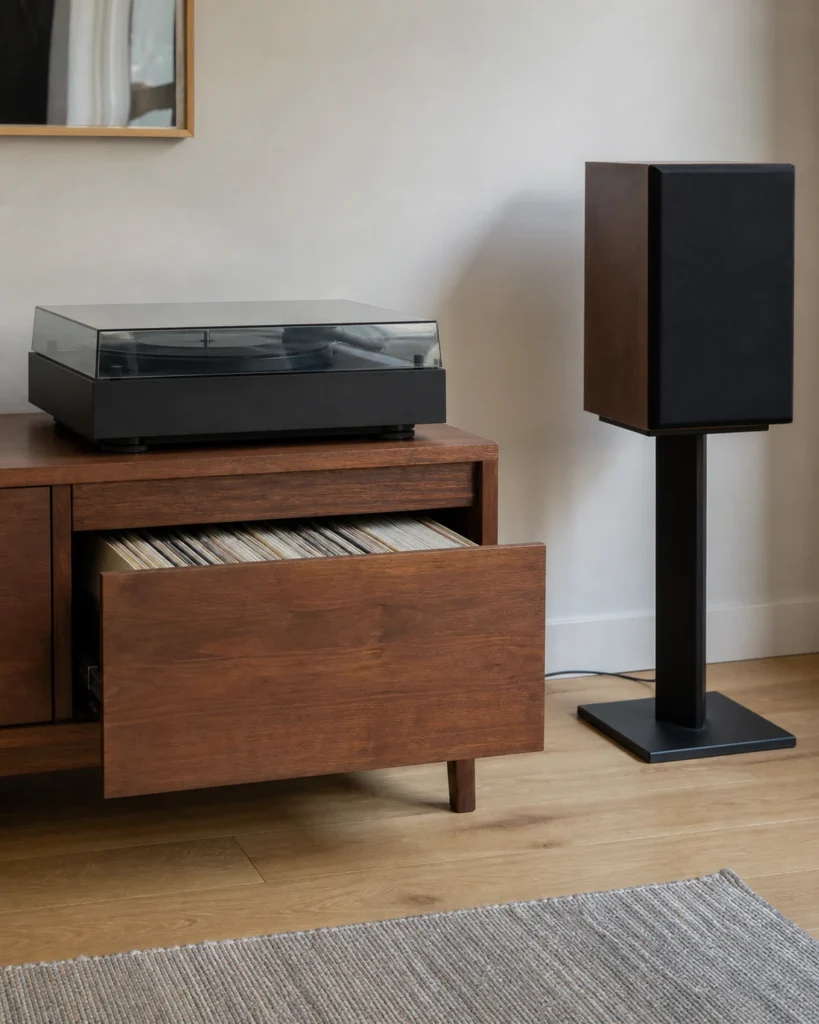
Now follow one album
Select an album as though the system were already playing. The route should be calm enough that handling does not compete with furniture. If titles cannot be read, one record cannot be removed without its neighbours leaning, or the sleeve must sit on the floor, the room plan is unfinished.
The Library of Congress care guide for audiovisual materials advises handling grooved discs by the edges and label areas, keeping food and drink away, storing formats upright, using sturdy shelving and supporting grooved discs with dividers. It also recommends avoiding direct or intense light, radiators, vents and sources of vibration. Its preservation context is more cautious than casual decor advice; use it as a care boundary, then follow the record and equipment manufacturer where instructions differ.
Reserve a sleeve landing rectangle beside the turntable. It must remain clear when the dust cover opens and controls are used. A candle, drink, trailing plant or stack of “now playing” jackets does not belong there simply because empty space looked unfinished.
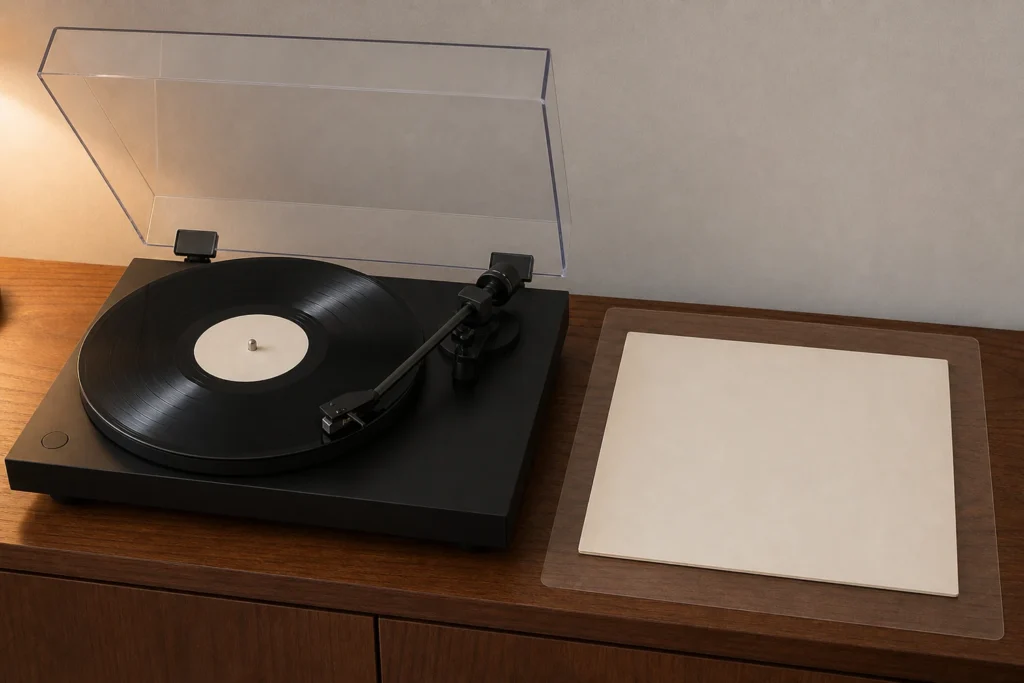
Build small upright bays, not one leaning wave
Records are easier to select and return when they stand upright with support. Long, partly filled runs invite leaning. Tightly packed runs make removal difficult. Divide the collection into bays sized for the shelving and the collection’s real categories, with enough working room to remove one album without forcing it.
Full-face divider or side
Readable, removable, not compressed
Room to select and return
Confirm the shelf’s actual load capacity and construction. This diagram shows organisation, not structural engineering.
Use categories the listener remembers. Alphabetical order is not morally superior to genres, household owners or “often played”, but the rule should be consistent enough that returning an album is not a new research project. A “recently played” slot can help only if it has a fixed capacity and returns to zero regularly.
Do not decorate with an ongoing horizontal stack. One jacket displayed temporarily is a different condition from records bearing one another’s weight for months. Keep the collection away from a sunny window, radiator, damp wall and any place vulnerable to leaks. If a shelf backs onto an exterior wall with known moisture issues, solve the room condition rather than trusting sleeves to buffer it.
Treat speakers as equipment, not bookends
Exact speaker placement is an acoustics and manufacturer question. The room-planning rule is narrower: do not place speakers on the same light or flexible surface as the turntable merely because the symmetry is attractive. The Library of Congress recommends distance from vibration for audiovisual materials, and turntable manuals may warn about vibration reaching the player.
Begin with stable, movable test positions that meet the speaker instructions and do not narrow a route. Listen from the actual chair with familiar records at an appropriate level. Change one position at a time and record what happened. This is a household comparison, not a claim of laboratory measurement.
Keep drivers, ports, ventilation and controls unobstructed according to the product documentation. If a bracket, wall fixing, concealed wire or new electrical connection is needed, treat it as a separate installation task under local rules. A photograph cannot reveal wall construction.
The two speakers do not have to make a perfect visual parenthesis around the turntable. A slight asymmetry that protects a doorway and separates vibration is more credible than a centred arrangement nobody can use.
Route cables so the back still makes sense
Cable management should preserve identification, bend, access and service—not make every connection disappear at any cost. Before bundling, label both ends with the component and port. Take a clear rear photograph after the working system is connected according to its manuals.
Allow only the slack required for safe connection and service. Keep loops out of the walking route, moving furniture and door hinges. Do not crush cords behind a cabinet pushed tight to the wall. Do not route cords beneath rugs. CPSC home electrical guidance warns that cords can be damaged under rugs or furniture and says extension cords should not become a long-term substitute for needed receptacles.
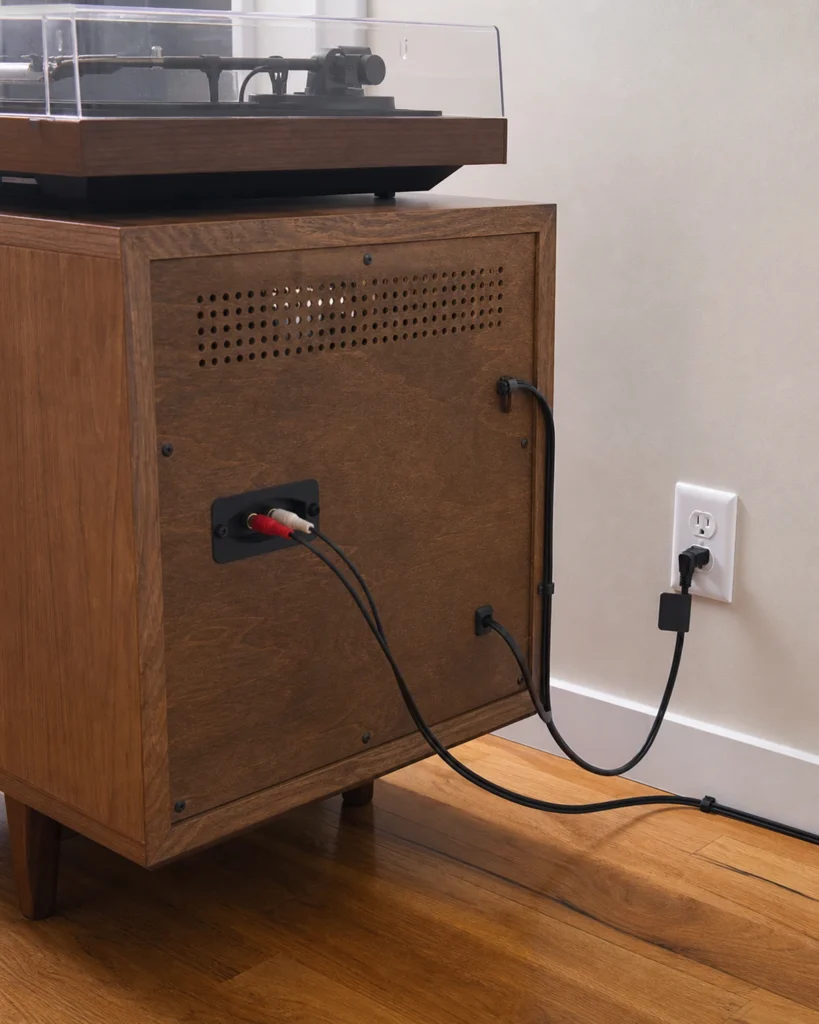
Separate signal, speaker and power cables only as the equipment maker recommends; this guide does not prescribe wiring topology. If the supplied cable cannot reach without tension or an unsafe route, change the furniture position or obtain an approved solution for that equipment. Do not splice, daisy-chain or improvise mains power.
Leave a service hand-width only when the furniture and product clearances allow it; there is no universal gap. The back should be reachable without lifting the turntable while it is connected. Store manuals and the equipment passports somewhere findable, not in the one cabinet compartment blocked by the receiver.
Worked room: a compact living-room wall
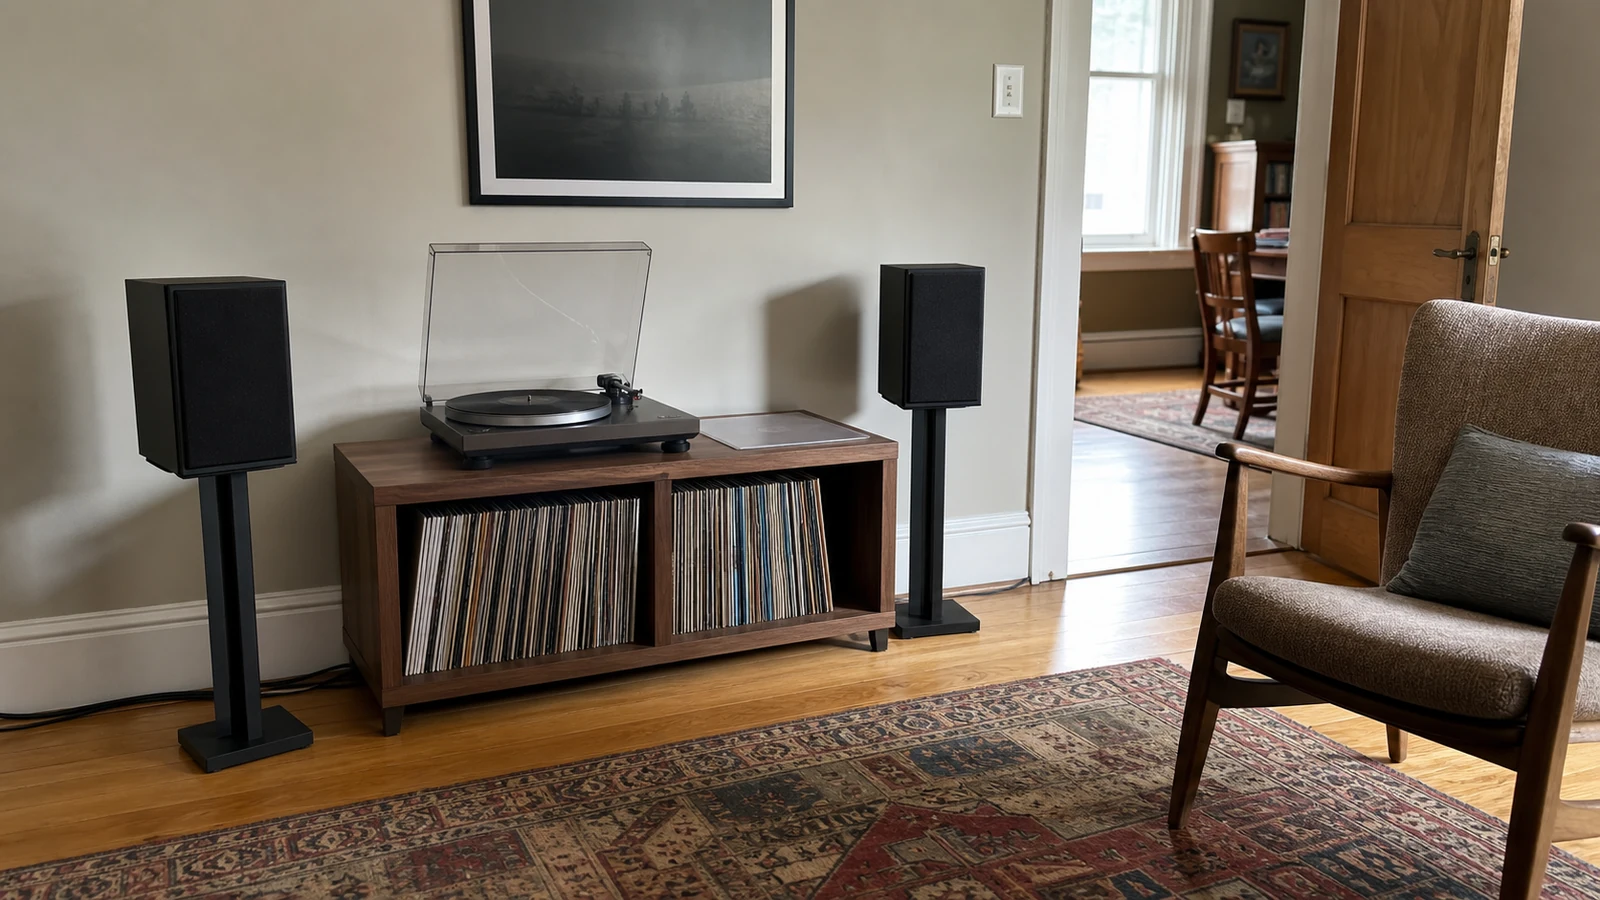
Imagine a short wall shared with a reading chair. A stable low cabinet holds the turntable on top and one compatible component in an open bay that meets its manual’s clearance. A clear rectangle on the right receives the outer sleeve. Two compact speakers begin on separate stable supports rather than sharing the cabinet top.
Records occupy two divided lower bays. The collection is upright, away from a nearby sunny window, and light enough for the documented shelving. The listener can remove an album without kneeling behind the chair. The route from shelf to turntable does not cross a cable.
The chair is several steps away and does not block the room door. A side table holds a drink away from equipment. A shaded lamp supports liner-note reading without reflecting directly in the dust cover. Cables follow the rear wall, remain accessible and never pass under the rug.
This example deliberately supplies no cabinet width, speaker spacing or listening distance. Those depend on the exact equipment, room, user and manufacturer’s guidance. Its transferable lesson is the sequence: compatibility, stable support, album handling, cable route, seat, then styling.
Make the listening seat earn its floor space
A chair is not mandatory. If records usually play while people cook, talk or move through the living room, a staged lounge chair may only block circulation. Name the real mode: focused listening, background music, shared album sessions or headphone use.
For a dedicated seat, test the whole action. Sit, stand, reach the volume control if intended, read a label and return an album. Keep drinks on a separate stable surface away from records and electrical equipment. Give headphones a home that does not tug a cable across the route.
Lighting should reveal labels and liner notes without placing a hot or glaring source beside the turntable. Use the fixture according to its instructions and keep its cord managed under the same rules as the audio equipment. For a deeper lighting plan, the layered living-room lighting guide separates general, task and atmosphere jobs.
Audit a cabinet from the back and with the doors open
Furniture listings lead with the front elevation. Equipment interacts with the top, back, interior and moving parts. Before buying, draw the cabinet in three views and write the verified dimension beside each constraint. Product width alone is the least interesting number.
From above, mark the turntable footprint, dust-cover movement, sleeve landing area and any manufacturer-required space. From the front, mark controls, record bays and the path of each door or drawer. From behind, mark cable exits, plug depth, ventilation and the route to a receptacle. If a listing does not provide the relevant dimensions or load information, ask the maker or choose a piece with adequate documentation.
Do not cut a ventilation or cable hole into furniture casually. The cut can affect structure, finish, fire behaviour and warranty, while leaving sharp edges that damage cables. A modification belongs to a person who can assess the furniture and equipment requirements. In a rental, the wall and electrical route remain separate permission questions.
Second-hand furniture deserves a condition inspection before it receives a concentrated record load. Check joints, sagging shelves, water damage, loose backs, missing feet and drawers that pull the unit forward. An attractive cabinet with an unknown repair history may be appropriate only after competent assessment. Do not use the turntable to test whether it wobbles.
Bring a cardboard footprint of the largest component and an empty record sleeve when viewing furniture. Confirm that the lid movement and sleeve landing space coexist. Open the doors while the footprint is in place. Sit in the proposed chair position. This low-tech rehearsal catches the cabinet that is “perfect” only while shut.
Budget for the boring parts before decorative accessories: appropriate supports, correct approved cables, dividers and safe installation. If the system does not work without a plant hiding the back, the plant is not the missing component.
Searchable setup limits
Stop if equipment identity, compatibility, electrical condition, furniture capacity or a fixing method is uncertain. Use the exact manuals and an appropriately qualified local technician or installer. This room guide does not diagnose vintage electronics, design mains wiring, calculate shelf loads or replace conservation advice.
- Do not power unknown, damaged, modified, wet or overheating equipment for a decor test.
- Keep ventilation openings and manufacturer-stated clearances unobstructed.
- Keep drinks, candles, plant water and cleaning liquids away from records and equipment.
- Follow furniture instructions and CPSC/local tip-over guidance, especially where children may climb.
- Do not use extension cords as permanent wiring, conceal cords beneath rugs or create a trip route.
- Get rental permission and wall-specific advice before brackets, anchoring, new outlets or concealed cables.
Audit the first ten plays
| Play | Connection or control issue | Where sleeve landed | Storage lean/tightness | Movement or cable conflict | One repair |
|---|---|---|---|---|---|
| 1 | |||||
| 2 | |||||
| 3 | |||||
| 4–10 | Record repeated issues only |
Fix the earliest repeated failure. If sleeves always land on a speaker, clear a landing rectangle. If neighbours lean, reduce bay width with a suitable divider. If a cable enters the route, change component position or obtain the correct safe connection. A larger cabinet is not automatically the answer.
Your next action: draw every box and cable
Do not shop for the cabinet tonight. Put each exact model on a piece of paper, draw the audio and power connections, and write which manual confirms each link. Add the dust-cover movement, ventilation and cable reach. Then carry one album from its current shelf to the proposed surface and mark where its jacket lands.
The corner is ready to style when the drawing and the album make the trip without a guess, a wobble or a cable across the floor.
Sources and scope
- Library of Congress: Care, Handling, and Storage of Audio Visual Materials — edge handling, upright support, sturdy shelving and environmental boundaries.
- Audio-Technica: AT-LP3XBT user manual — model-specific example showing PHONO/LINE and powered-speaker compatibility differences.
- Sony Support: turntable tone arm skips or slides — applicable-model guidance to use a flat, level surface.
- U.S. Consumer Product Safety Commission: Anchor It — sturdy furniture and manufacturer-directed anti-tip installation.
- U.S. Consumer Product Safety Commission: Home Electrical Safety Checklist — damaged cords, under-rug routing and long-term extension-cord cautions.
Sources were checked 30 July 2026. The manuals for the reader’s exact components, furniture and installation control. This article contains no affiliate links, gives no equipment recommendation and reports no personal listening test.
About the visuals in this guide
These are original Dealsmaster visual studies made with AI-assisted image tools and art-directed for this article. They illustrate planning examples, not photographed reader homes, product tests, or guaranteed outcomes.