The doorway-first dressing route
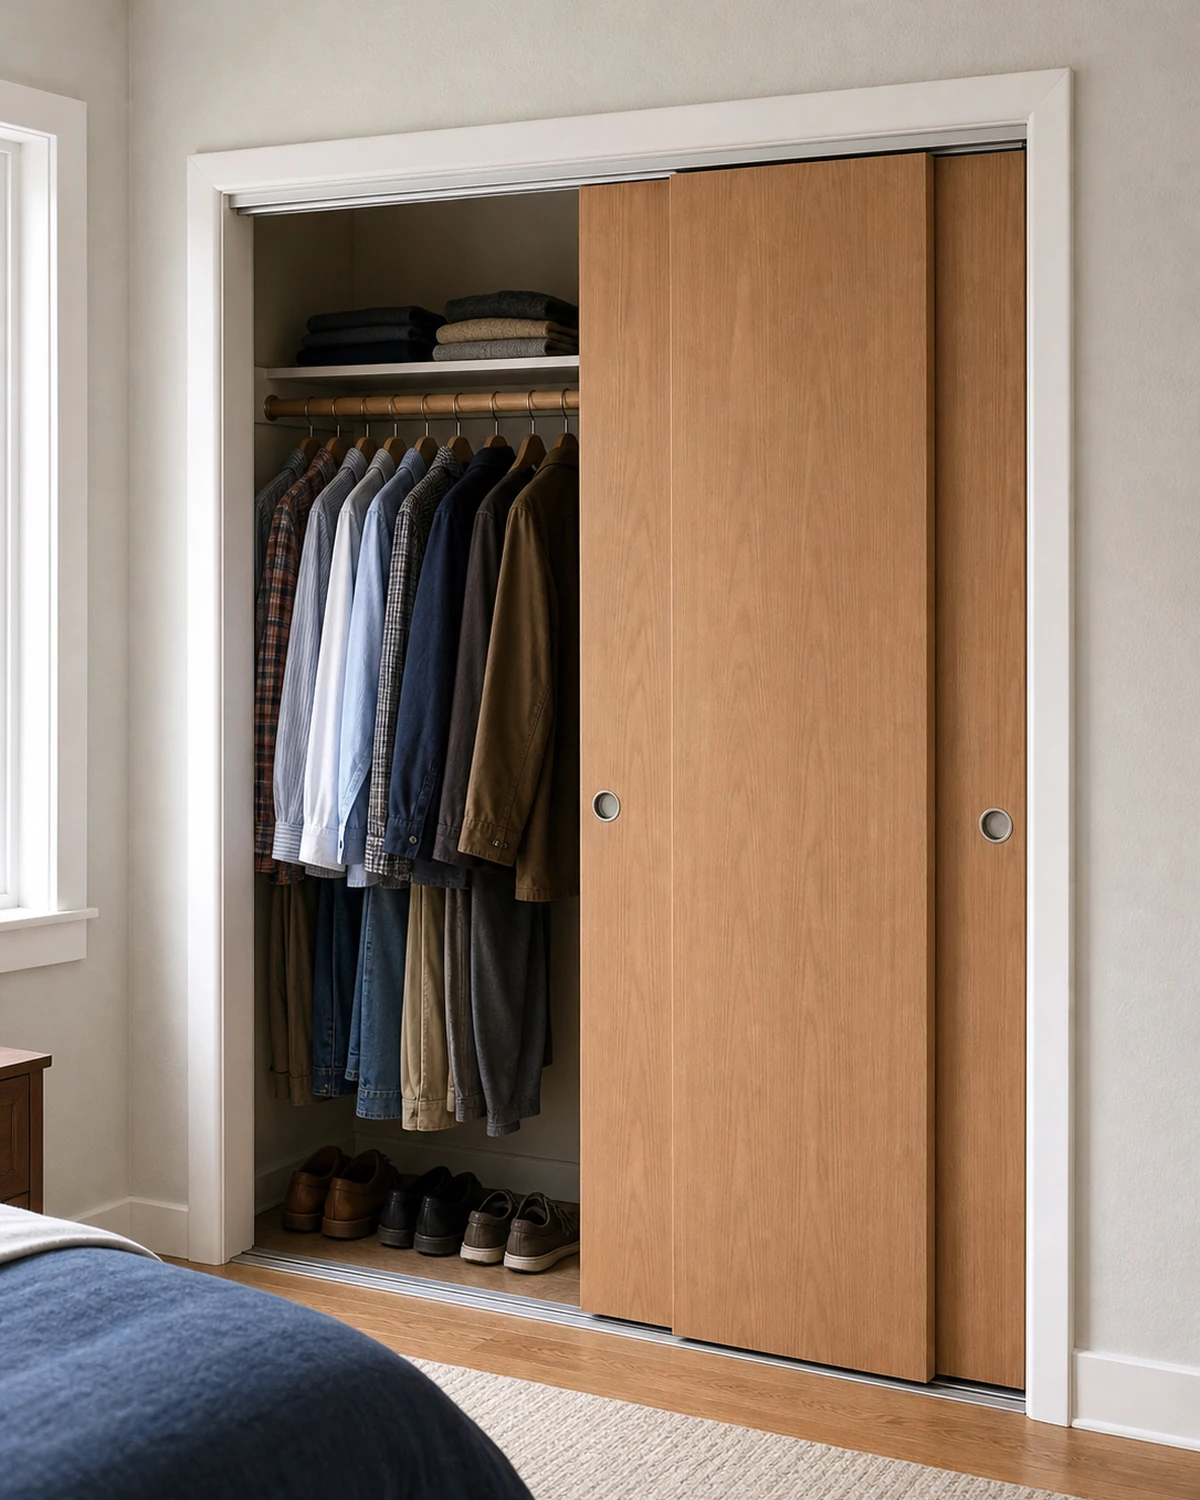
The useful size of a reach-in closet is the part you can see, approach and reach with the door in its normal position. Map that opening first; then place clothes in the sequence they are chosen, worn, paused and returned from laundry. More fittings cannot rescue capacity hidden behind a moving door.
A reach-in closet can be 152 cm / 60 in wide and expose only 91 cm / 36 in at a time. Those example dimensions describe a common kind of mismatch, not a standard closet. Sliding panels overlap. A hinged door occupies floor and wall space. A bifold bunches at the sides. The internal plan says “plenty of storage”; the morning says “move the door again.”
That extra move seems trivial until it happens between every choice. Shirts are behind the left panel, trousers behind the right, shoes under the hamper and belts in a drawer that catches long hems. The centre rod is crowded because it is the only part visible without negotiation. The corners are technically full but practically forgotten.
Start with the view through the actual doorway, not a catalogue elevation of an empty rectangular box. Give the clearest zone to the week’s repeated actions. Use hidden edges for large, unmistakable, lower-frequency groups. Protect one small “pause” address for clothes that may be worn again. Most important, leave enough rod and shelf room for clean laundry to return.
The door is part of the floor plan
Open the closet exactly as you do on a rushed morning. Do not remove a sliding panel, push a bifold beyond its stop or stand inside the opening to create an ideal view. Take one straight photograph from the normal approach. The photograph often explains more than an internal-width measurement because it shows the frame, overlap and obstructions together.
Mark four things on a copy of the image:
- the centre that is visible every time the door opens;
- the side zones that appear only after the panel moves;
- the floor approach occupied by shoes, a hamper or the door swing;
- the upper and corner areas that can be seen but not comfortably reached.
Aperture map: internal width is not working width
In this illustrative plan, a sliding panel hides part of the left side. The unhatched opening—not the full wall-to-wall dimension—is the first working zone.
- Hatched: hidden until the panel moves
- Clear: visible on first opening
- Test: approach with hamper, room door and furniture in place
Measure three different widths: the internal closet, the clear doorway at the usual opening and the depth of any frame or handle that narrows removal. Also record which direction the panel moves and whether the room door, bed, bedside table or laundry basket interferes with standing in front.
This is why a drawer unit that fits “inside” can still be a mistake. Its drawers may open only when the sliding panel is at the other end; long garments may hang into the path; the user may have to stand where the bedroom door swings. Use masking tape or cardboard to mock up the drawer front and pull distance before purchasing.
If the room around the closet is the limiting factor, solve that route at the same time. The guide to small-bedroom layout that protects storage and walking space helps keep beds, drawers and circulation from defeating one another.
Walk a seven-minute morning instead of sorting abstract categories
Traditional closet plans begin with “tops, bottoms, dresses.” A faster plan begins with decisions. Write the sequence in which one person actually gets dressed. The wording can be untidy: underwear, work trousers, shirt, second shirt because the first feels wrong, belt, socks, jacket, shoes, return the rejected shirt, leave the worn knit somewhere for later.
Now perform that sequence with the existing door. Count door moves, drawer collisions and moments when one item covers another. The aim is not to shave seconds as if the bedroom were a factory. It is to see where the closet asks a sleepy person to reverse direction or temporarily put clothing on the nearest chair.
The seven-minute dressing storyboard
- Base
Find the first layer without opening a blocked drawer. - Main
Compare the day’s shirt, dress or trousers in the clearest zone. - Layer
Add a weather or work layer without moving the panel twice. - Finish
Reach shoes and accessories without disturbing hanging hems. - Pause
Give rejected or rewearable clothes a bounded address. - Return
Route laundry and empty hangers back without recomposing the rod.
Put groups used in the same choice within the same first-open view. This may mean everyday shirts and trousers share the centre even if an organising diagram would prefer all tops together. Occasion jackets can sit behind a side panel because they are unmistakable and infrequent. Tiny accessories should not disappear into a hidden corner where each must be inspected.
Shared closets need more than a 50/50 split. If one person approaches from a seated position, has a shorter reach or dresses at a different time, give each person a reliable visible band. Equal centimetres can produce unequal use when one side is behind the panel or blocked by the room door.
Measure the clothes before choosing the rod pattern
Double hanging is useful only when the actual garments clear one another. A generic diagram cannot know the drop of your longest shirt, the hanger hook, the folded-trouser method or the jackets that arrive in winter.
Hang representative pieces on their normal hangers and measure from the top support point to the lowest hem. Add the operating space needed to lift the hanger off the rod and return it without scraping the shelf above. Then group garments by real drop, not by the name printed on a closet package.
| Actual group | Longest hanging drop | How many must hang | Clear space below | Planning decision |
|---|---|---|---|---|
| Shirts and short jackets | Measure on normal hanger | Count the real rotation | May support a lower rod if both rows clear | Candidate for double hang |
| Trousers | Measure folded or full-length, as stored | Include work and seasonal rotation | Keep hems away from drawers and shoes | Pair with shirts only after a mock-up |
| Dresses and long coats | Use the longest ordinary piece | Do not size the whole closet for one rare outlier | Leave floor and lower fitting clear | Narrow full-height run |
No height here is a standard. Record your garments, hangers, shelf thickness and lifting movement.
Long garments often need only a narrow full-height run. Do not fill the floor beneath them by reflex. A box that brushes coats every time it opens is not occupying “dead space”; it is interfering with the clothes. Conversely, if the wardrobe contains almost no long pieces, preserving an entire full-height bay may waste the useful doorway view.
Keep enough horizontal room to separate hangers with one hand. A compressed rod makes laundry return slow and encourages clothes to remain in a basket. The goal is not a particular number of centimetres between garments. It is a repeatable pull-and-return movement with the clothing volume you own.
Worked example: 152 cm inside, 91 cm visible
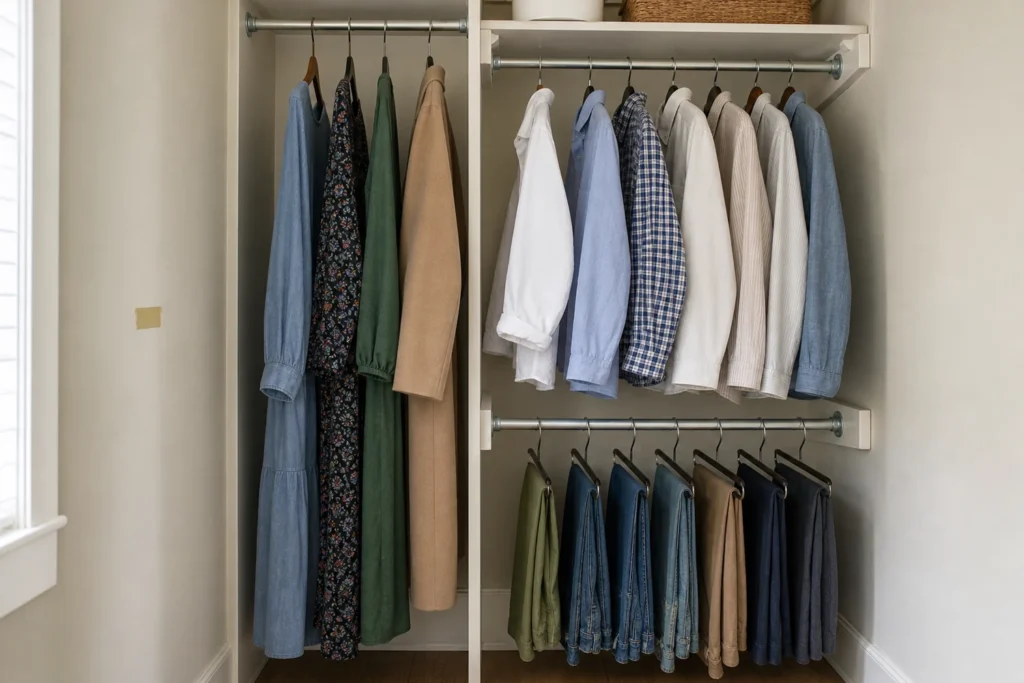
Imagine a 152 cm / 60 in reach-in closet with a 91 cm / 36 in central opening, overlapping sliding doors, one upper shelf and a single rod. It belongs to one adult whose weekday rotation is mostly shirts, trousers and two jackets, with a few long garments and a modest shoe collection.
The design starts by giving the central opening the week’s decisions. A narrow full-height bay at one side handles long garments. The opposite side takes clearly grouped occasional clothing. The upper centre holds light repeat-use items the user can see and lift; the high hidden ends carry only infrequent, lightweight soft goods with identity at the front. Shoes remain in one visible layer rather than a deep double row.
Illustrative doorway-first elevation
The centre is the work surface of the closet. Dimensions describe this example only and must be replaced with actual measurements.
This plan is deliberately not maximum density. It protects visibility, a small return gap on the rod and a clear lower approach. A different wardrobe could reverse every assignment. Someone who wears dresses daily would put long hanging in the centre. Someone who cannot bend would raise shoes. Someone sharing the closet might use the centre as a common current-week zone rather than giving it to one person.
Test the proposal with tape before installing anything. Mark a prospective second rod, drawer face or shelf edge. Hang the longest items. Slide both doors. Stand where you normally stand. Carry in a laundry basket. If the mock-up needs a body twist or repeated door shuffle, revise it while revision is free.
Hidden corners need broad, unmistakable jobs
A hidden side is not useless. It is simply a poor place for small choices. Give it a group that can be recognised without browsing: formal wear, cold-weather outer layers, travel gear or one clearly bounded seasonal category. Avoid a mixed bin of belts, scarves, receipts and spare hangers whose contents must be excavated.
Keep the identity at the opening-facing edge. If you use a container, confirm it can pass behind the door panel and out through the aperture without being tilted into hanging clothing. A removable tray can make a hidden shelf usable, but only if the loaded tray is controllable by its user.
Do not let “seasonal” become a permanent exile category. Review it when the season changes. Bring the active group to the visible edge and send the outgoing group back only after it is clean, dry and clearly identified. The door should move once for a seasonal change, not five times every morning.
Give worn clothes four possible destinations
The bedroom chair becomes a second wardrobe when clothing has only two official states: perfectly clean in the closet or dirty in the hamper. Real clothing can also be paused for another wear or waiting for repair.
The four-state return rail
Ready
Clean, fully dry and returned to its regular address.
Pause
May be worn again; aired as appropriate and held in a small, bounded zone.
Laundry
Sent to the hamper without blocking shoes, doors or the standing approach.
Repair / decide
Separated from ready clothing with one next action and review date.
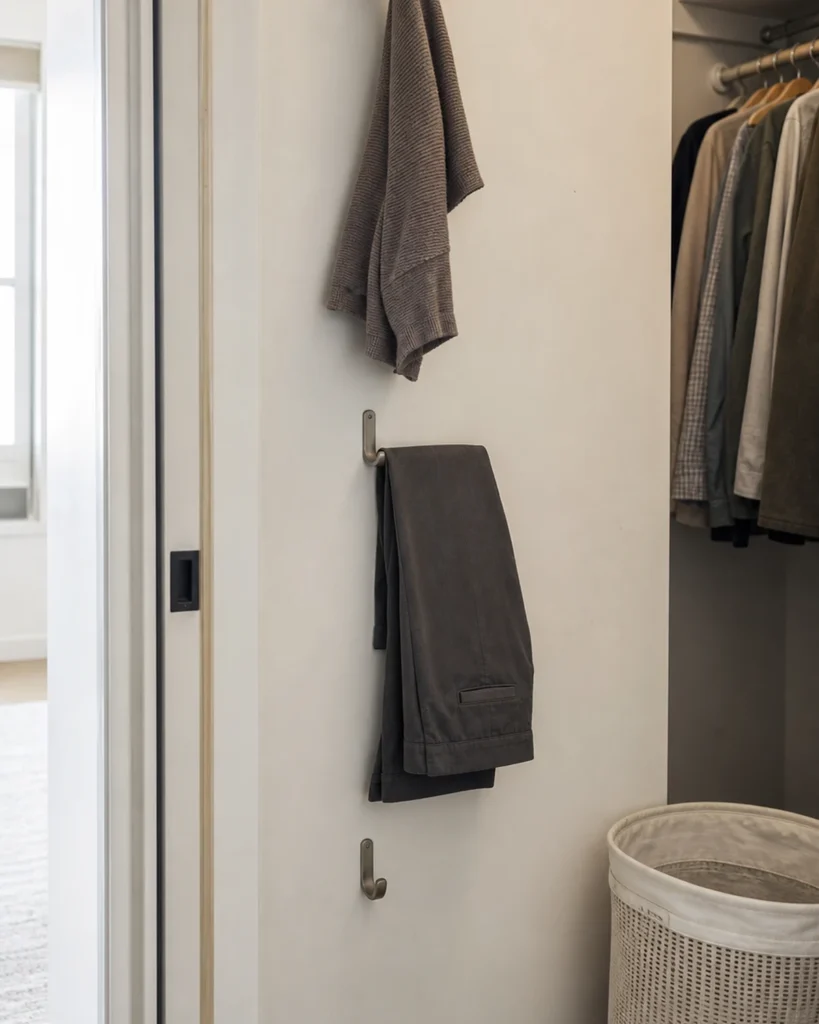
The pause zone might be three hooks, a short rail section or one shallow, ventilated basket. It needs a hard boundary. When it is full, decide what returns to clean storage, what moves to laundry and what needs care. An unlimited pause pile simply relocates the chair problem behind the door.
Choose the location with the garment and household in mind. Do not seal damp clothing into a bin or press it against clean clothes. Follow each garment’s care instructions. Items exposed to workplace, hobby or household hazards may need a separate handling routine; this general closet guide cannot determine it.
The repair group should be small and visible enough to prompt action. “Repair” is not a permanent identity. Add a card with the action—button, hem, cleaner, donation decision—or schedule the task. If a repair requires specialist care, do not experiment simply because the item is taking up space.
Make clean-laundry return easier than the floor
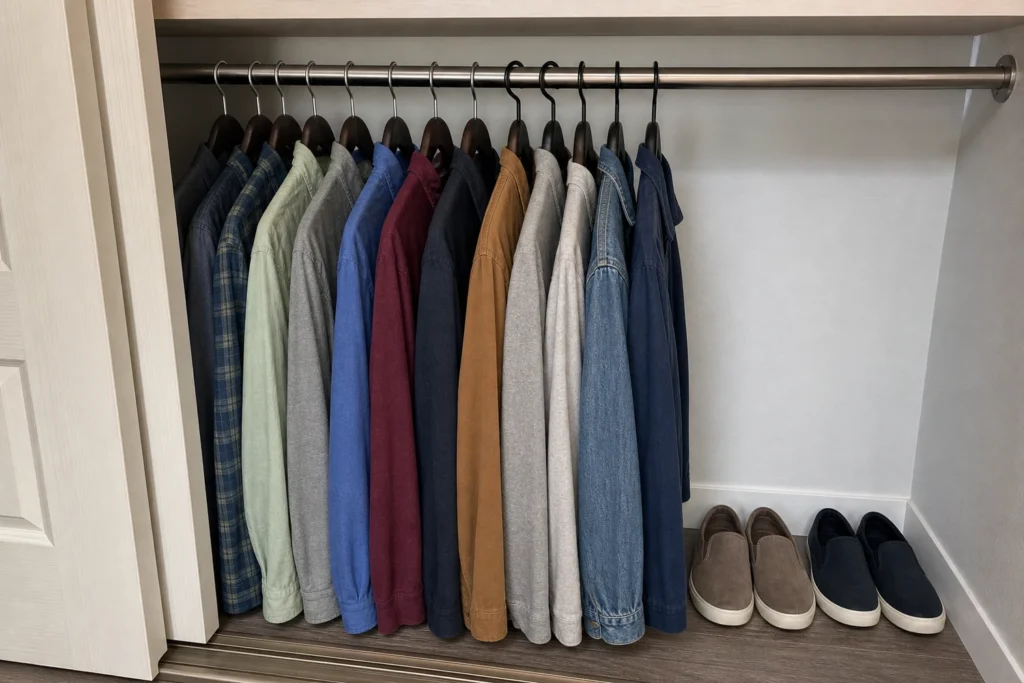
Matching hangers matter less than having usable hangers where the clean clothes arrive. Keep a short run of empty hangers together, ideally near the category that returns fastest. When hangers are trapped between compressed garments, every clean shirt begins with a search.
Watch one actual clean load. Fold and hang as usual, then carry it to the closet. Can every item return without moving a different category? Does a drawer open under hanging fabric? Does the hamper block the shoe zone? Does the rod have enough horizontal release to insert a hanger?
Leave a visible return allowance in fast-moving groups. It may be a few empty hangers and a short rod gap, a half-empty shallow basket for folded knits, or a clear drawer section. The amount follows the largest normal load, not a fixed percentage. A household that washes weekly needs a different landing zone from one that washes daily.
If laundry return is the larger bottleneck, the one-load laundry-room guide maps the wash, dry, fold and departure sequence. A closet cannot compensate indefinitely for clean clothes with no finished route.
Safety, accessibility and rental limits
The easiest storage band is personal. Frequent clothes belong where the intended user can approach, see and reach them without stretching, kneeling, climbing or pulling a heavy container from overhead. Keep the floor route clear enough to stand or position a mobility device; a row of shoes should not make the door opening an obstacle course.
The U.S. Access Board’s ADA accessibility standards cover specified public, commercial and government facilities and include storage, clothes rods, hooks and reach provisions where scoped. Those standards are not a blanket legal requirement for a private bedroom closet. Used carefully, they make one relevant design point: nominal storage is not accessible storage when approach, obstruction or reach prevents the user from operating it.
Mounted rods, shelf tracks and drawer systems are product- and wall-specific. Follow the manufacturer’s instructions, stated loads, fastener requirements and warnings. Check for concealed services and obtain qualified installation help when wall construction or fixing suitability is uncertain. Renters should read the lease and secure required permission before drilling, removing doors or changing fixed storage.
Freestanding chests or wardrobe units introduce a separate tip-over question. The U.S. Consumer Product Safety Commission’s Anchor It guidance says to secure top-heavy furniture and follow manufacturer instructions, particularly where children may climb. An improvised insert does not become safe merely because it is placed inside a closet.
Keep doors and room circulation working as designed. Do not remove a closet door if it serves a property, fire, ventilation or privacy requirement you have not verified. This article cannot determine structural, code or lease conditions for a specific home.
Use one week to reveal the prime zone
A fresh closet reset makes every category look equally important. A week of normal dressing shows what actually moves.
Place a removable divider at the start of each hanging group, or turn hangers in a consistent direction if the hanger design allows. When an item returns from wear or laundry, place it beyond the divider or restore the hanger to its normal direction. Do not use this as a discard rule. Work, weather, culture, events, illness and season all influence a single week.
The doorway-turn log
Record the first friction only; a short log is more likely to be finished.
Door moves:
Pause overflow:
Return gap:
Door moves:
Pause overflow:
Return gap:
One thing to leave:
At the end of the week, make one exchange. Bring the most repeated group into the clearest first-open area and send one genuinely lower-frequency group to a side zone. If the door moved three times to complete one outfit, bring those choices together. If the pause rail overflowed, reduce its boundary or review it more often. If clean laundry had no return gap, release rod or shelf capacity before adding another fitting.
Untouched clothes are information, not a verdict. An occasion coat can stay because it has a clear job. It simply may not need the centre. If the closet contains many vague “maybe” items, the guide to decluttering and organising mistakes helps separate aspirational identities from practical reserve without turning one week into an arbitrary purge.
For a first home with several unfinished routes, do not overbuild the closet before living there. The first-apartment 24-hour setup puts sleep, dressing and laundry in sequence before decorative storage purchases. If bulky bedding is consuming clothing access, revisit the actual sleep and wash pattern with the guide to bedding combinations for real sleepers.
Your next action: photograph the normal opening
Open the closet the way you opened it this morning. Stand where you actually stand and take one straight photograph. On the image, circle what is visible without moving the door. Put a line through the floor area occupied by shoes, a hamper or swing. Mark the first category you reached for today.
Move that one category toward the clear view before buying a drawer tower or second rod. Tomorrow morning, count the door moves again. A reach-in closet is successful when it lets the dressing route continue—not when it wins an internal-capacity contest no one can use.
Sources and limits
- U.S. Access Board: ADA Accessibility Standards — the scope of covered U.S. facilities and storage/reach provisions. Referenced only as an inclusive design lens for a private home, not as a blanket legal mandate.
- U.S. CPSC: Anchor It — securing top-heavy freestanding furniture and following manufacturer instructions, especially where children may climb.
Editorial disclosure: This guide does not report personal room, furniture or product testing and contains no affiliate links. The 152 cm / 60 in closet and 91 cm / 36 in opening are a worked example. Garment drops, user reach, wall construction, product ratings, property permission and applicable local requirements must be verified for the actual home.
About the visuals in this guide
These are original Dealsmaster visual studies made with AI-assisted image tools and art-directed for this article. They illustrate planning examples, not photographed reader homes, product tests, or guaranteed outcomes.